In order to learn how to sew on a patch on a hat using a sewing machine, there are just two steps. The sewing process is pretty simple once you get the hang of placement. In this tutorial, we’ll also discuss how to apply patches on hats.
Did you know that we also wrote a tutorial on how to sew patches on sleeves with a sewing machine? Consider reading our guide for this fun project and elevate or repair your sleeved shirts.
Bạn đang xem: How To Sew A Patch On A Hat With A Sewing Machine?
How Do You Sew A Patch Onto A Hat With A Sewing Machine?
Tools You’ll Need
- Did you know that we also have a sewing machine lesson on how to sew patches on sleeves? The sleeves of your shirts can be elevated or repaired by following our step-by-step instructions.
- Hat
- A needle (size 10)
- Your patch’s matching thread
- Glue
- Thimble
- Scissors
Steps To Learn How to Sew a Patch On a Hat
- To begin, put the hat on your head and mark the spot where the patch will go.
- Ensure that the glue has fully cured before moving on.
-
- We recommend using a minimum of 24 inches of thread, although this will vary depending on the size of the patch.
- The end of the thread should be tied in a knot.
- Thimble your middle finger on your left hand if you are right-handed. For lefties, this would be the middle finger on the left hand.
- Push your needle through the hat and patch at the same time with your thimble finger while the hat is turned inside out.
- In order to avoid tangles, take your time with this step.
- Push the needle in and out of the patch’s border to sew little stitches on the cap.
- This should be done on the inside of the hat, not the outside, to prevent it from being seen while you’re wearing it.
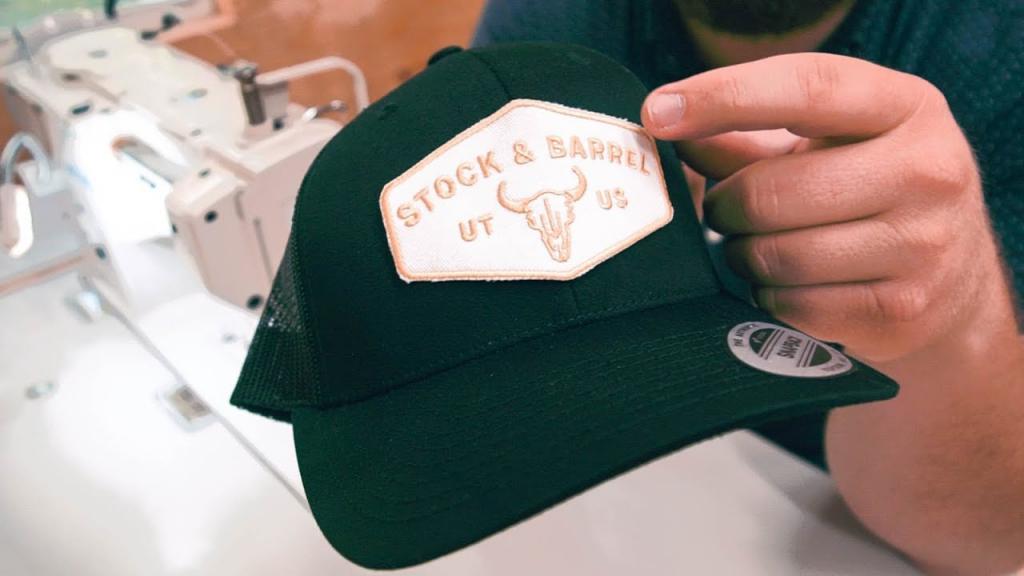
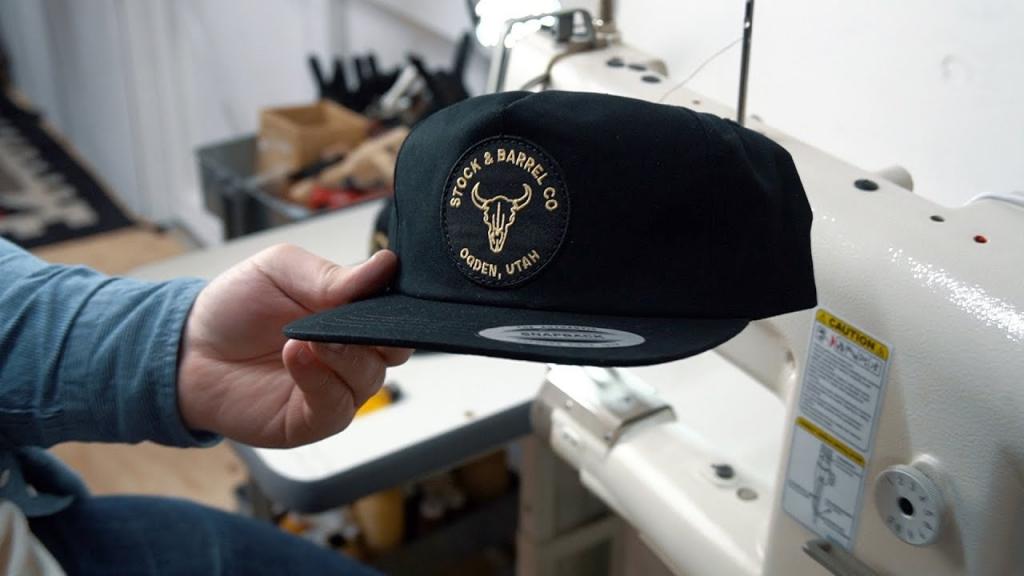
Create Custom Patches For Your Hats
The moment has come for you to make your own unique patches, now that you know how easy it is to sew a patch onto a hat. Using logo patches on hats is a terrific method to raise brand awareness and get people talking about your company. Sports teams and yearly events can also benefit from hat patches.
Request a free quote from American Patch today if you need help designing your own hat patches. Since the year 2000, we’ve made many bespoke hat patches. We’re here to help you with any design questions you may have, and we can recommend the ideal patch for your project. American Patch is your best bet if you’re looking for high-quality patches and excellent customer support. Every order comes with a free sample and shipping is free inside the United States.
How Do You Attach A Patch To A Hat?
Iron-on patches
If you don’t want to use an embroidered patch, you can iron-on several patches to save time and work. Using them on hats made of fragile materials that can be damaged by heat is not recommended, even if they are very secure after you’ve put them on.
- The iron-on patch should be placed over the cap on a flat and heat-resistant surface.
- Check to see if you’ve turned off your iron’s steam setting by turning it up to the maximum level.
- A towel should be placed on top of the patch and a hot iron should be pressed over it for 10 seconds.
- Allow the patch to cool completely after removing the iron and towel.
- Avoid washing the hat in hot water or cleaning it frequently in order to extend the life of the patch.
Glue
Xem thêm : How To Free Motion Quilt On A Brother Sewing Machine?
As an alternative, if you don’t have any iron-on patches, you may just use an embroidered patch and glue it into place. Avoid using washable fabric adhesive in favor of long-lasting fabric glue. Hot glue can be used, but only if the hat is capable of withstanding the heat.
- Apply the fabric glue to the patch’s backside.
- The area of the hat where the patch will be attached will need a dab of adhesive applied.
- To complete the look, apply the patch to the cap using a heat gun for 30 seconds.
- Take a few minutes to let the adhesive dry before applying the patch to your hat.
How Do You Sew On A Patch On A Hat Without A Sewing Machine?
In the absence of a sewing machine, you can still manually stitch the patch on the hat’s crown. Sewing by hand takes more time and effort, but it’s identical to sewing your hat patch on using a sewing machine. In order to achieve a professional finish, be sure to have ready the appropriate needle and thread.
- It’s time to get to work!
- The patch should be applied on the hat with a pin.
- Sew around the patch starting at the hat’s back and working your way forward until you reach where you started.
- For a secure but clean connection, use short straight stitches.
- Cut the excess thread and tie a knot.
What Is The Best Stitch To Use To Sew On A Patch?
To sew on a patch, especially one that is pre-made, use the running stitch. Before you begin sewing around the patch, secure it in place with a pin or washable glue, whatever method you want. Use the same color thread as the patch for a polished look.
You can also sew a patch into the rear of a hole in clothing or accessories. Using satin stitches, sew around the outside of the hole. Top stitching thread can also be used to simulate the look of patches on store-bought clothing. Sewing machine stitching lines will be more appealing if you use two thread spools stacked one on top of the other.
Can I Sew A Patch On A Baseball Cap?
The sewing machine’s cap driver or a cap backing can be used to sew a patch on a baseball cap. Then, using the embroidery machine, make an underlay to smooth out the cap before sewing the patch on. You’ll need titanium-coated sewing machine needles for the caps, so be sure to read this guide on how to change a sewing machine needle.
What Are Different Types Of Leather Patch Shapes?
They come in a variety of sizes and designs, from the square to the circle. In addition, you can even design a unique shape based on your own preferences!
What Colors Are Perfect For Leather-Patched Hats?
If you’re going to use elaborate leather patches, you should wear a cap in a neutral hue. White, beige, black, and brown are just a few options.
Why Choose Sewing Over Adhesives When It Comes Down to a Leather Patch on Caps?
Xem thêm : How To Change Presser Foot On Singer Sewing Machine?
Always use leather patches instead of glue or adhesives to attach patches to caps. Sewing is always the best option for a long-lasting, strong, and durable design.
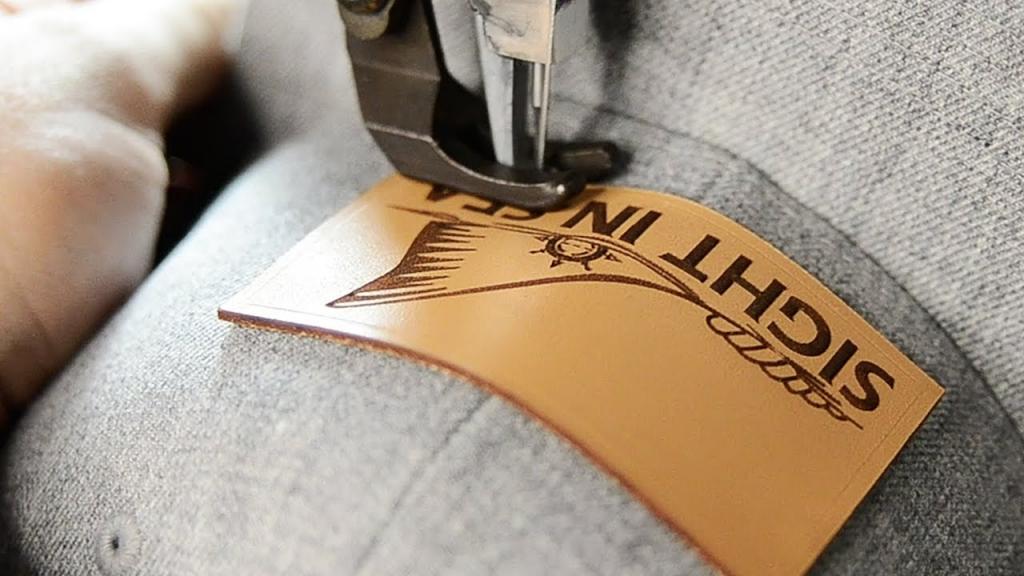
How To Sew Leather Patch On Hat?
You’ll need to get your hands on the necessary supplies. Decide on the look you want to achieve. Sewing the patches together is what is essential in making the garments workable. Simply follow those three steps, and you’re good to go.
Some people could consider it important to sew the patch on the back of the cap, whether it’s for the basketball or the knitted hat, or even the trucker’s hat.
It may provide you a great deal of power over the course of your job. But it merely slows you down and makes you more apprehensive. If you’d want to learn more about how this works, here’s a step-by-step instruction. Continue reading to learn more.
Conclusion
And with that, I bid you farewell! It’s as simple as pinning or glueing the patch into place to prevent it from shifting throughout the stitching process. Use a narrow zigzag stitch on the machine to finish the project.
After a little bit of work, you’ll be done. You may quickly personalize your headwear with embroidered patches by sewing them on with a machine. If you found this information useful, please feel free to ask a question in the comments section.
Nguồn: https://spasifikmag.com
Danh mục: Sewing Tips


