Learning to topstitch expertly is a skill that will benefit your work in any field. Topstitching is a decorative and practical finishing technique used extensively in the manufacture of clothing and bags. Go through your storage areas and tally up how many items feature topstitching.
If you want to cover up sloppy topstitching, it’s best to use thread that blends in with the fabric. That certainly wasn’t an attempt at deceit!
Use threads that contrast with the fabric if you want your topstitching to stand out. I’m thinking this will make topstitching less of a problem. Take advantage of these guidelines to make it seem great:
Unpick the region, then drag the tails to the other side if you need to stop in a continuous line or if you made a mistake. You can make the stitches mix neatly with the cropped region by crossing them just one or twice before and after the area was trimmed. A needle should be inserted between two stitches as a starting point. Then, a knot can be tied by using the leftover ends of the previous thread to pull the new thread across. Take away the extra.
- How To Make A No Sew Weighted Blanket? Step by Step Instructions
- What Are The Types Of Sewing Machines? How To Buy A Sewing Machine?
- How To Fix Brother Sewing Machine Yourself?
- How To Thread A Kenmore Sewing Machine? Common Threading Problems
- What Is The Strongest Sewing Thread? Interesting Must Read Facts!

WHAT IS TOPSTITCH?
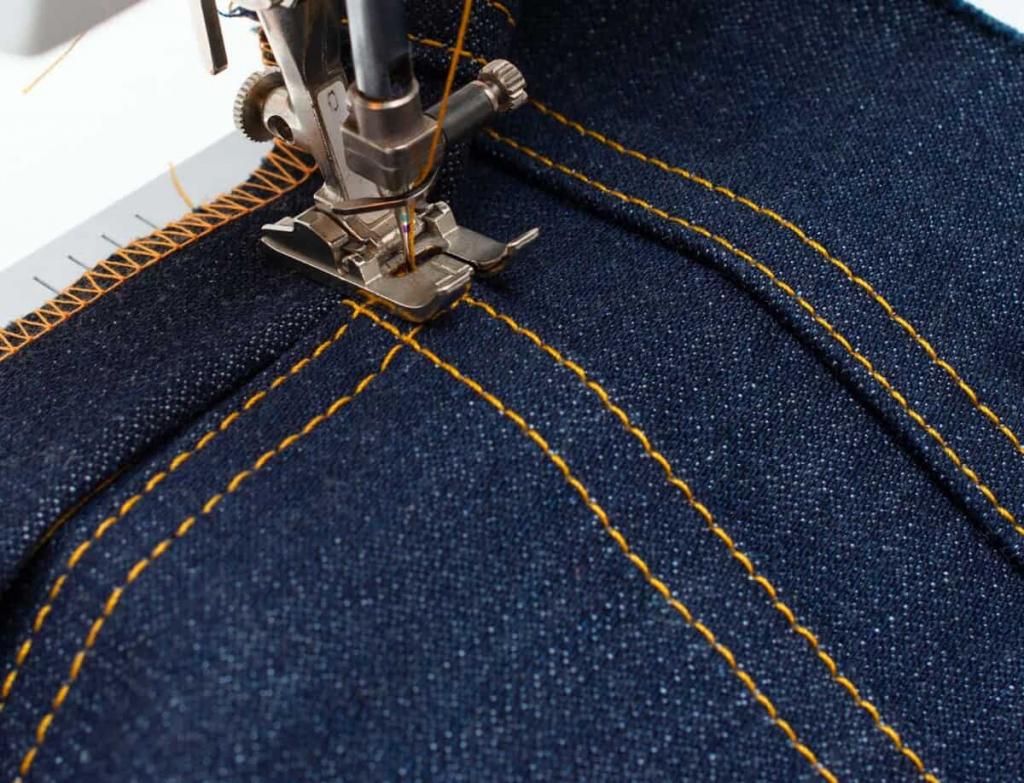
Decorative stitching on the outside of a garment is called topstitching. All of the jeans in your collection feature extensive topstitching.
Bạn đang xem: How To Topstitch With A Sewing Machine?
TOPSTITCH FUNCTIONS
- In-person meetings and talks.
- Fixes the shattered left fork by taking a right turn.
- It looks like a piece of decor.
- Mend the cracks and put in new glue.
- Care for the seams so they lie more flat.
HOW TO TOPSTITCH
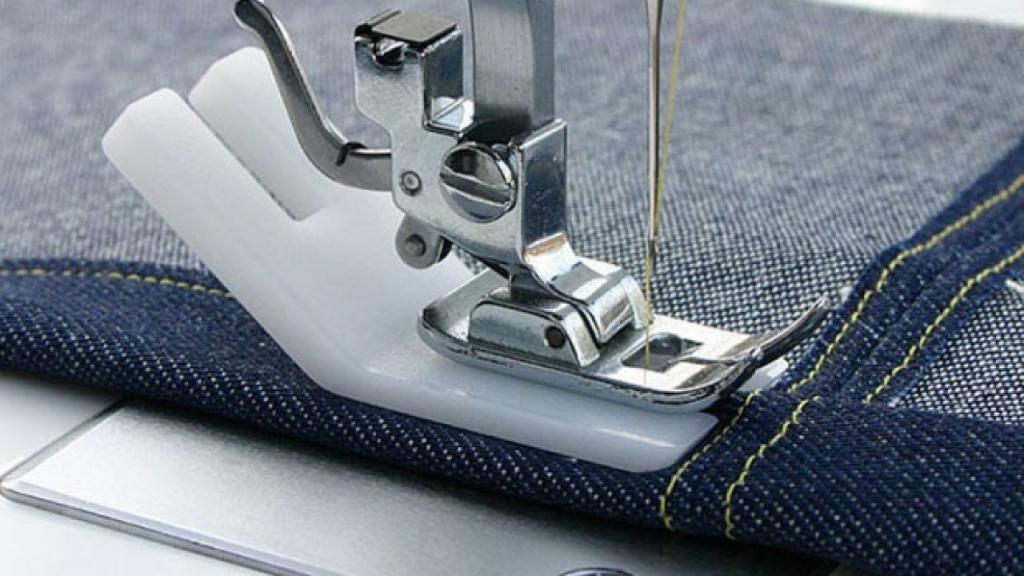
Since topstitching is made up of straight stitches, you can get by with just the normal (or universal) foot on your sewing machine.
Please tell me where the topstitching should be placed.
Edging is often made between 1/8″ and 1/4″ (3-6mm) in from the piece’s outer margins, though this might vary depending on the pattern.
Tips
-
Always stop with your needle down
Wait till the needle hits zero before you declare a stop. In order to make sure the needle is exactly lowered when the timer goes off, pressing that button on a high-end machine is a must. It’s important to know where to insert the needle before beginning a new project so that the stitches remain straight.
-
Don’t backstitch to secure your thread
There is no need for backstitching since this is a decorative stitch and not a functional one. Rather from decreasing the volume, it increases it. You can finish your project quickly by pulling the top thread behind you and tying it to the bottom thread.
One way to keep your thread from unraveling is to snip it as short as possible and then tack it in place at the seam’s start and finish.
-
Choose your thread wisely
Topstitching is an art that develops with expertise and practice; if you lack this, avoid using contrasting thread. To practice topstitching in peace, go with a subdued hue. In this case, I’ve used the thread that was read from the left most position as an example. Visibility is really low.
Perhaps the weight of the fabric will have an effect on the thread. Use an all-purpose thread when sewing medium-weight fabric. The topstitching thread used on denim and canvas may need to be more robust than that used on other fabrics.
Notice the topstitching stitches done with thread on the image’s left side.
Xem thêm : Who Makes Dressmaker Sewing Machines?
Changing thread colors requires a careful examination of the machine’s tension. Needle replacement is required because the hole in this needle is bigger than that in standard topstitch needles. In general, as an all-purpose thread, it performs splendidly when used with a microtex needle.
-
Use longer stitches
Expand the length of your stitch. Smaller stitches are easier to conceal in the yarn. Decorative stitching isn’t where this method shines. I use a length between 2.5 and 3 while doing regular stitching, but a length between 3 and 3.5 for doing topstitching. For exceptionally thick fabrics, you might use a 4.
Straighter lines can be sewn by increasing the stitch length. The stitches aren’t what’s holding your product together, so they won’t weaken it.
The fine cotton requires a size 2.5 shoe. A score of 2 is ridiculously low, while a score of 3.5 is absurdly high.
-
Use the right tools
After acquiring the right equipment, it’s surprising how easy some tasks become. Do you find it challenging to maintain a 1/4″ parallelism?
Below, you’ll find a compilation of the topstitching tools I find most helpful.
-
Level out your presser foot
Do you remember the last time you tried to stitch over a large seam and the presser foot refused to move? So the thread gets knotted up? The upward nature of the foot is to blame for this.
Simply placing an unfolded fabric scrap under the foot or under the fabric you are working on will free up the foot. The presser foot locking pin can be raised with the push of a button on some machines, whereas on others a dedicated “button shank plate” is used.
Sewing will be less difficult and the presser foot less likely to become crooked if you do this. There won’t be any uneven stitches anymore.
Xem thêm : How To Thread A Morse Sewing Machine Correctly?
There’s a button on my brother’s go-to sneakers, but I’ve never figured out its purpose.
If your foot is turned in too far, you can straighten it out by applying a little gentle pressure to the front of your foot. By keeping your finger on the button, you can bring the presser’s foot down. Your foot won’t have to twist or bend in any way. Try sewing again and see how it goes. A button that automatically releases after the foot has been sewn flat.
How Do You Topstitch Accurately?
- Make a brief sketch to plan out where you’ll put the topstitching.
- If you want to know when to start and stop drawing lines, just look at the forthcoming intersections.
- The sewing machine needs a particular needle for topstitching.
- Make use of the machine’s seam guide for perfectly straight stitching.
- While sewing, a walking foot is used to prevent fabric layers from moving.
- Fabric glue that dissolves in water can be used to complete a seam in place of stitching.
What Is The Difference Between A Topstitch And A Straight Stitch?
Topstitching is a decorative and practical straight stitch used to bind your project’s edges. You can use it to reinforce the seams and the facings, and it will also make the fabric seem better. The converse is also true of this statement. The straight stitch is the simplest sort of stitch to make because it just involves following a line.
Why Does My Topstitch Look Wrong?
The wrong needle or thread
Discover the variations between the various kinds of sewing thread and needles. Whether the needle punctures the fabric or snags the thread, unraveling the stitches, depends on how sharp it is. A dull needle indicates the need for a replacement.
The look of the stitches can be altered by changing both the thread color and the thread weight. Make your topstitching stand out by using a stronger thread than usual. In addition, you might pick an accent color that goes well with the material.
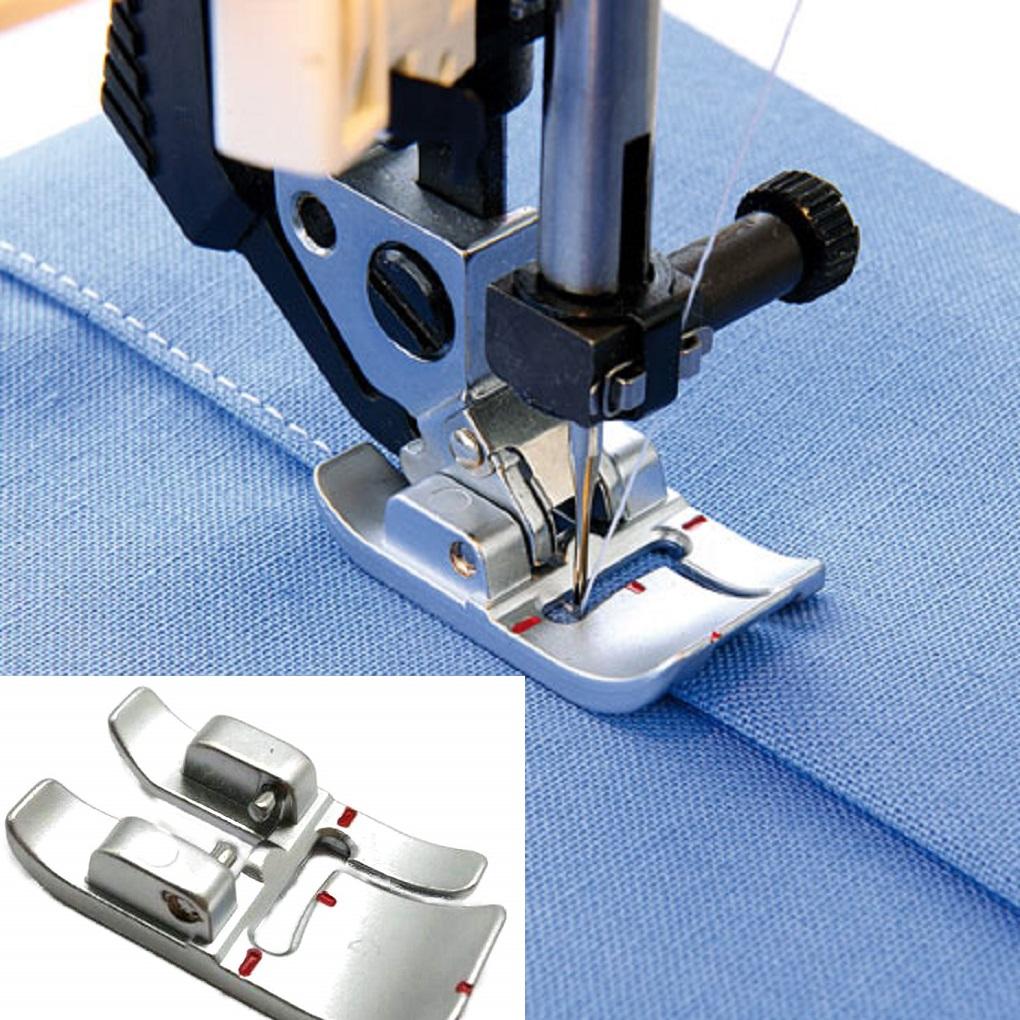
Wrong presser feet
Changing the presser foot on your sewing machine can completely alter the look of your stitches. More precise stitching is possible with a presser foot that has vertical guides. Using the straight stitch foot and the middle needle position can help you achieve crisp, even stitches.
Incorrect tension
You need to check the tension on your sewing machine. Compatibility between fabric types is crucial. Practice on scrap cloth if you are unsure about how much tension to use.
Conclusion
How simple is that? Topstitching on a sewing machine is a skill you now possess. Choose a fancy stitch, set the machine to sew straight, and sew slowly without reversing direction. If you’re having trouble deciding on a topstitch for your project, we hope you’ll keep our suggestions in mind.
If you have any further questions concerning this guide, please feel free to contact us through email or voicemail.
Nguồn: https://spasifikmag.com
Danh mục: Sewing Tips