In what way should facing be stitched? A garment’s facing is the piece of cloth sewn on the inside to conceal seams and openings. Stitching along the side seams, rather than across the shoulder seams, is all that’s needed to keep the facing in place.
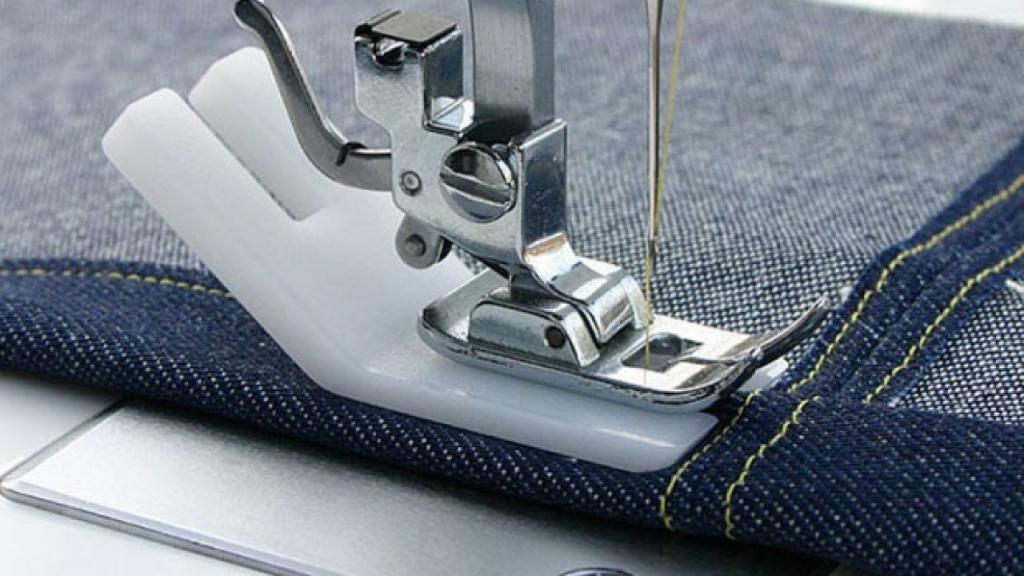
If you’re just starting off, you need to make sure your sewing machine is set up properly so that you can neatly finish the edges of whatever you’re doing. Use sharp scissors to replicate the cut line whether you’re constructing a facing from scratch or following a sewing template to ensure a secure fit when sewing your own clothes.

What is facing?
The face’s significance and function must be grasped before one can learn to apply this finishing technique to a garment.
A fabric’s facing is used to complete a garment’s seams. Its primary function is to finish up raw edges, such as those seen in necklines, armholes, plackets, and so on.
Facing requires a precise cut along the fabric’s grain. The aim is to make sure everything lines up perfectly and that the garment hangs and wears in the same way for everyone.
Faces are cut and molded to complement the exterior design of the clothing, which contributes greatly to a refined overall appearance. They are often cut from the same templates.
Informed Opinion: Fabric should be attached to garments with the right sides facing each other. Pins across the machine’s perimeter guarantee fabric stability and help create flawless finishes.
Types of Facing in Sewing
It is important to read the pattern instructions and understand the type of facing used before beginning to sew. Every form of facing needs to be ready before you start stitching the garment together.
Bạn đang xem: What Is A Facing In Sewing? Sewing Facing Tips and Techniques
In some cases, interfacing is applied after the fabric has been stitched.
Facings that go beyond the norm, curved facings, and bias-facings are the three most common varieties.
Extended Facing
The length of the garment can be adjusted by cutting a longer facing and folding it over to the back. It is most frequently used when the garment’s front and rear openings are also linear.
Depending on the quality of the cloth, a fusible interfacing may need to be bonded onto the extended side.
- Put together the front and back of the bodice by sewing the expanded facing pieces together, then pressing. Follow the tutorial’s instructions to complete the facing’s edges.
- Finish up any tight spots by stitching in seam allowances.
- Flip the front over and squeeze.
- Before folding the front in a line of folds to bring the right sides of the cloth together, the seam allowance should be stitched approximately 1/4 “.
- Pass the needle and thread down the seam at the neck. Increase the tension of the stitch along the fold.
Shaped Facing
Shaped faces are pieces of fabric that have been cut using the same method and pattern as regular fabric. Light to medium weight fabrics benefit from this treatment before stitching.
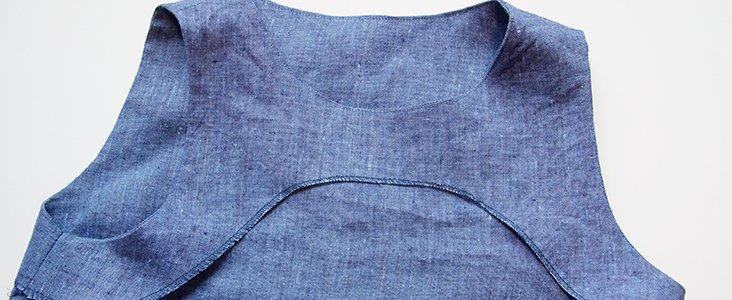
Faces of this type are commonly used to conceal one-piece necklines and armholes. As opposed to stitching across the shoulder seams, this should be done along the side seams.
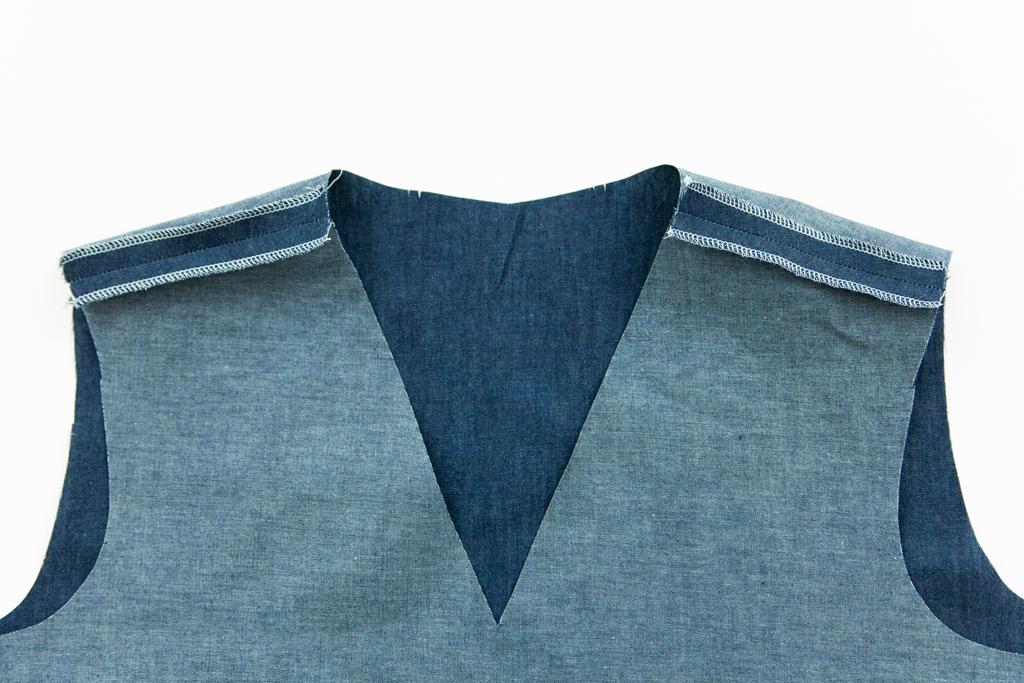
- The garment’s edges should be sewn together, and any seams that meet should also be stitched.
- Sew it to the facing edges of the garment after overlocking or hemming them according to the manufacturer’s directions.
- Facing’s right and left sides should be connected.
- Stitch the front facing up to the garment by locating the seams and notches.
- A stay-stitch or understitch to the facing is recommended after pressing the seam allowance towards the facing.
Bias Facing
The term “bias facing” is used to describe a narrow strip of lightweight fabric that is cut on the bias so that it can curve comfortably once it is sewn into place. These facings are commonly used with sheer fabrics to prevent the broad appearance of the facing.
Xem thêm : What Does With Nap Mean In Sewing? What You Need To Know
Weighty, thick seams can be diminished by use the 1/2 ” wide bias strips.
- The strip should be twice as long as the intended width to allow for seam allowances.
- In order to fold the strip in half, the two ends should be brought together.
- It can be ironed into the shape of the aperture to make the strip fit.
- Do up the strip and wear it proudly!
- Delete the excess seam allowance and trim the curved lines to fit your needs.
- After that, understitch with the faces facing inward.
- Remove the tails and twist under a quarter inch to create a side entry. Join the raw edges on the inside of the fabric to the front.
How do you use facing in sewing?
Facing can be used for both professional and personal purposes, depending on a number of factors. However, there are specific rules to follow when deciding which way to face your garments.
How do you use facing in sewing?
The professional or do-it-yourself nature of facing’s application depends on a number of factors. However, there are several rules to follow while deciding which way to face your garments.
If you stick to this advice, you can rest assured that the face will go on smoothly and without any jagged edges.
What Is Self Facing In Sewing?
Xem thêm : How To Sew On Blanket Binding? Step-by-Step Tutorial
Self-facing refers to using the face cloth as the facing fabric in a sewing project. The facing aids in creating clean, tidy edges without being overly distracting, as is the case when a different material (such as a pattern, color, or) is used.
What Is A Straight Facing?
This type of facing is created by cutting along the straight grain of the fabric. It could also be seen as the side of a tool used to cut straight lines. Since seamstresses need to know where to find it when cutting materials, reading what is grainline used in sewing might help you better understand the notion of “grain.”
Sewing Facing Tips and Techniques
When it comes to sewing on facing, your options are practically endless. Depending on your specific situation, you can select the option that works best for you.
- Select white interfacing to complement dark textiles and black interfacing to complement light ones.
- Facings with a bias cut or interesting shape can be constructed with fabrics that are thinner than the self-fabric itself.
- Make sure the face and interfacings are updated to match the new design if you make any changes to the pattern.
- When sewing a buttonhole, you must always sew the face together.
- To achieve a uniform and level surface, it is necessary to first clip the insides of the curves and then cut notches out of the outsides.
- Choose knit interfacing over woven interfacing when working with knits to achieve the same level of stretch as the cloth.
- You can finish the facing of the outside edges using the same methods you use to finish the seams.
- Don’t hand sew the exterior facing, merely adhere it at the edges.
- To fasten a zipper, stitch it in place with the right side facing out, and then attach the hook and eye or button snaps.
Seam finishing, staying stitching, and understitching are the most frequent techniques and advice for achieving the basics in face sewing. To the extent that the facing features fasteners, such as buttons or zippers, To get the most out of this design, be sure to follow the included directions.
Conclusion
It’s finished! If your garment has raw edges, you can “face” them by folding the fabric over them. This creates a lovely facing around the holes, much like the facing around neck holes in clothing, and strengthens the seams.
To that end, we expect you to have learned a great deal from this course. Visit our site to read in-depth posts on topics like “sewing welting” and more.
Nguồn: https://spasifikmag.com
Danh mục: Sewing Tips