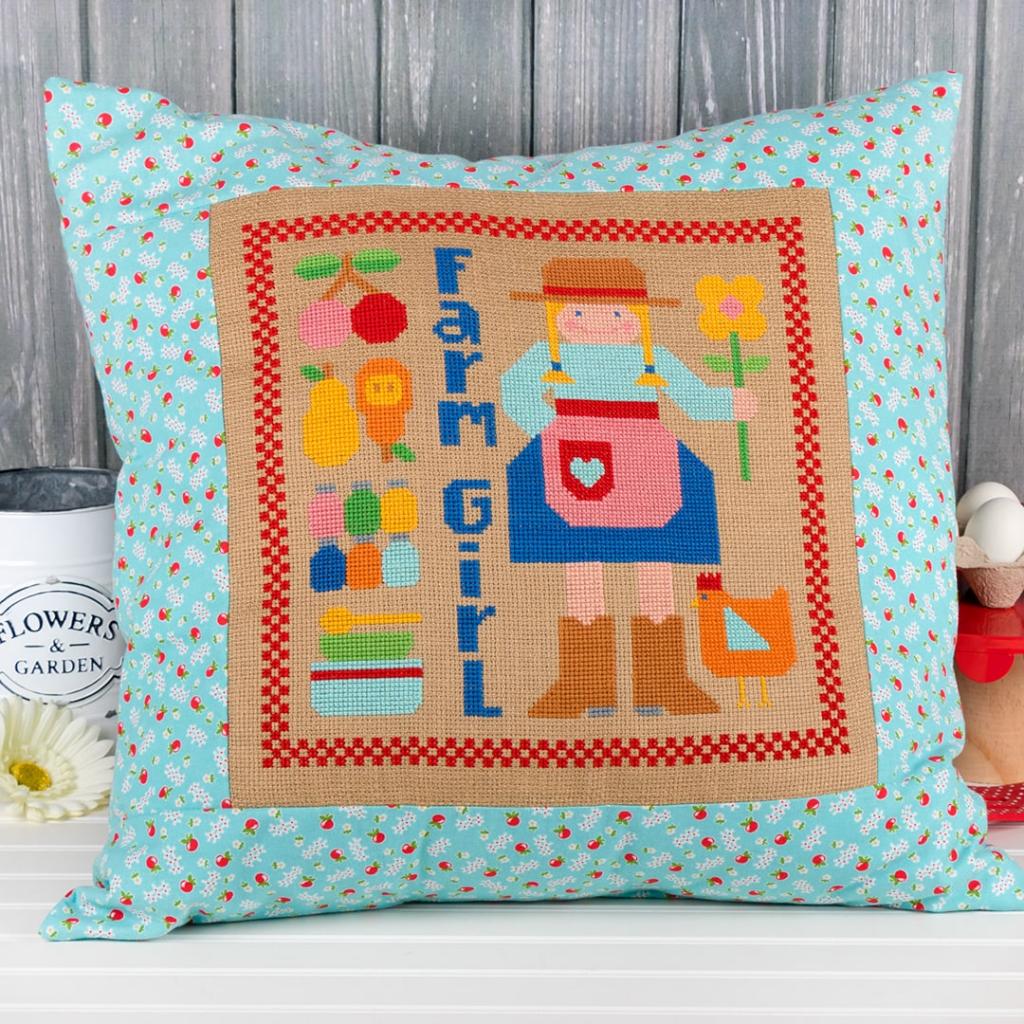
Cross stitch patterns can easily be turned into pillows to decorate your living room sofa, bed, or any other area of the house. There’s a lot of possibilities for personalization, from the type of fabric to the form and size of the cushion, but the overall procedure is straightforward. You may show off that amazing project in a way that everyone can enjoy with this method.
The Roots of Cross-stitching
Embroidery and needlework date all the way back to the 6th century BC, did you know? In fact, according to historical records, needlework has been around since cloth was first developed. Even in ancient Egyptian tombs and medieval churches around the world, archeologists have discovered embroidery and needlework among the artifacts.
Bạn đang xem: How To Sew A Cross Stitch Pillow? Step-by-Step Tutorial
At some point between 618 and 907 AD, cross-stitching became so popular in China that it spread to the west. They valued women’s ability to sew so highly in their society that it became a defining characteristic of a woman’s value.
Catherine of Aragon, the daughter of Ferdinand of Spain and Isabella, brought blackwork to Europe in the 16th century, believing it to be the origins of cross-stitching in England. For those who don’t know, blackwork is a type of needlework that uses black sheep wool on white linen cloth. There are still a lot of people that enjoy blackwork.
Traditionally, cross-stitching began in the 1960s as a pastime for working women who needed something to occupy them during their free time.
Basic Supplies for Making Cross Stitch Pillows
Xem thêm : How To Sew A Flanged Pillow Sham With Mitered Corners? Complete Step-by-Step Guide
To display your finished cross stitch design, you may either build a pillow, or you can design the pillow beforehand. Cross-stitch project and a few other supplies are required for each option.
- Pillow form – You can find pillow forms in a variety of sizes at any fabric store. Select a frame that is a little larger than the artwork you intend to show.
- Select a complementary color or pattern for your cross stitch design in upholstery weight fabric. Approximately a yard is required.
- Sewing machine, scissors, measuring tape, needle, pins, and thread are all necessities. An iron is also useful.
- Adding ornamental trim or piping to the pillow’s edge is an option if desired. Ideally, your trim should be long enough to go around the pillow form completely, plus a few additional inches.
How to Make the Pillow
After you’ve completed your cross-stitch design, it will only take a few hours to complete the pillow. Experience in sewing is helpful, but this is an excellent craft for a complete novice.
1. Prepare Your Finished Cross Stitch Panel
Before you begin, you must ensure that your panel is level and straight. Make sure your cross stitch panel is completely flat by ironing it. Afterwards, make sure the corners are square and the edges are straight, trimming as necessary.
2. Cut Side Pieces for the Fabric Frame
You’ll begin by cutting two rectangles for the panel’s left and right sides. These rectangles will have the same width and height as the panel itself. The width of the rectangles can be calculated by subtracting the panel’s width from the pillow form’s width, then multiplying the result by two. To put this into perspective, if your panel is 12 inches wide and your pillow form is 16 inches large, your rectangles will be 2.5 inches wide. The dimensions you need should be cut into two rectangles.
3. Sew the Side Pieces to the Panel
It is time to pin in place your side pieces after you’ve cut them out. Side pieces can be sewn onto the panel with a 1/4-inch seam allowance by using a basic running stitch on your sewing machine. Press the seams open with an iron.
4. Cut Top and Bottom Pieces for the Frame
When the side pieces are joined to the panel, measure the distance between the top and bottom edges to get the overall length. The length of your top and bottom cloth pieces will be determined by this value. Afterwards, measure the panel from the top to the bottom edge in reverse. Take this dimension and subtract one inch for seams from the pillow form’s overall height and width, then divide the result by two. This means that the rectangles, if they are 10 inches tall and the pillow form is 16 inches tall, are 3.5 inches wide. Measure the space and cut out two rectangles that are the same size.
5. Sew the Top and Bottom Pieces to the Panel
Xem thêm : How To Sew A Double Sided Fleece Blanket? Things You’ll Need
Glue the panel’s top and bottom sections in place. Use a 1/4-inch seam allowance to sew them in place. Open the seams using your fingers. Your new pillow top has arrived.
6. Cut the Back Panel of the Pillow
Cutting the rear panel is a cinch to do. Just multiply the dimensions of your pillow form by 0.5 inches and you’re good to go. Make a corresponding cut in the fabric. If you made a pillow top, this should be the same size and shape as it. Trim the edges after stacking and stacking the two.
7. Add Piping or Trim, if Desired
While sewing your cushion, you have the opportunity to add piping or other embellishments to the design. The raw edge of the trim should be aligned with the raw edge of the back panel, and a long stitch should be used to secure it in place.
8. Sew the Top and Bottom Together
With the right sides together, stack the top and bottom panels. Pin all four sides together. Using a 1/4-inch seam allowance, sew from one corner to the next. Cut the thread after sewing three sides. Eliminate the pins. Turn the pillow over and iron it on its backside..
9. Finish the Pillow
In order to insert the pillow form, slide it into the open end of the pillow. Pin the open end closed by tucking the raw edges beneath the closed end. Finish the pillow by hand sewing the open end. Relax and take pleasure in your task!
Tips and Customization Ideas
To suit your demands or own style, you can easily alter this design. Try this out:
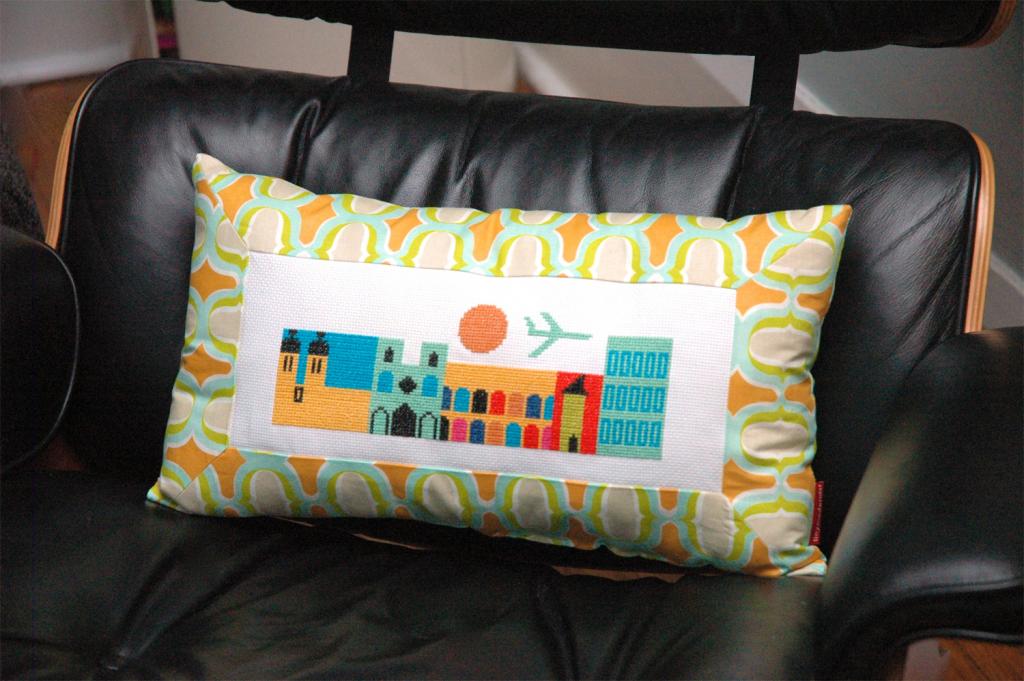
- This method works with any size cross stitch panel, so you can display it on a pillow of any size. Small cross-stitch designs, such as the Celtic knot, can be displayed within the larger fabric frame.
- Trim to your heart’s content. Accents such as ball fringe, lace, picots and ruffles will enhance your cross-stitch design.
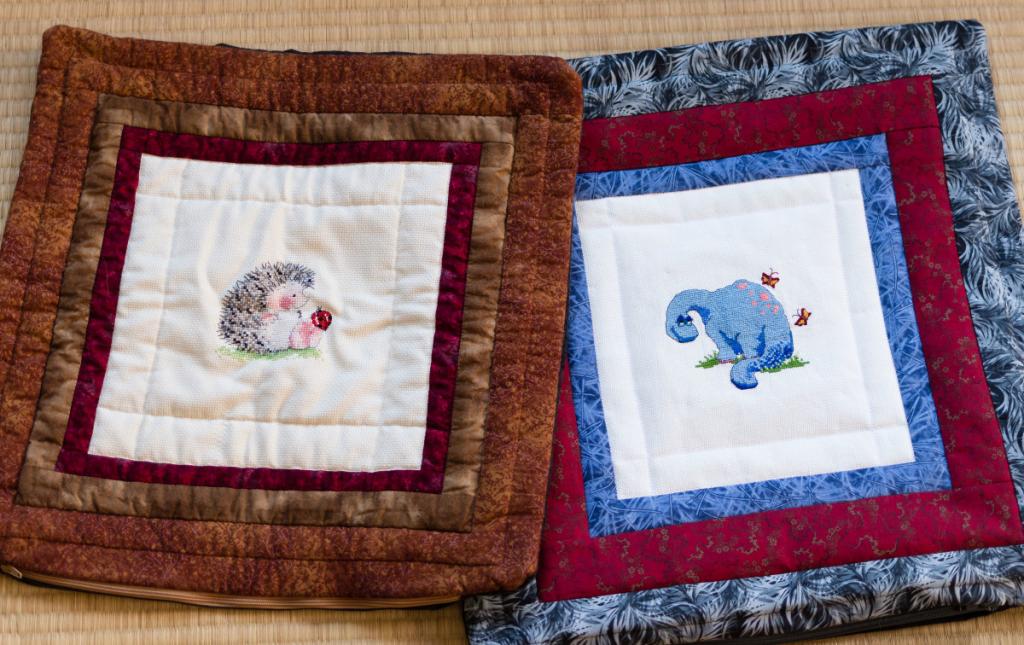
- Choose a fabric that plays with scale. When paired with a smaller pattern in the same color family, a huge pattern panel can look stunning.
- Make cushions from of vintage samplers and other cross-stitch wall art. In cushion form, they can look far more contemporary and fashionable than they would on your wall.
How do you display cross stitch?
Old watch faces, bottle caps, tin cans, and Mason jar caps are all good options. Using a mint tin to display your creation and put your cross stitch accessories like needleminders and scissors in the tin is a terrific idea. Beginners in cross stitch will appreciate this as a thoughtful gift.
How to cross stitch objects WITHOUT waste canvas
- a set of pins (or a drill depending on the item you want to stitch)
- The needle is held in place by cardboard or wood blocks.
- Non-staining tape of some sort.
Final Thoughts
Making your own cross-stitch cushion would be a welcome change from the plethora of trendy pillow patterns now available. It’s a fresher approach to putting your creativity to use. This allows you to decorate your home in a hands-on manner.
Nguồn: https://spasifikmag.com
Danh mục: Sewing Tips


