We discovered how to adjust the needle on Brother sewing machines by switching an initial setting. In this article, we will show you how to alter the position of your needle on the Brother machine.
The instructions are based on Brother’s instructions, so you are certain that you won’t cause damage to your machine. Additionally, this article provides suggestions for troubleshooting and solutions to the position of the needle on the machine.
Bạn đang xem: How To Realign Needle On Brother Sewing Machine?
In that regard why not learn how to alter the needle’s position on an embroidery machine? Make sure you know how to adjust your needle properly so that you don’t break it or experience issues with stitching.
How Do You Realign Needle On Brother Sewing Machine?
How do I align the needle back to the default center of the Brother sewing machine?
Before you do anything else, check the manual of Brother for the model you own.
- Switch off the Brother sewing machine.
- Find the stitch selection key and press on the (+) side. (+) side.
- Switch on the sewing machine, then let go of it from the (+) side.
- It is recommended that the needle of the Brother sewing machine must be set to the middle position.
How do you change the needle’s position on a Brother sewing machine?
- Switch off the Brother sewing machine.
- Find the key to select stitches and press the (–) side.
- Turn on the machine and then release them (–) side.
- It is recommended that the needle of the Brother sewing machine needs to be switched to an upward position.
- If you want to change the needle’s direction to the down position follow the same steps
- In certain Brother Sewing machines, you are able to alter the needle’s position by switching it between left and right
- Find the dial that controls the stitch width.
- Adjust the dial for stitch width to 0 to keep your needle placed incorrect position.
- Adjust the dial for stitch width to 5 so that you can keep your needle in the left-hand position.
- To restore the needle to its normal center position, turn the dial for stitch width between 2 and 3.
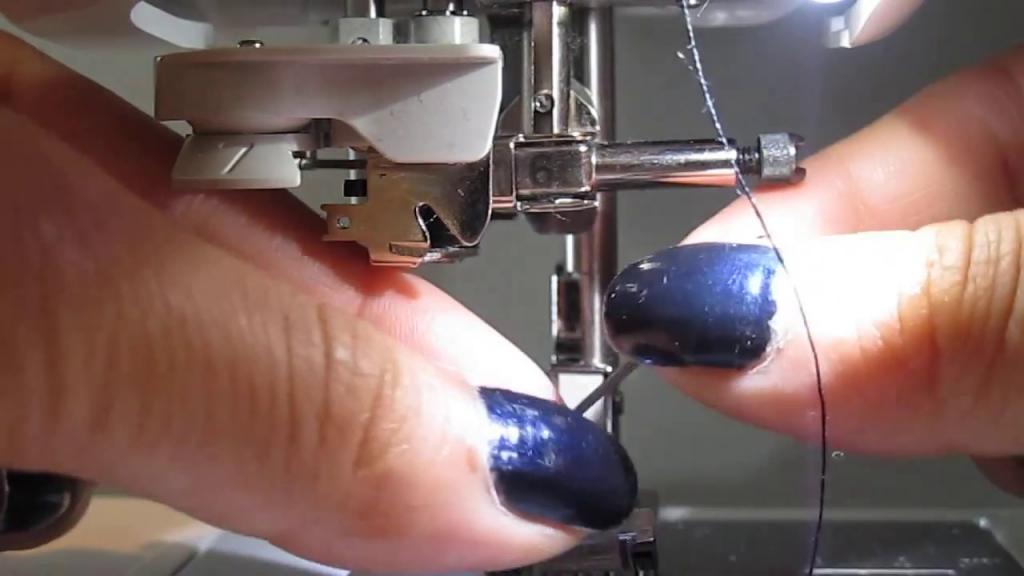
Why Is My Brother Sewing Machine Needle Hitting The Foot?
Make sure you have the right sewing machine accessories
The needle of the sewing machine that you have on the Brother sewing machine could have been hitting your foot if the needle or the presser foot isn’t working properly. For instance, each stitch type has to be paired with an appropriate presser foot.
If the presser foot is in good order then the next thing to be able to verify is whether the needle is functioning and unharmed. The needle plate must be properly installed and ensure that you’re using the proper stitch width to ensure that the needle doesn’t be in contact with the presser foot or needle plate.
If you want a twin needle that touches the foot, make sure you set the machine properly
When the needle of the Brother sewing machine is constantly hitting the foot of the presser it is important to determine how the needle was installed. The needle should be pushed upwards to the stopper of the needle.
Xem thêm : How To Change Singer Sewing Machine Motor Belt? The Easy Way
You should also check whether you have tightened the clamp on the needle properly when you installed it. Remember, too, you should utilize an average stitch that is 5mm or less.
We suggest reading the reason why my sewing machine’s needle keeps breaking for various reasons and solutions.
Why Isn’t My Needle Going Up And Down On My Brother Sewing Machine?
The machine is in the winding position of the bobbin
Be aware that you must turn the winder left once you have reminded the bobbin in order to start sewing. If the shaft remains in the correct position it won’t be able to sew.
The belt of the sewing machine is removed from the motor.
Make sure you have plugged the foot controller properly into the pin jack outlet then switch the machine on. Use the foot controller gently to check if the sewing machine is running.
The foot controller should be pushed harder If the machine is noisy and the needle is in motion, take the Brother machine into a certified repair center. This could mean that the belt is slipping off the pulley of the motor.
How Do You Realign A Sewing Machine Needle?
- Check the manual for your model of sewing machine
- Decide what’s the default needle position for your unit and whether it’s located on the left or in the center.
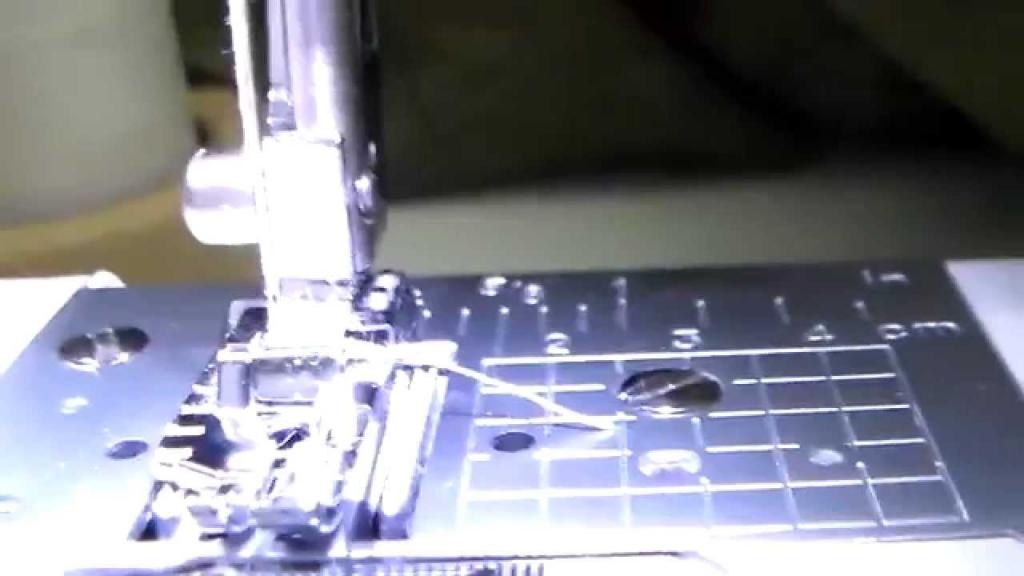
- The needle should go through the hole of the needle plate easily when it’s in the middle
- The needle must be aligned with the leftmost position, if its default position is to the left
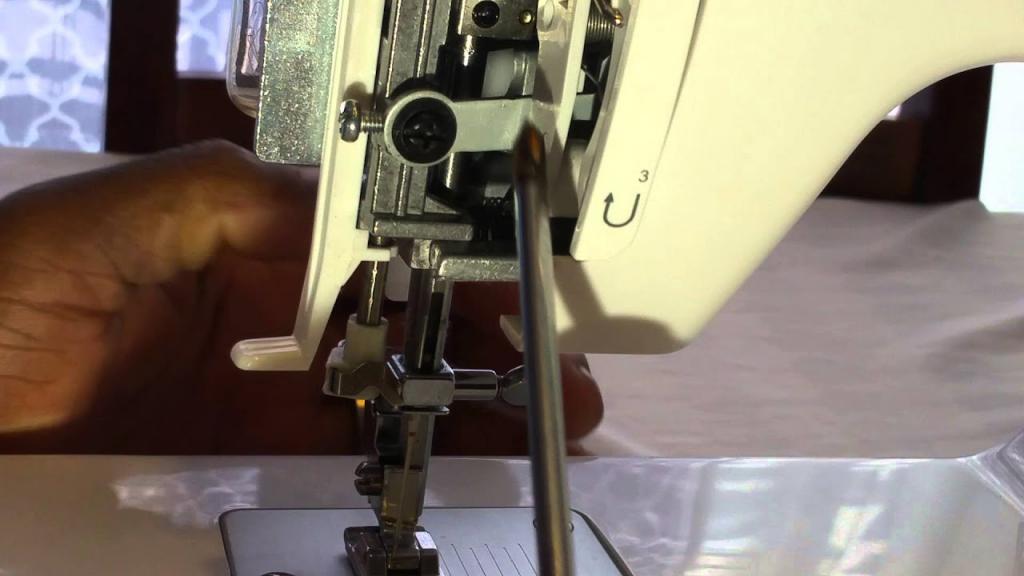
- Find the screw you can loosen in order to change the alignment of the needle as described in the manual.
- Verify the hook-needle clearance to ensure the needle is perfectly positioned from front to back
- Find the set screw so that allows you to loosen and then reposition to reposition the bar of needles
What Causes A Needle To Break On A Sewing Machine?
Everyone doesn’t want to suffer from broken needles while sewing. It’s not just painful however, it’s dangerous and terrifying. If you’ve experienced this in the past, you’ll be aware of the pain it caused.
Here are a few of the possible reasons your needle fails.
- Use the correct needle size or type. Always make sure you use the correct needle size and type. It is recommended to read the instruction manual to determine the type of needle you should use on your machine. Also, you must ensure that you are using the correct needle to work on your fabric. Say that you’re creating quilts, choose a lightweight ball-point needle. If you are working on leather, you should use the wedge needle or cut point needle.
- A wrong needle plate is essential when sewing. If you plan to sew straight stitches, choose straight plates. If you plan to use decorative stitches, you should use the zigzag plate. If you use the wrong needle plate, it could cause the needle to touch it and crack.
- Stitching over pins When you sew ensure that you take off the pins. The needle could be bent or broken in the event that it comes into contact with a hard surface such as pins. To ensure your project is secure you can use baste instead of attaching it using pins.
- Incorrect needle insertion when replacing your needle you must make sure that you follow the directions that are by the user manual. Know the components of your needle, and be aware of the direction that the scarf is supposed to face. A majority of sewing machines at home feature a flat edge of the shank. This is your reference to ensure you don’t make an error in placing your needle. The main thing to remember is to be careful and watchful when changing the needle.
- Presser foot and needle plate that are not aligned foot your needle could break when the needle plate and presser foot aren’t aligned properly. The misalignment of these two parts can cause your needle to hit one of the two components. Even even if you have the correct needle plate and foot, an incorrect alignment could break the needle. The easiest method to correct this issue is to alter the length or width of the stitch setting. Adjust it until the needle isn’t hitting the plate or presser foot.
- Bent needle even though your needle is brand new it is not immune to it from bends. If you do insert a bent needle you’re likely to break or bend it while sewing.
- Sewing with a pull-up allows the feed dog to move the fabric. Be careful not to pull it, as it can pull on the needle. This pulling can result in the needle being out of alignment, as well as the presser foot and needle plate. foot. This error could result in broken needles.
- Dust accumulation and poor maintenance in the bobbin’s case or needle plate can lead to the breaking of the needle. Clean as well as oil the machine on a regular basis.
- Incorrect thread tension either on your bobbin, or the spool could cause thread and needle breaking. Before beginning work with your design, be sure that you are using the correct thread tension.
- The needle is in the wrong positionYou can tell that the needle is out of position when it strikes the needle foot or presser foot. If you have the correct needle plate, however, the needle is still hitting something. This indicates that the needle isn’t properly positioned.
To fix this issue, you need to bring your needle downwards by using the handwheel. Next, adjust the location of your needle by changing the stitch settings on your machine. You might need to adjust the length or width of the stitch to adjust the needle’s alignment.
Do a test stitch using scrap fabric to see whether the needle doesn’t strike the plate or the presser foot.
Xem thêm : How To Thread A Dressmaker Sewing Machine For Beginners?
When changing the needle, make sure you utilize an upper handwheel before lowering the needle. This will let you verify the correct alignment of the needle, presser foot as well as needle.
What Is Needle Drop Position On Sewing Machine?
Certain sewing machines can avail with using the Needle Drop or Needle Down feature that allows you to end sewing while the needle is set in the downward position. This means you can lift the foot of your presser, and then reposition the fabric. This is beneficial for larger projects such as quilts.
How Long Does A Sewing Machine Needle Last?
The majority of manuals don’t tell how often to change the needles of the machine. It is essential to replace your needles particularly if you use the machine regularly. This will ensure high-quality stitches and a smooth operation of the machine.
The use of dull needles makes it difficult for the machine. It requires your machine to increase its strength to create the stitches. This could result in the fabric being damaged, uneven stitches, and poor tension.
If this continues to happen with time, your machine will wear out quickly. To ensure that your needle isn’t damaging your machine, take into consideration the following frequency of replacement.
- Replace the needle when you’ve completed 3 full Bobbins.
- Another alternative is to replace it once you’ve used two pre-wound Bobbins.
- If you’re using your machine daily It is recommended to change your needle once you have completed your project. This is particularly important when you’re using heavy fabric like leather, fleece, or denim.
- If you’re sewing quilts, it’s recommended to change your needle after eight hours of sewing continuously.
Removing your needles regularly is less expensive than causing damage to your fabric or the machine. A regular replacement of your needles will ensure that your machine is in good shape for many long. This is far more convenient than having your machine fixed.
Conclusion
Did you find this tutorial useful? We’ve discovered how to adjust the needle on a Brother sewing machine. it’s as simple as finding the key to select stitches.
You’ll adjust the needle to its default position by holding one side of the needle and releasing it after you switch around on your machine. It is possible to do the same on the minus side to switch the needle to the down or up position also.
We hope that you have gained a lot of knowledge about needle placement troubleshooting. Leave us a comment below if you have questions.
Nguồn: https://spasifikmag.com
Danh mục: Sewing Tips


