To save money, a growing number of people are taking on Do-It-Yourself (DIY) projects. In addition to making their own clothes, DIYers have found numerous other uses for their skills. Many people can’t afford to go shopping for new clothes each season, despite the fact that designs change often. It’s time to dig your Dressmaker Sewing Machine out of the closet and start restocking your wardrobe. Dressmaker Sewing Machine threading instructions are included in this article so that you can begin upgrading your clothing for the season.
- 7 Easy Tips on Sew Pleated Curtains. 5 Best Answers To FAQs!
- What Is A Serger Sewing Machine? What Is The Difference Between A Sewing Machine And A Serger?
- How To Thread A Consew Sewing Machine According To Manual?
- What Is The Best Industrial Sewing Machine? Which Is Best For You?
- How To Hem Stretch Fabric With A Sewing Machine?
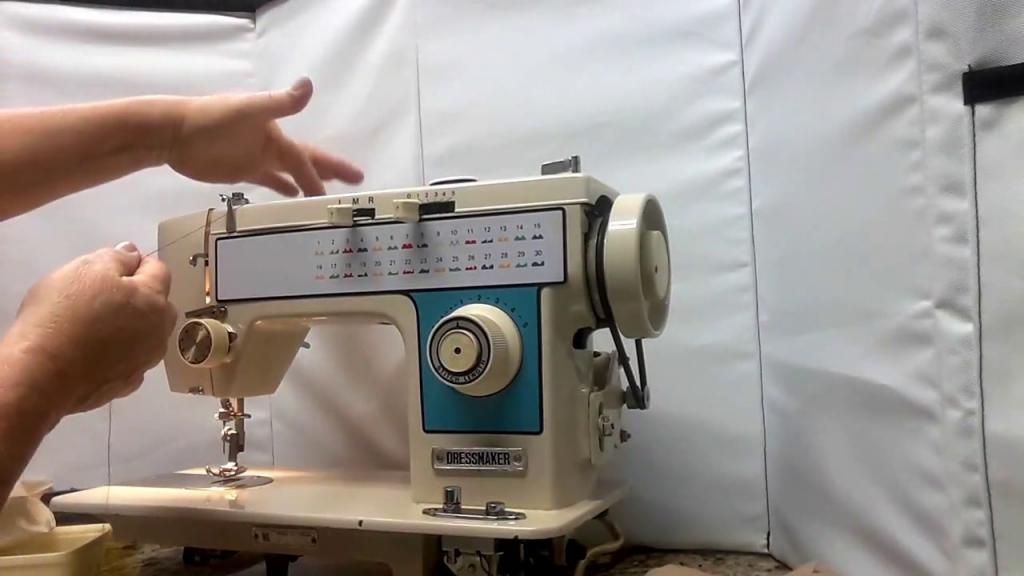
How Do You Thread A Dressmaker Sewing Machine?
Things You’ll Need
- A Sewing Machine for a Dressmaker
- Thread
Step 1
The thread take-up lever should be at the highest point when you raise the needle bar by twisting the hand wheel towards you.
Bạn đang xem: How To Thread A Dressmaker Sewing Machine For Beginners?
Step 2
Make sure that the spool of thread is securely fastened to the spool pin.
Step 3
Take the thread under the thread guides on the arm and lead it in a “U” motion from the right side under to the left, down and around the tension discs.
Step 4
Using the right-hand check spring notch found over the thread disc, thread through it.
Step 5
Under the thread guide bar and into the guide opening, lead the thread.
Step 6
Thread the take-up lever by passing the thread from the right side of the lever to the left side of the lever.
Step 7
Reverse the process of inserting thread into the thread bar by retracing your steps back to the tutorial.
Step 8
The needle clamp guide can be threaded through.
Step 9
Xem thêm : 4 Ways How To Use A Cone Thread On Sewing Machine
When you’re ready to add an extension, go back and forth across the thread, dragging 4 to 6 inches of thread through the needle each time.
Step 10
In order for the upper thread to catch the bobbin thread, you must manually crank the sewing wheel while holding on to your thread extension.
Step 11
Take your time and keep turning until you see the needle return to its original position.
Step 12
Pull the two thread extensions about 3 inches back from the presser foot’s edge.

Tip
Using tweezers to guide the thread through the machine is a good idea if you have difficulty with dexterity. Dressmaker Sewing Machine instructions relevant to your model can be found in your sewing machine’s instruction manual or by contacting your machine’s manufacturer.
Warning
Before threading the sewing machine, make sure the bobbin is in place. These instructions are for sewing machines made by the Dressmaker company. It is possible that other sewing machine manufacturers use a different method of threading. You should check your machine’s maker for the best results.
How Do You Use A Dressmaker Sewing Machine?
The Euro-Pro 1100H Dressmaker sewing machine requires the following steps:
How to sew with a Dressmaker sewing machine:
- The handwheel can be used to raise the needle to the highest point.
- Elevate and place the fabric beneath it by raising the presser foot
- Bring down presser foot to keep cloth in place if necessary
- Locate and activate the machine’s on/off switch.
- The fabric should not be pulled when you begin sewing.
- Put an end to your stitching session by turning off the machine.
- Raise the needle by using the handwheel.
- Carefully remove the cloth from the machine by lifting up on the foot of the machine.
How to backstitch with a Dressmaker sewing machine
- To prevent the stitches from unraveling, backstitch at the beginning and end of each stitch.
- To backstitch, locate the reverse button on the Dressmaker sewing machine and press it.
- If you hold the reverse button, you run the risk of creating long stitches.
How to adjust the stitch length on a Dressmaker sewing machine
- Get to grips with your machine’s stitch-length dial.
- To reduce the length of a stitch, lower the dial.
- To increase the length of the stitch, turn the dial to the next higher number.
Xem thêm : How To Make A Bean Bag Chair Without Sewing? 5 Easy To Follow Steps For You!
Have you seen any crooked or uneven stitches? You can find out why my sewing machine is skipping stitches by reading about it.
How to adjust the tension on a Dressmaker sewing machine
- The machine’s tension dial can be found there.
- If the upper thread stitches look like a straight line, turn the dial counterclockwise.
- If the lower thread stitches form a straight line, turn the dial counterclockwise.
How to set the speed on a Dressmaker sewing machine
- To increase the machine’s speed, simply push the speed control switch.
- To get the machine back to its normal speed, press the speed control switch again..
Is Dressmaker A Good Sewing Machine?
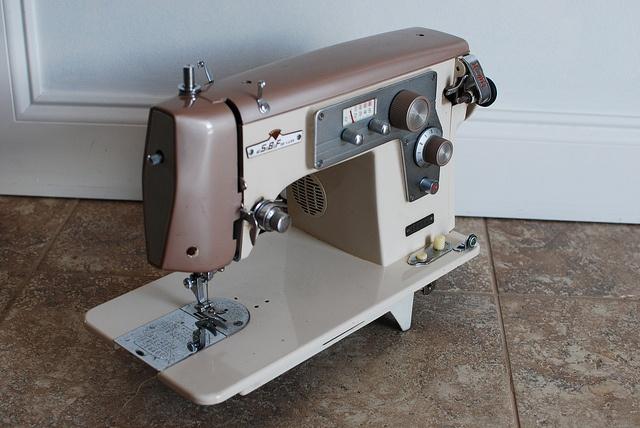
Dressmaker’s sewing machines have a high reputation when it comes to vintage brands of sewing machines. To resist heavy use, the machines are composed of sturdy metal and have been engineered to produce exact stitches.
Trying to figure out who makes Dressmaker sewing machines is difficult. But it’s safe to say that Japanese manufacturers were responsible for these historical models, and American corporations may have rebranded the machines in the United States once they sent them there.
Dressmaker sewing machines manufactured by the business Euro-Pro can still be found in use today. In other words, vintage Dressmaker sewing machines aren’t going to be easy to come by because they are the newer models.
What Is A Dressmaker Sewing Machine Worth?
Some models of the Dressmaker sewing machine are valued more than $200, while others are only worth $50. This is to be expected, given that these machines aren’t as well-known as old Singer sewing machines and that it’s difficult to determine exactly who made them.
But you may expect the price of your antique Dressmaker sewing machine to be determined by its general shape and substance. As a bonus, you may always compare your model’s value to that of other owners.
Conclusion
It’s done! To our pleasant surprise, the process of threading a Dressmaker sewing machine for complete beginners is really simple.
As with other models, you’ll follow the same sequence of guides, tension guide, check spring and takeup lever until you get to the needle eye. To complete the process, simply thread your needle from front to back.
Nguồn: https://spasifikmag.com
Danh mục: Sewing Tips


