Every sewing project will require you to adjust the pressure on your presser foot at some point. Your sewing job and the quality of your final product will be much improved if you use the correct presser foot pressure. You’ll also learn a few simple sewing machine presser foot adjustment tips in this brief instructional.
Because these are the machines I own and have used, I’ll be referring to them in this guide. When it comes to sewing machines, regulating the presser foot’s pressure isn’t simply a problem for Singer machines.
Bạn đang xem: How To Adjust Presser Foot Pressure On Brother Sewing Machine?
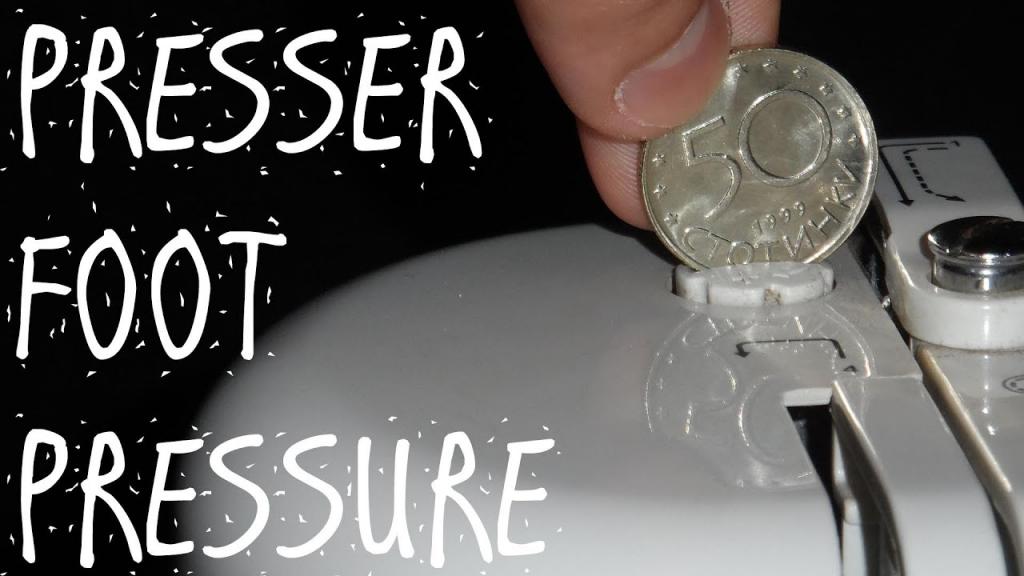
Adjusting The Presser Foot Pressure On Brother Sewing Machine
Step 1. Adjust the lever
- Use the Brother manual for the sewing machine you own to learn how to use it.
- Determine the right presser foot pressure for your job; thin materials require a greater pressure foot pressure, whereas thick materials require a lower pressure foot pressure.
- The Brother sewing machine’s presser foot lever can be found and lowered to lower the presser foot.
Step 2. Adjust the dial
- Locate the machine’s presser foot pressure dial, which is usually found near the unit’s back.
- There are four different levels of presser foot pressure, with the larger setting indicating a greater amount of pressure.
- Setting 3 or 4 should be used for thin materials, whereas 1 or 2 should be used for thick fabrics.
- Remember to set the presser foot pressure dial to 3, which is the typical setting, when you’ve finished.
How Do You Adjust The Pressure On A Presser Foot?
Xem thêm : How To Sew A Cylinder Pillow? Easy Step-by-step Guide
A sewing machine’s presser foot pressure can be adjusted via a dial on the machine’s back or top. However, don’t forget to read your sewing machine’s instruction manual, which includes diagrams of the various parts and settings on the machine. To ensure that fabrics feed evenly beneath the presser foot even after adjusting the presser foot pressure, you can try any of the following three options:
- Cover the fabric with a piece of tissue paper.
- Teflon feet are recommended.
- Walk or feed with one foot.
How To Recognize If Your Presser Foot Tension Is Correct Or Not?
- As soon as the presser foot is depressed, it is necessary to raise the tension in order to prevent the fabric from slipping away.
- You need to lower the tension if the fabric doesn’t move and you have to push it in order to get it to slide
- If one layer moves faster than the others while you’re dealing with more, your pressure is off.
- The presser foot pressure must be adjusted when you see skipped stitches or puckered fabric; too low or too high presser foot pressure will result in skipped stitches and puckered fabric, respectively.
Universal pressure is usually included in most of today’s sewing machines, which is suitable for most fabrics. When this happens, you’ll need to know how to alter the pressure on certain materials.
As a general guideline, the presser foot pressure should be adjusted at a low pressure while sewing heavy fabrics (or sewing through multiple layers of fabric, such as when quilting), and a heavier pressure when sewing lighter fabrics.
Sewing Machine Presser Foot Pressure Adjustment
Different ways of adapting are available. There are other machines, such as the Brother we just mentioned, that require a screw to be turned either inward or outward in order to achieve the proper pressure. There was a dial on the Singer that you had to spin, and it may have had numbers on it as well.
These are the manual adjustments to the presser foot pressure. To use a computerized model, all you have to do is learn how to use its touchscreen. Computerized sewing machines can help with that.
Xem thêm : How To Date A Necchi Sewing Machine?
Everything is pre-programmed; all you need to do is find the appropriate screen and select the appropriate buttons. Instructions for the Brother sewing machine are straightforward. You can increase or decrease the amount of pressure being applied by rotating to the right or left.
The “righty tighty, lefty loosey” rule of thumb is followed in these instructions. Easy-to-remember and easy-to-implement directions.
After a few tries, even a complete novice may master the art of adjusting the presser foot pressure. It’s as simple as that.
How to Adjust Presser Foot On a Brother Sewing Machine
The type of model you have will have a significant impact on what you need to do. The pressure can be increased or decreased by turning the top screw of the 5234PRW sewing machine left or right.
For the 2340 CV model, this is exactly the same. To lower the presser foot lever on other models, locate the lever and push it down. The next step is to locate the dial that adjusts the pressure of the presser foot. This can be found on the machine’s rear, and it will feature a series of numbers.
You only need to select the appropriate number from a range of 1 to 4, and the appropriate pressure will be applied. In order to work with light textiles, you’ll need a higher pressure number. Heavy materials benefit most from a lower setting.
When you’re done sewing, Brother recommends that you turn the dial back to #3. However, they don’t explain why they recommend this, but it’s there on their instruction page. In order to use these instructions, you’ll need to consult the owner’s handbook for each of the six Brother models that are now available.
How Do You Adjust The Pressure On A Presser Foot?
Xem thêm : How To Sew A Cylinder Pillow? Easy Step-by-step Guide
A sewing machine’s presser foot pressure can be adjusted via a dial on the machine’s back or top. However, don’t forget to read your sewing machine’s instruction manual, which includes diagrams of the various parts and settings on the machine. To ensure that fabrics feed evenly beneath the presser foot even after adjusting the presser foot pressure, you can try any of the following three options:
- Cover the fabric with a piece of tissue paper.
- Teflon feet are recommended.
- Walk or feed with one foot.
How Do You Lower The Foot Pressure On A Sewing Machine?
- Check your sewing machine’s handbook to see what kind of presser foot tension regulator it has.
- To reduce foot pressure, turn the dial toward the minus sign or lower number.
- To reduce the amount of force being exerted on the knobs, depress the indicator.
- Pins can be pressed down to reduce the pressure on the foot.
- Turn the screws counterclockwise or toward the minus sign to reduce the pressure on your feet.
- Always check the pressure foot tension with a scrap of fabric before using it.
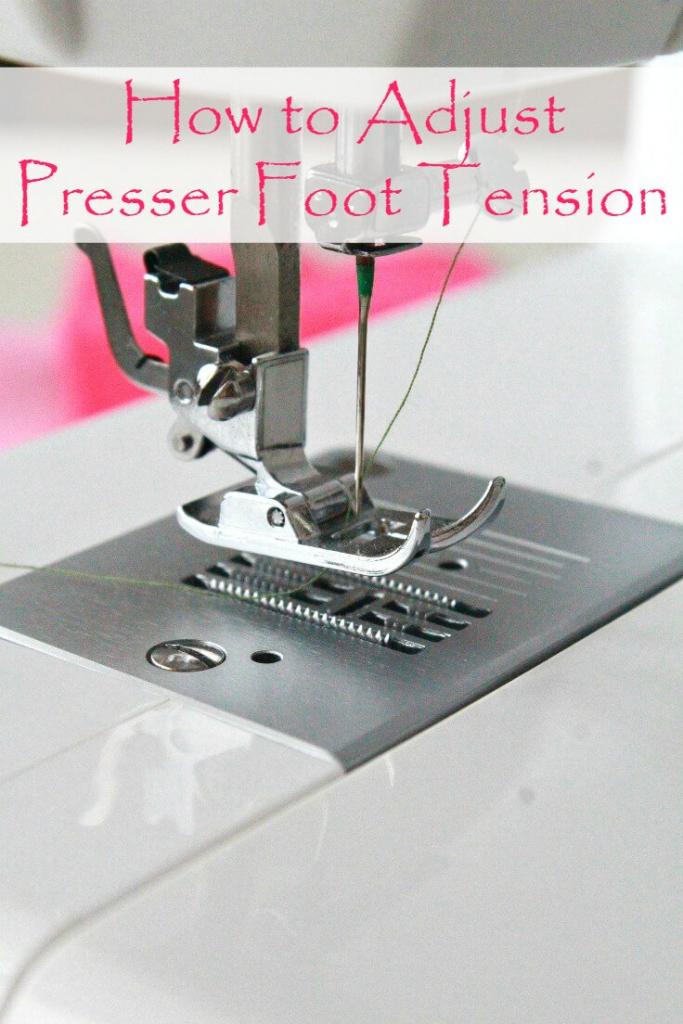
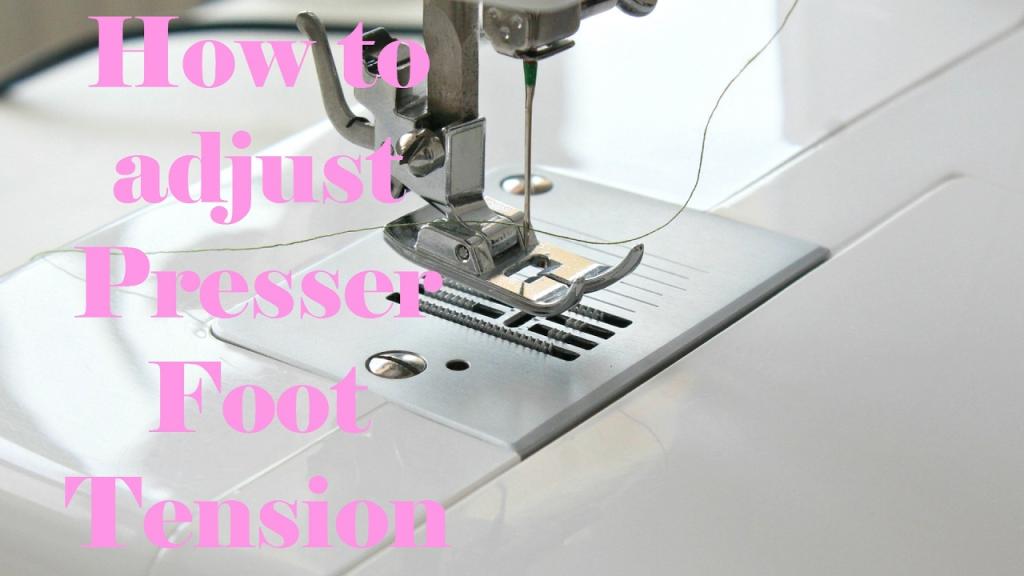
What Is A Presser Foot Pressure Dial?
The presser foot pressure dial on sewing machines allows the user to fine-tune the presser foot pressure to their preference. Four or six levels of intensity are available on the dial, with 1 being the lightest and 4 or 6 being the most powerful. The less pressure you need to exert on your feet depends on the weight of the cloth; lighter fabrics require more pressure on your feet. Presser foot pressure can be adjusted on various sewing machines by a knob, button, pin, or screw.
Learn how to change the Brother sewing machine’s tension properly.
What is a presser foot?
When using a sewing machine, the presser foot is responsible for keeping the fabric firmly in place so that it may be easily threaded under the needle.
What is presser foot pressure?
The force exerted by the presser foot on the fabric is known as the presser foot pressure or presser foot tension. As the machine sews, the feed dogs are able to draw the material through. When the machine’s presser foot is at the correct tension, you’ll know.
- The fabric moves with ease.
- There are no puckers in the cloth.
- There is no tangling of the thread.
- The length of each stitch is the same.
When Should You Change Presser Foot Pressure?
- If the cloth begins to slip, apply more pressure with the presser foot.
- When the feed dog is unable to move the cloth, reduce the pressure on the presser foot.
- As soon as you notice that the fabric layers are not moving at the same speed, lower the pressure on your presser foot.
What Will Happen If The Pressure On Foot Presser Is Not Correct?
- Slips of the fabric can be seen.
- It’s impossible to move the fabric.
- Unevenness in the fabric
- Certain fabrics move more quickly than others.
- Stitches are skipped by the machine.
Please keep in mind that these problems can arise in other situations as well. It’s best to conduct a complete inspection of your machine to rule out the possibility that the presser foot pressure is to blame.
Conclusion
The presser foot pressure may be adjusted on some excellent machines. There’s only one thing you have to decide: do you actually require that feature? It may not be necessary for everyone, but it’s always a good idea to have one on hand when the need arises.
High-end and pricey computers don’t have all of these characteristics; they’re also available on lower-priced versions.
Nguồn: https://spasifikmag.com
Danh mục: Sewing Tips


