You don’t want to leave the edges of your blanket unfinished, do you?
With this in mind, here are three simple ways to finish a blanket.
Bạn đang xem: How To Finish A Blanket? Complete Step-by-Step Guide
You have the artistic ability to make even the roughest edges look smooth.
What Do You Need To Finish A Blanket?
Sewing Machine
You’ll need a sewing machine with zigzag stitches so you can sew around the blanket. It’s a technique for correctly finishing the edges.
Thread
Unless you use the correct thread color, the finished product will look out of place. Look for something similar to the thread color or a lighter variety if you don’t obtain it.
A Ruler
Drawing lines with precise measurements and symmetrical borders is easier with the help of a ruler. In order to avoid unevenness, it’s best to avoid folding the edges too much.
Sewing Pins
It will be easier to fold the blanket if you have sewing pins on hand. Sewing along the edges is made easier by this monitoring gadget.
Scissors
The scissors are a need since they can be used to trim the thread and clip the edges as needed. All of these items are likely to be found in your sewing kit.
How To Finish A Blanket?
Method #1. Sewing ahem
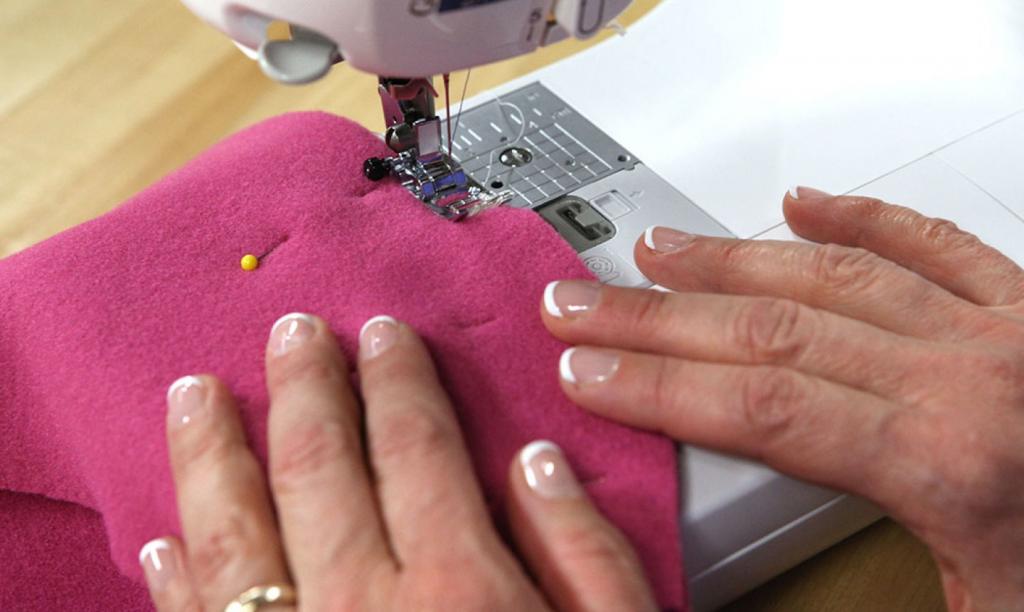
Begin by folding the corners of your blankets. The folds should measure 0.5 inches wide. Then, to keep them in place, use the pins to hold them in place.
Set your sewing machine in the second step. Set it to zigzag stitch, not straight stitch.
Make sure you read through the instructions in your machine’s handbook first.
You don’t want to risk damaging your blanket by skipping the steps.
Continue stitching after you’ve double-checked that you know how to run the sewing machine.
Step 3: Stitch zigzags across the blanket’s perimeter. Make a few backstitches towards the conclusion of the project.
The folded edges will be held in place by this.
Step #4 is to remove any loose threads from your blanket. The ahem has been stitched.
Method #2. Fringing
Cut a square piece of cloth from each corner of your blanket when making a double-layer blanket.
It should be between 3 and 4 inches wide.. You won’t have to do this when fringing a single layer.
Make a template first if you’ve always struggled to cut straight and accurately.
For this, you’ll need a guide.
The second step is to draw lines of 2 inches apart on a piece of cardboard or construction paper.
In order to draw lines, it is recommended that you use a dark-colored pen or marker. The marks will be more noticeable as a result.
Tape or pin your template 3 inches from the raw edge of your blanket. Feathers can be cut using this as a guide
Strict cuts can now be made with ease.
Fourth, cut all the way to the end before tying it off.
Create knots by tying two fringe pieces together (if you are doing a double layer blanket, you will need to tie 4 pieces together).
Be sure to do this all the way around the blanket’s perimeter. Once you’ve completed the project, you’ll have a warm and unique blanket.
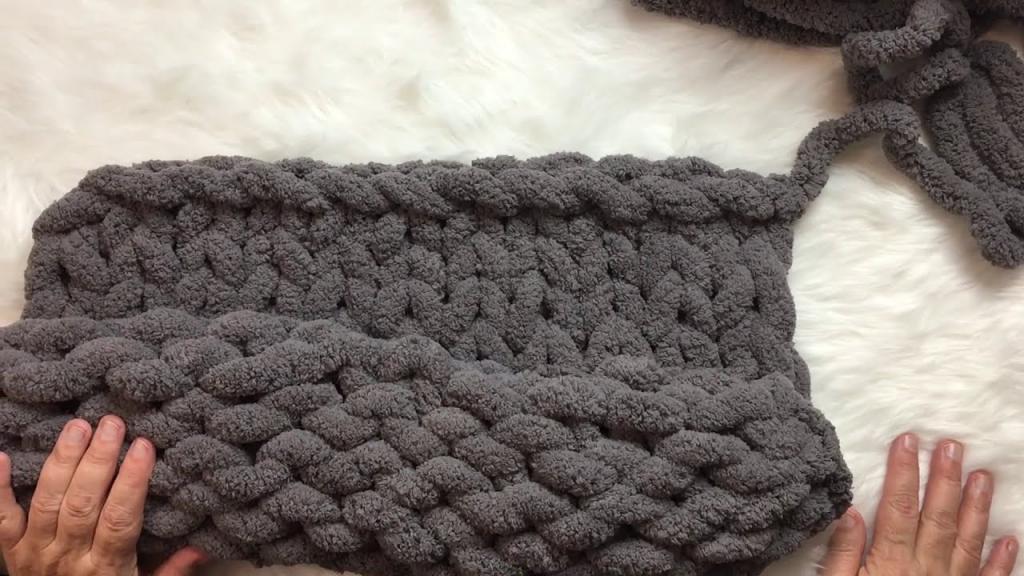
Method #3. Braiding
Step #1: Only two-layer blankets will do for this. Before anything else, you’ll need two identical blankets.
Xem thêm : 4 Step to Double Stitch Sewing by Hand. Complete Step-by-Step Guide
When putting them together, make sure the printed sides face one another.
Make straight stitches 0.5 inches from the blankets’ edges with a sewing machine.
Remember to allow a 6-inch gap for after you’re done inverting.
In the third step, sew all the edges and then turn the blanket inside out.
You should keep going until all the cloth is removed and the stitches you made previously are inside.
The printed sides of the blankets, which are nicely assembled, should be visible.
Step #4: Using the same stitch as before, sew the opening closed. An even set of edges is ideal.
Step #5: After cutting the fringe, you may finish the project. If you’re having trouble cutting straight, turn to a template once more.
In addition, the braids will be nice and even as a result.
Using a piece of cardboard or construction paper, mark 2-inch lines that are spaced equally apart by 0.5 inches. We’ll use this as a model for our own work.
Secure it with a pin or tape at a distance of about three inches from the edge of the blanket.
Fringe pieces can now be cut using the template. Start from the fabric’s edge and work your way up to the template’s outside edge.
Once you’ve completed all of the edges, keep going.
Straight threads should be sewed along the fringe’s edges to keep it in place.
You may now begin the fun part of braiding, which is the braiding!
Starting from a corner, pull a fringe piece (a fringe piece you cut) over the fringe piece to its right.
Then, pull the next loop over the one you just pulled, and you’re finished.
The tenth and final step. A crochet hook or simply your hands can be used for this.
Repeat the technique with the blanket until there is only one loop remaining.
Step #11: Stitch the final loop to the first loop you pulled.
With a zigzag stitch setting on a sewing machine, you can accomplish this.
Using a needle and thread, you can sew two loops together to strengthen the braided edges.
It’s a lot of work, but it’s worth it in the long run!
Braiding and sewing are done, so you may now use your beautiful braided blanket.
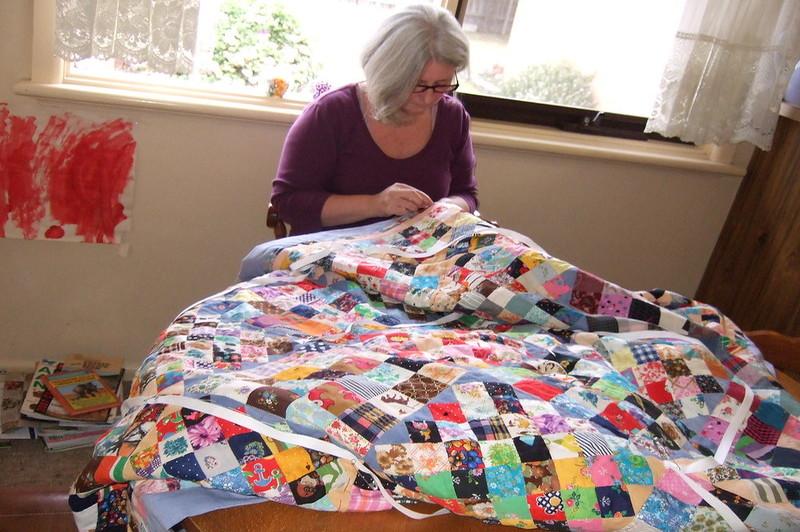
Can Edges Of The Blankets Be Finished Through Hand Stitching?
Yes, you can complete the blanket’s edges by hand stitching, and it adds a personal touch to the overall design. Compared to stitching using a sewing machine, the complete process will take longer.
However, if you don’t have access to a sewing machine, you may always make it by hand. The results are worth the effort, and you may follow the same method as a sewing machine to get the same effect.
The only difference is that instead of using a machine, you’ll be doing it all by hand. As a result, you are free to experiment with whatever option you choose.
Is It Necessary To Finish The Edges Of the Blanket?
It isn’t necessary to complete the blanket’s edges. However, it will enhance the blanket and the threads will not fall out after a certain period of time.
Xem thêm : Where Do I Oil My Baby Lock Sewing Machine? How Do I Fix My Baby Lock Sewing Machine?
In addition, it changes the appearance of the blanket, making it more memorable when given as a gift. Once you get started, finishing the edges isn’t difficult at all.
Do You Have To Know Stitching To Complete The Edges Of The Blanket?
To finish the edges, a basic understanding of stitching is required. There’s no need to be alarmed if you don’t know. The stitching is easy, so you’ll get the hang of it quickly.
Different ways of finishing the edges, such as serged edges and serged hems can be experimented with during this step. When it comes to selecting one to go with, it’s all up to you.
The thread color should match the blanket, no matter what you choose. The blanket won’t look as good as you want if it’s made incorrectly. To finish the blanket’s edges, simply follow the steps outlined above.
FAQs
How do you finish the edges of a blanket?
Finishing a fleece blanket with a fold-over edge and sewing it together is one option. A good stitch will keep the hem in place for a lengthy period of time if you fold, pin, and then sew. Using a zig-zag stitch would be the most appropriate method.
How do you finish the edges of fleece blankets?
As an option, you can fold the edge of the blanket in half and secure it with a hem stitch, or you can make a braided edge by weaving fringe loops around the blanket’s edges.
What is the final step in knitting?
Blocking: The Last Step in Your Knitting Project After you’ve finished knitting, make sure you weave in all of the loose ends at the back of your work. In a kitchen sink, a large bowl, or a large pot, soak the knitting for at least 20 minutes in cold water. Allow the water to drain out by unscrewing the plug.
Can you add a border to a knit blanket?
You can crochet a border around a knitted item in three distinct methods. For the border, you can either knit it separately and sew it onto the garment, or you can pick up stitches along an edge and knit the border from the picked up stitches.
How do you finish the edge of a baby blanket?
A Baby Quilt’s Edges Can Be Finished in Several Different Ways: Ensure that the edges are even on all sides, top and bottom. Crochet the quilt’s edge using the hemstitched holes once it has been hemstitched. After that, I’d work in single crochet, inserting the yarn into each hole as I went.
How do you edge a knitted blanket with fabric?
Right-side-up, place your blanket or cloth on a flat surface for sewing. After that, you can begin measuring your fabric by folding it in half and line it with the inside of the border of your knitted blanket. Pin the knitted blanket’s fabric lining in place next. Make it as exact and fluid as you can with your strokes.
Is binding off the same as casting off?
It’s common to use the term “bind off” in the United States, although “cast off” is more commonly used in the United Kingdom. The technique is the identical, no matter what your pattern calls it! 4.03.2020
How do you block a piece of knitting?
Make sure the damp blocking cloth is placed on top of the pinned item. In a gentle up and down motion, use the iron to steam the entire piece (never side to side). Knitting can be ruined if you use too much pressure. The iron should barely touch the pressing cloth and be held there for a few seconds before moving on.
How do you start the second row of a chunky blanket?
The second row begins with a loop that is pulled up 90 degrees from the first row’s position. Pull the yarn through the locations in the first row where the loops overlap to produce the next stitches of the second row. It’ll feel like you’re threading a needle through a tiny criss-cross pattern.
How do you seal raw fabric edges?
Use fabric adhesive, seam sealer, or super glue to adhere the raw edges of your garments. Visit a local craft store or shop online for any of these adhesives and save some money. To adhere the fabric, dab a small amount of glue along the raw edges. Use a cotton swab or a toothpick to distribute the glue uniformly.
How do you finish the edges of fabric without sewing?
Fabric sealant is a transparent plastic liquid in a tube that seals the fabric edge and prevents fraying. Craft stores sell fabric sealants, which are available from a variety of manufacturers. Trim the fabric’s edge of any loose threads before applying fabric sealants.
How do you make a throw blanket?
So let’s make a throw blanket together! Fabric for the Throw Blanket is cut in Step 1. To begin, choose two colors of fuzzy fabric that you like. Adding Pom-Poms to a Throw Blanket is Step 2 of 3. In Step 3, attach the two sides together by sewing them together. Finish the Throw Blanket Opening by sewing it closed. Make a quilted throw blanket.
Does fleece fray when cut?
Yes, sewing with fleece is a breeze. Because it won’t fray, there’s no need to sew the seams shut. A cut edge can, in fact, be left as is without the need for a face. Cutting the fabric to the desired size and pressing the “Presto” button will produce a blanket.
What tension should I use for fleece?
To stitch most fleece fabrics with a sewing machine, use a size 12(80) Universal needle. Make a long stitch with the machine (8 to 10 stitches per inch). It is recommended to use a straight stitch or a narrow zigzag. If it is possible to reduce the pressure on the presser foot, this can be extremely beneficial.
Does fleece fabric need to be hemmed?
It isn’t necessary to neaten the seams of fleece garments, but if necessary, you can use a standard or three-step zigzag stitch. Fleece has a tendency to curl and wave at the edges due of its elasticity. When you’re trying to neaten fleece, you don’t want this to happen.
What are the five steps in making a knitted article?
Getting Started with Knitting Getting Started. To begin knitting, you must first thread the needle with stitches. Pt. casting is the next step. On the third step, cast on Pt. Step 4: Using a pinning device on Pt. Step 5: Using a pliable casting material, begin casting on Pt. Sixth step: Part 1 of the knit stitch. Step 7: Pt. 2 of the Knit Stitch Step 8: Knit Stitch, Third Row.
What does Bo mean in knitting?
The abbreviation: bo. It is impossible to complete a knitting project without using the cast-off or bind-off method.
Can you sew a border on a knitted blanket?
You can crochet a border around a knitted item in three distinct methods. For the border, you can either knit it separately and sew it onto the garment, or you can pick up stitches along an edge and knit the border from the picked up stitches.
What does it mean to bind off in pattern?
Linda – hello there! – If you’ve been ribbing, “binding-off in pattern” involves working in knits and purls, then binding off as you go. To put it another way, work a normal rib row, but bind off one stitch over the other every time you have two on the right needle.
Should you always bind off in pattern?
Bind off loosely at all times. Include the stitches you are knitting or purling during the procedure, and also when you are passing a stitch over or off. As you work each stitch, avoid yanking, pulling, or tugging on the yarn.
Conclusion
When it comes to finishing a blanket, there is no such thing as a standard.
Always feel free to experiment and inject some of your own sense of style, taste, and emotions into your work.
You have complete creative freedom—you may even hand sew and use bias tape if you so desire.
Every stitch of the blanket will be appreciated as long as you put your heart and soul into it.
Nguồn: https://spasifikmag.com
Danh mục: Sewing Tips


