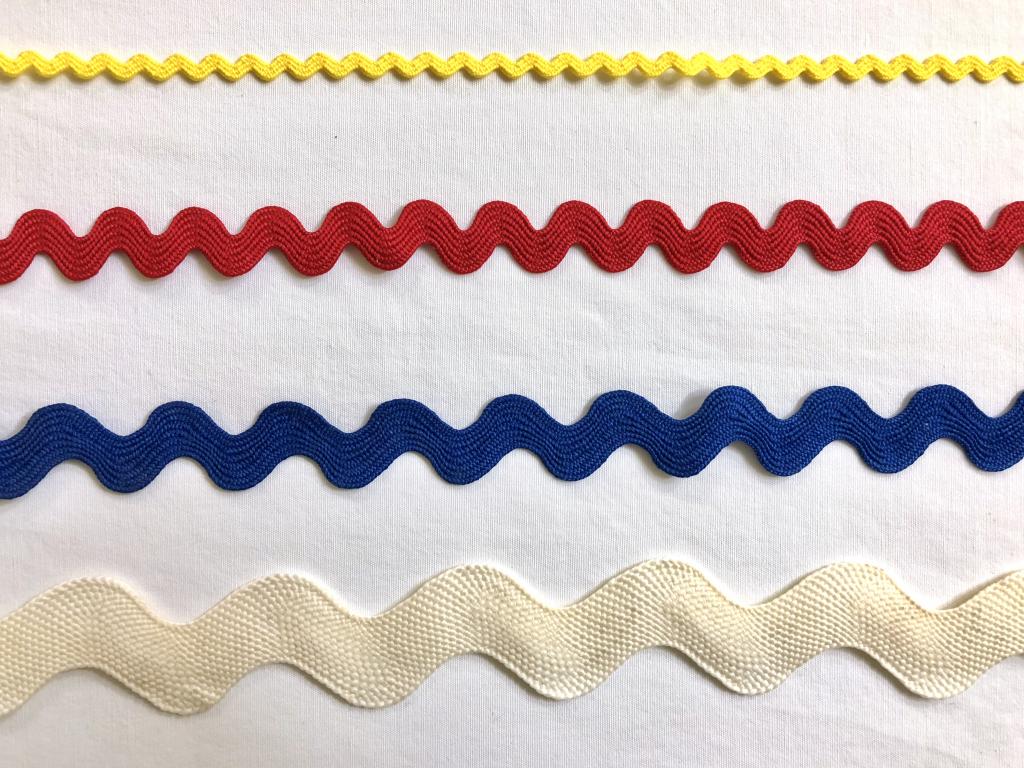
No matter what you call it—ricrack, rickrack, or ricrac—it has been a mainstay of the fashion business for almost two centuries. The first written reference to these waves was made in the early 1800s! The most fundamental description of this braid is that it is a narrow, unidirectional zigzag. It was first called a “waved crochet braid.” Yes, it is true; this is actually occurring. You should not assume that he is as charming as he seems. It was in the latter half of the 19th century and the early 20th century that rickrack first gained popularity as a decorative element in crocheted lace patterns and as a finishing touch for fine handwork. Rick rack’s durability made it a go-to for seamstresses who applied or repaired delicate lace before the invention of modern laundry detergents and washing machines. This trim may be used in a variety of ways, and we’ll show you some of the more common ones for use in everything from prairie pinafores to lace-trimmed dresses.
- How To Hem Curtains With A Sewing Machine? Step by Step Instructions
- How To Sew A Double Sided Fleece Blanket? Things You’ll Need
- How To Take Apart A Husqvarna Sewing Machine? Step by Step Instructions
- How To Use A Brother Sewing Machine? A Step-by-Step Learning Guide
- How To Sew Cafe Curtains? Complete Step-by-Step Guide
SEWING RIC RAC – 4 WAYS
You’ll need to be proficient in four different sewing methods to make Ric rac. The ones I’m referring to are:
SEWING RIC RAC ON TOP OF A FABRIC
You can choose whether or not to push your ric rac after cleaning it. Whereas historical cotton ric rac may shrink and need to be pressed before use, nylon and polycotton ric rac is typically ready to use.
Bạn đang xem: What Is Rick Rack In Sewing? How To Use It?
Before you begin stitching the ric-rac into your fabric, you need draw a guideline to follow. You can use an ink pen to make a horizontal line, and then stitch the ric rac in place above it. Sew the line across the race to start.
If the raw edges will be stitched into the garment, there is no need to trim them with ricin. Another alternative is to apply a stop fray solution to seal off the ends of the exposed ric and rac.
Hems that have been machine stitched into place sometimes have ric rac added to them to hide the stitching line. Ric rac is to be attached to the uppermost part of the garment, and the sewing line is to be adhered to.
SEWING RIC RAC INTO A SEAM
Determine the number of lines in each section of ric-rac to establish the total amount of ric-rac that will be exposed to the outside. The bigger the ric rac, the more it stands out once it’s been sewn into the seam.
Xem thêm : How To Thread A Handheld Sewing Machine? 4 Easy To Follow Steps For You!
In the middle of the ric rac, make a mark that corresponds with the seam stitching mark on the RIGHT edge of the fabric. Next, use a tack pin to attach it to the material.
Put the right sides of the remaining fabric pieces together and stitch across the border.
If the cloth is turned so that the left side is showing, the ric-rac will be seen between the seams.
SEWING RIC RAC AROUND CORNERS
However, the ric rac has some give since it is weaved in a way that allows it to be separated into multiple sections.
You can fold a bit of extra braid at the corners to assist you turn. Construct a small fold and turn point to navigate around the bend.
It is recommended to baste the fabric in place before stitching the back. Turn and do a U-turn when you need to.
SEWING RIC RAC BEHIND A FINISHED EDGE:
Xem thêm : How To Sew A Baby Blanket With Satin Binding? A Few Tips to Remember When Sewing With Satin
It is possible to finish the edge of a pocket or yoke, for instance. Start securing the ric rac on the incorrect side.
If you give it some time, the extra trim will look neater.
Pin or staple the component in place before sewing it into the garment.
Once you’ve mastered the fundamentals of sewing, cutting ric rac into fun shapes is a terrific way to add a unique touch to your creations.
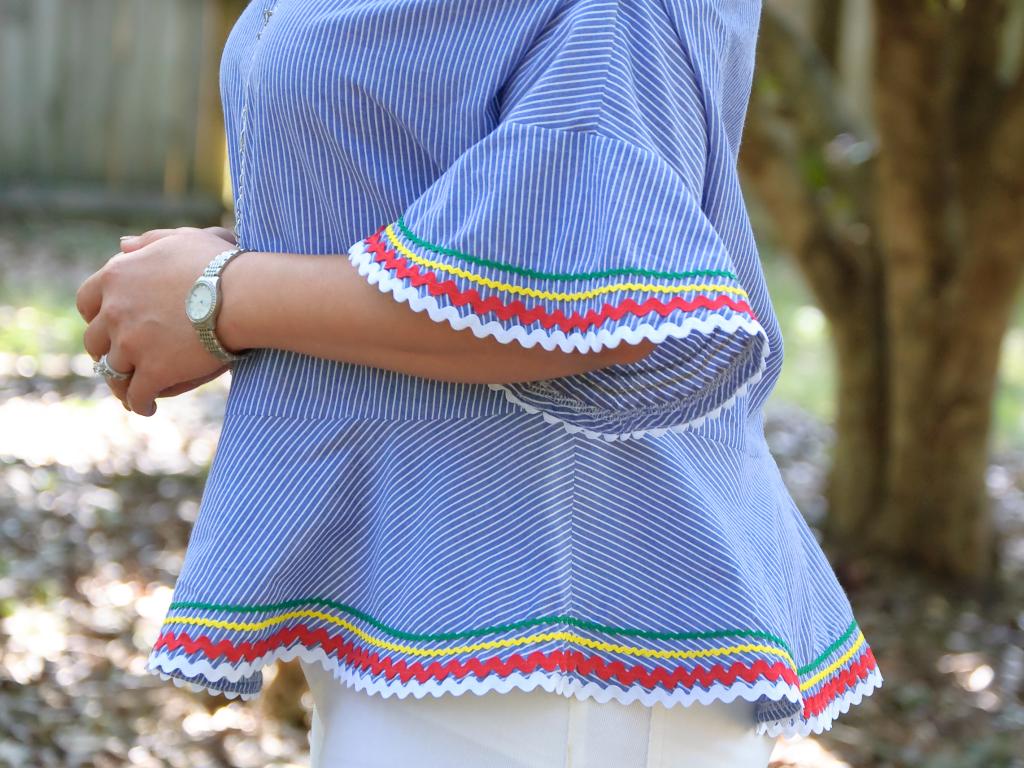
SEWING RIC RAC – MORE EFFECTS
- Ric-characteristic Many rows of ric-rac are made using the weaving pattern of a single rac.
- An attractive braid can be made out of ric-rac and used as a hair accessory.
- If you want to make yourself look more airy, try wearing a waistcoat or skirt with a contrasting color.
- Use Ric Ric to hem your napkins, tea towels, and tablecloths. Everything that might use an uplift could undergo a ric-rac transformation.
Conclusion
Our conversation is now ended. As we’ve already established, the zigzag or wavy trim known as rick rack is utilized in sewing to embellish the edges, seams, or lend a decorative feature to the material. You could even sew together a pair of pieces to create an intricate floral design.
The aim is that you have learned something from this. If you have any questions or comments, we’d love to hear from you.
Nguồn: https://spasifikmag.com
Danh mục: Sewing Tips


