For someone who is just beginning to sew, the purchasing of interfacing can be difficult. Interfacing isn’t an exciting issue because it’s hard to find accurate advice on how to buy, implement, and install interfacing. In order to help a few readers, I’ve put together this guide to interfacing. Interfacing and the best methods for selecting interfacing types should be examined first. After that, a look at how to use fusible interfacing to various projects and scenarios.
WHAT IS INTERFACING?
There are many places on clothes and other sewing items where hardness, form, and structure are desired, and interfacing is used to achieve this goal in many places. Stabilizing particular places, such as necklines or shoulder seams that may otherwise droop is another usage for it.
There are two fundamental types of interfacings (fusible and sew-in), three primary weaves (non-woven, knit, and woven), and a variety of weights available for interfacings (light-heavy, medium weight). Choosing the appropriate interfacing for your garment is essential. When using a pattern, it’s common for it to state whether or not you need interfacing and what kind of interfacing you need.
Prior to making the investment in interface, you should decide whether or not you want to:
When purchasing interfacing, do you prefer sew-in or fusible?
If interface is needed, what kind do you need?
Do you prefer light, medium, or heavy weight interfacing for your projects?
Which color of interfacing is best for the project at hand?
HOW TO CHOOSE THE RIGHT INTERFACING?
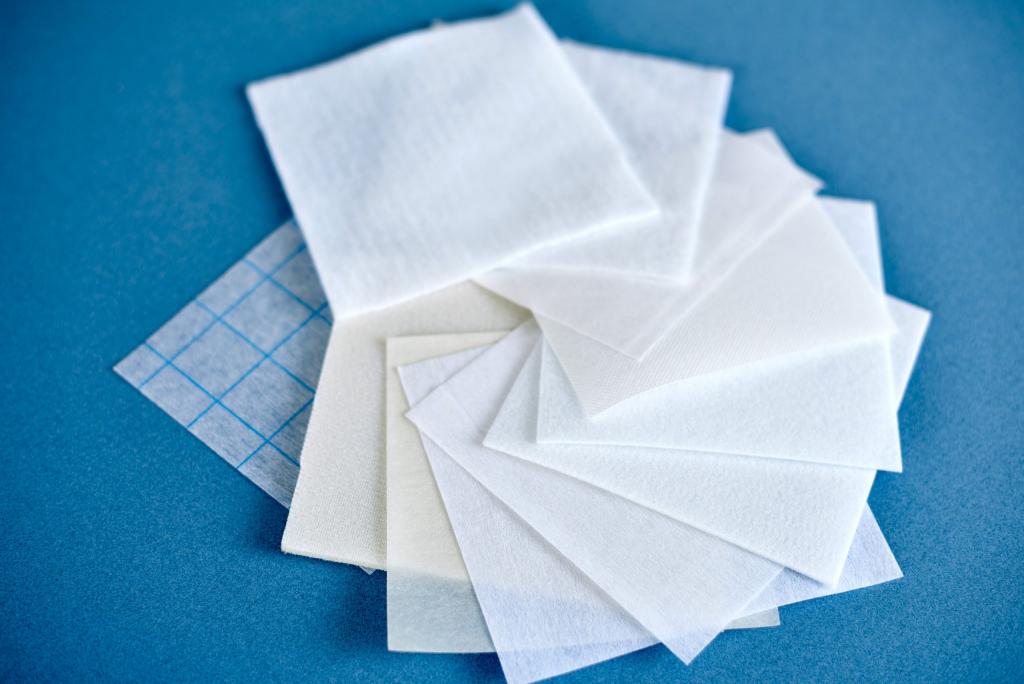
TYPES OF INTERFACING
Weight, rigidity, and materials all play a role in the variety of interface types available. It’s possible that the process of interacting with computers is
- Although it’s been stiffened, the material appears to be fabric (even if it’s not). or
- Textile-free (compressed fibers with one side being covered by adhesive; they often are paper-like in feel)
- The term “knit” is used (used to provide stretch, usually in sewing garments)
Fabric can be applied directly to interfacing materials, or the two can be mixed. Let’s take a look inside this bag to get a better grasp on the concept.
Non-woven and woven interfacing are used in this pattern. The bag will have just the appropriate amount of structure and body thanks to the two interfacings. Exactly everything you need in a terrific crossbody bag.
IRON-ON INTERFACING AND SEW-IN INTERFACING
Fusible (iron-on) and non-fusible interfacing are both options for the application’s interface (sew-in). When I first began out, this made a huge impact for me.
NON-FUSIBLE OR FUSIBLE INTERFACING?
Xem thêm : What Is Rick Rack In Sewing? How To Use It?
An interface can be applied in one of two fundamental ways, depending on the sort of interfacing being used. Sew-in interfacing gets its name from the fact that it must be sewn onto the back of your cloth. Fusible interfacing is the one I like (and you could, too). Interlining is another name for this product.
WHEN TO USE NON-FUSIBLE INTERFACING?
Sew-in interfacing may be a personal preference and easily accessible, but it isn’t the first choice for many sewers just starting out. Because it must be sewn to the fabric, it will take longer and necessitate a lot of sewing, which means extra time and effort. Non-fusible versions may be the best or only option in various cases:
- You should not press your fabric if it isn’t suited.
- it could also be that the fabric has a lot of structure to it.
- Fusing can have a negative impact on the finished product’s aesthetics. (For example, if you want to make something fluffy like these circular storage baskets.)
WHAT WEIGHT OF INTERFACING SHOULD I USE?
A wide range of interfacings are available, from light to heavy to mid-weight, depending on the use. Interfacing should be a touch lighter in weight than the fabric it is attached to.
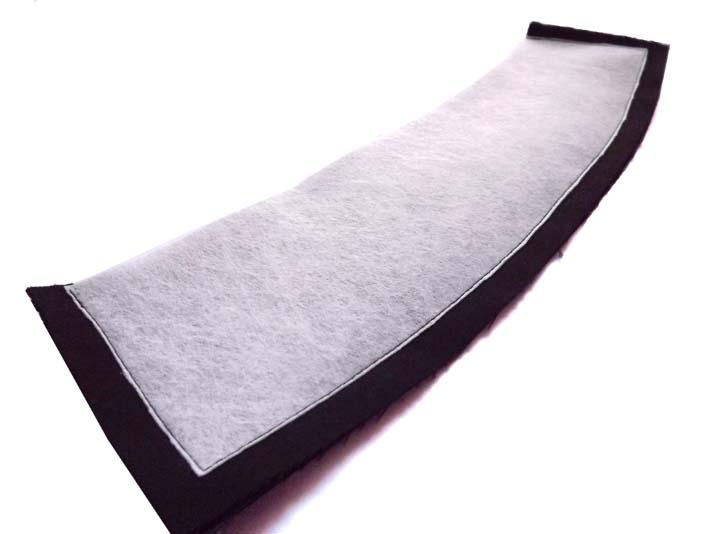
INTERFACING AND BAG MAKING
Interfacing is a great way to keep the cloth in place and prevent it from slipping. Bags can’t function without it. With a few exceptions, you’ll need bags that have a good deal of structure, stability, and stiffness. A slouchy hobo bag like this one that I examined some time ago could be an exception to this rule.
Interfacing can be used in a variety of ways in bags, and each will create a distinct result. These sturdily constructed purses and wallets? At the very least, they’re all made of Decovil or craft foam in one region.
INTERFACING TIP – HOW TO AVOID WRINKLES ON INTERFACING?
A smart method of interfacing Flipping your bag upside-down will reveal wrinkles in the fabric, so how can you make it appear more rigid? Here’s an easy way to fuse the fabric first with lighter or even heavier interfacing. Stronger interfacing like Decor Bond or Decovil Light should be used only after that.
In what ways may you use various interfacings? You can check out my market bag and zipper case patterns. Take a look at the variety of interfaces I’ve used.
WHAT INTERFACING TO USE ON LINING?
Also, if you want a nice-looking bag lining, try Pellon SF101 Shape Flex or Vilene G700 light- to medium-weight interfacings. It will always raise the quality of bags. Occasionally, I’ll use Vilene H200, which is a bit stiffer than G700 but less expensive and still malleable and soft. The list goes on and on.
I’ve tested and tried a lot of things in the past, and I’m not just talking about lightweight interfacings for linings and pockets. Some of them I use and recommend can be found farther down the page if you choose to scroll down.
It’s also a component of an amazing method that makes it easy to turn edge stitching!
DO YOU NEED INTERFACING WHEN SEWING?
Sewing requires interfacing because it gives the piece structure and shape. A well-placed interface can prevent distortion and improve the aesthetics and long-term durability of even an unusually stiff material. This means that interfacing might be considered essential for every sewing project.
HOW TO APPLY FUSIBLE INTERFACING
Use a small piece of the fabric and a small amount of interfacing in an experiment before adding the interfacing to the cloth. The weight of the interfacing and how much shaping it imparts to the fabric can be determined in this way. Consider using a less “stiff” interface if the finished product feels too “heavy.” If the final product is fragile, you may want to consider using a heavier interface.
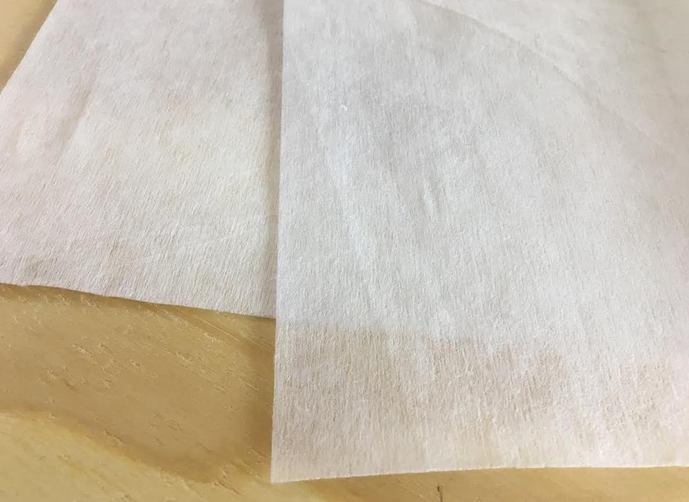
The adhesive-coated side of the interface must be identified first. Due to the glue, it is common for the side that is adhesive to have a slightly bobbly elevated appearance.
Xem thêm : How To Service A Sewing Machine? 8 Easy To Follow Steps For You!
Remove the interfacing from the pattern pieces. However, if you’re using non-woven interfacing, you only need to worry about this if you’re weaving interface; otherwise, it doesn’t matter. Your across stretch should match your crosswise when you are using knit interfacing.
Place the fabric and interfacing pieces on the ironing board before you begin. Make sure that the fabric is positioned so that its wrong side is facing up, then place a piece of fusible interfacing over it with its sticky side facing down.
Make careful to use a damp cloth to press the iron on the fabric and the interfacing. Prior to lifting the iron and shifting it to a new position, hold it there for roughly 15 seconds (10 seconds for lower weight textiles). Repeat. Steam and heat generated by the moist cloth can permanently adhere both the interfacing and the fabric. It’s important to avoid “gliding” the iron over the interfacing and fabric, as this can cause the layers to shift and become misaligned.
Check the interfacing’s adhesion by lifting a small corner once you’ve completed. If this does not work, try pushing again. Let the fabric cool and dry before moving if the interfacing has been successfully adhered to it. When you adjust the interface while it is still warm, you run the risk of stretching or changing it.
Tip: For medium- and heavy-weight materials, the “wool” setting on the temperature dial is usually the best bet. Using a slightly higher temperature level than you would apply directly to your fabric (since a press cloth acts as a protecting layer) is recommended for light-weight fabrics. A good time to check the temperature settings on your test piece is at the beginning, when the fabric is still relatively unblemished, so that the adhesive can properly attach to the fabric.
When applying fusible interfacing, be sure to use a press cloth! In addition to protecting your fabric from intense heat, the ironing plate is protected against any adhesive glue. The ironing board cover may also benefit from a layer of waste fabric sandwiched between it and the ironing board to keep any leaks from escaping.
HOW TO USE FUSIBLE INTERFACING
- Fusible interfacing should be applied in accordance with the instructions provided by the manufacturer.
- It is essential that your fashion fabric is facing the incorrect way and is fusible upside down. The roughness of the adhesive is usually a good indicator of the fusible side.
- Apply firm tension to the iron for the appropriate amount of time.
- Steam can be used or not, depending on the guidelines.
- Using a fresh site, lift the iron up and place it there again, gently covering the previous spots. This can lead to distortion if you drag your iron over the fabric.
- A good rule of thumb is that after you’ve applied pressure on one side, it’s recommended that you do it again to ensure a strong binding.
- The ironing board as well as your fabric should be protected from any fusible adhesive.
WHAT ELSE CAN INTERFACING FABRICS BE USED FOR?
For those of you who enjoy crafting handbags and totes, interfacing can be used in these crafts, as well as for clothing. It’s possible to create stunning handbags, clutches, and even backpacks with the appropriate design. The process of interacting with others is a critical one. As with clothing, interfacing provides structure and strength to the fabric. This results in bags that are either soft, flexible, or hard.
WHAT ARE INTERFACING WEIGHTS?
Interfacing can be categorized depending on both the type of material and the weight of the interfacing. The weight of the interface is critical, as it should not be heavier than the project’s primary material. Otherwise, the stiffness of the finish may allow it to drape.
Featherweight, heavyweight, and medium weight interfacing are all available weights. If you’re working with delicate textiles, a featherweight interfacing is a must-have. Moderate-weight interfacings, on the other hand, are an excellent alternative for projects requiring solidity. For designs that need to stand on their own, such as hats or purses, thicker interfacing is typically used.
WHAT IS INTERFACING IN SEWING USED FOR?
- A shaky project can benefit from interfaces by being given extra support and sturdiness.
- The appearance of the material can be improved with the use of interfacing.
- Interfacing can be useful in stitching projects to keep the cloth from drooping.
- Quilted things benefit from the added structure and weight provided by interfacing.
- Bags and garments benefit from interfacing because it gives them shape and stability.
HOW DO YOU USE AN INTERFACE FOR SEWING?
Depending on the type of interface you’re using, stitching can be either easier or more difficult. Fusible interfacing is the simplest to utilize.
- A glossy, raised surface is characteristic on the interfacing’s adhesive side.
- Cutting woven interfacing should be done with care down the grain, while cutting knit interfacing should be done using a cross-wise motion.
- The incorrect side of the fabric should be facing up in an ironing block, followed by the adhesive side of the fusible interfacing.
- To dry them, use a moist cloth and a stationary iron for 10 to 15 seconds.
- In order to guarantee that the interfacing is properly bonded, push the interfacing again. If pressing doesn’t work, try again later.
- To avoid distortion, let the project air dry before allowing it to cool.
WHAT HAPPENS IF I DON’T USE INTERFACING?
Although sewing without interfacing is possible, it is not recommended. The bulk of projects, such as clothes, necessitate structure in order to avoid wrinkles or hanging and looking unpleasant in the finished product. Other sewing projects, such as caps, handbags, and bags, would look flimsy without interfacing, making them unappealing to the eye.
CONCLUSION
Were your questions answered by this article? To put it simply, interfacing is used during sewing. Structure, shape, stability, and structure are all given to the work by this substance. A variety of materials are available, including woven, knitted, and fusible.
If you don’t use interfacing, your finished product will be less durable and visually appealing. We hope you’ve learned something from it. You can also check out our blog if you have any other sewing questions. How about a serger machine, for example? Is it really what you want? You’ll require interfaces for your projects, don’t you think
Nguồn: https://spasifikmag.com
Danh mục: Sewing Tips


