Even a simple activity like threading a sewing machine can be difficult if you are unfamiliar with the tools involved in the process. Winding and threading the bobbin, as well as attaching the main spool of the machine through the needle and mechanism, are two separate phases in the process of threading the machine. All sewing machines, even those made by Kenmore, have a similar threading procedure despite minor changes in the models and brands of machines.
- How To Hand Sew Curtains? 9 Easy To Follow Steps For You!
- How To Hem Curtains Without A Sewing Machine? Step by Step Instructions
- How To Finish A Blanket? Complete Step-by-Step Guide
- How To Thread A Singer Sewing Machine? 7 Easy To Follow Steps
- What Is A Mechanical Sewing Machine? 16 Best Mechanical Sewing Machine Reviews
Things You’ll Need
- Thread
- Bobbin
- case-for-bobbin
- Scissors
Steps to Thread a Kenmore Sewing Machine
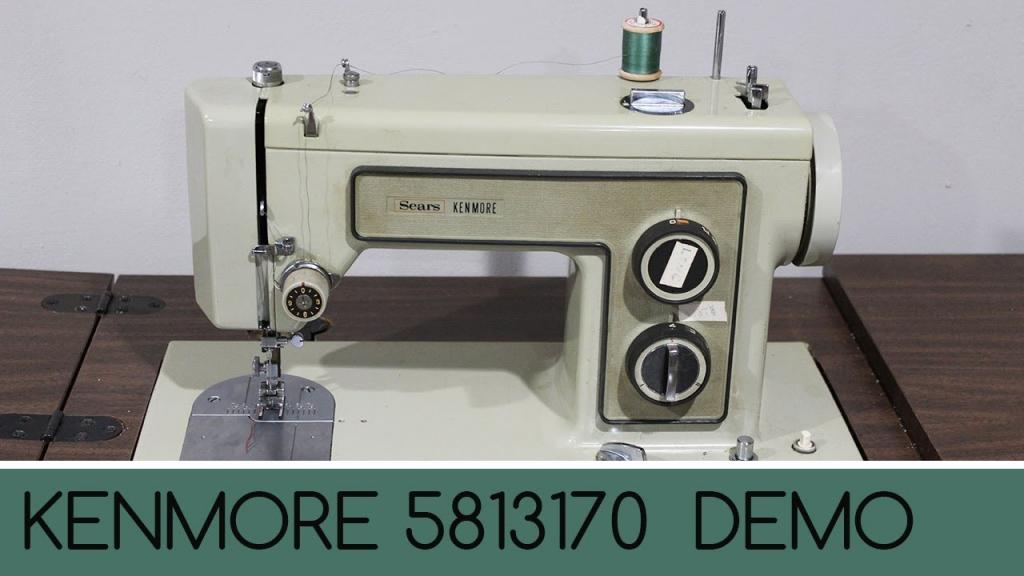
Kenmore Different models of Kenmore sewing machines are available. When it comes to threading, every model has a slight variation. This brand, however, employs the same design across all of its models.
Winding the thread on the bobbin
Your Kenmore sewing machine has a clutch adjustment knob on the right-hand side. To let it go, it is turned counter-clockwise. The inside portion (clutch knob) must be turned with one hand while the outside portion (handwheel) must be held in the other hand for the majority of types.
Put it on the spool pin after that. The thread must be wound counterclockwise around the two pins before being inserted. Depending on the machine model, the spool pin can be mounted either horizontally or vertically. The spool pin may be located at the bottom of the top of some types.
The pin’s thread should now be gathered and wrapped around the device’s little disc of tension on one side. Wrap the thread on the right side first, then wrap it around the left side, and then release it through the bottom left side while wrapping. The disc should not be stitched in a full turn.. As a result, stitching may become more difficult as a result of this.
Bobbin is taken out of the machine’s upper right side. Some of the holes can be accessed by squeezing the thread’s bottom end. Put the bobbin back on the winder’s shaft. As long as the hole is located on top, you’re good to go! As a last step, slide the bobbin shaft rightward until you hear a distinct “click.”
Turning the machine on will let you to begin winding the Bobbin. Wind the bobbin until it comes to a complete halt on its own, and then stop. Remove the thread when the bobbin is entirely wound. Afterwards, tighten the clutch by twisting the clutch counterclockwise.
Threading the bobbin case
Remove your extension table to thread the bobbin’s casing. Extension tables are located at the bottom left of the device. It can be yanked to the left to remove it. The bobbin case is accessible by removing the shuttle cover.
Lift the needle with the wheel on the handle. The needle should be pushed all the way up to the top.
Depress the latch on the bobbin casing to free it from the shuttle. The bobbin should be inserted into the casing. The thread can be pulled clockwise after it’s been inserted. To complete the installation, the threaded end is put into the box’s lid’s slot.
The bobbin case can be inserted into the casing by pulling the clasp. When the case is properly placed, you will hear a click.
Xem thêm : What Is Muslin Used For In Sewing? What You Need to Know
The bottom threading is done.
Threading the top thread.
Then, move the handwheel clockwise to elevate the lever for taking-up by turning it clockwise. Just above the needle, on the unit’s left side, is where you’ll find this lever. The lever should be at its highest point when the handwheel is turned.
Raise the lever to release the presser foot. The spool pin on the right side of the machine is where the thread is retrieved. Using the directions at the top, insert it. Afterwards, move it to the machine’s front.
The device’s front panel will feature two thread-drawing paths. There will be two paths, one named “A” and the other “B”. Using the “A” path, then the “A” path again, the thread should be dragged down and then dragged back up.
The tension spring will be located on the “B” path’s left-hand side. Bring the thread through the spring once you’ve drawn it across into the “B” direction. Threads that are close to needles should be run over the guides for thread that are located at the back of the sewing machine. To guarantee that the machine is threaded correctly, use thread guides. Before removing the needle from the back, thread the needle through the eye in front of the needle.
The thread should be pulled in both directions if the needle’s eye is facing the wrong way.
Picking the bobbin thread
Rotate the wheel counterclockwise, making a full circle, while holding the thread in place with your fingers. The needle plate’s base will form a little loop after you’re finished. Pull the upper thread to straighten the loop, then gently remove the shuttle’s thread.
Both the top and bottom threads are ready for use. After placing the two threads under the presser foot, turn the machine around and bring the threads to the back of the machine.
You can now begin stitching after the threading step is complete.
Common Threading Problems in Kenmore Sewing Machine
Regardless of the sort of sewing machine you use, threading issues are inevitable. Some threading concerns and solutions are provided here.
Tangling of the thread
It is possible to view the thread on the machine’s underbelly when you are working on an embroidery project. Most of the time, a faulty Bobbin can be blamed for the issue.
Xem thêm : What Size Bobbins For Brother Sewing Machine?
A faulty bobbin isn’t always to blame for tangled threads. Thread tangling can occur when threading is done incorrectly. The foot of the presser can be used to untangle tangled threads. Keep your foot on the floor while threading to avoid tangles.
Jamming of machine
When the thread or the fabric gets stuck in the machine, a sewing machine is inoperable. Remove all threads that have been tangled by carefully pulling the fabric away from itself. Getting rid of the bobbin and then removing the blocked thread is the first step in this procedure. The machine must be restarted before it may be used.
Breaking of the thread
Threads can come apart for a variety of reasons. Inspect the thread spool for any indications that the thread has become stuck. A little cut on the spool designed to keep the thread’s ends in place may cause a thread to be cut. The thread feed can be redirected to correct the problem.
Sometimes, poor-quality or worn thread can lead to thread breakage or breakage. As a result, thread may split if the needle on a sewing machine is too new.
A thorough cleaning of the machine is required if the thread does not stay in place after resolving all of the issues listed. For dust, you can simply run your fingertips over the thread’s route.
Sewing machine operation relies on the accurate threading of the needles. You won’t be able to sew efficiently or finish your job on time if you don’t thread the machine correctly. Reading the sewing machine’s instruction booklet thoroughly before threading the machine is highly advised. Tutorials on threading can be found online and are a great resource.
Tip
The majority of Kenmore sewing machines have threading diagrams printed on the side of the machine.
How Do You Set Up A Sears Kenmore Sewing Machine?
Switching on the machine
- Shut down the power source.
- Ensure that a 110-120 volt AC outlet is available.
- Place a power plug in the outlet after you’ve connected the machine plug with three prongs to the outlet.
- To begin using the equipment, simply push the power button.
Adjusting the pressure
- The pressure control dial can be found under the race cover plate.
- Depending on the task at hand, adjust the dial until it reaches the appropriate setting mark on the scale.
- For the vast majority of sewing jobs, a dial set to three should be sufficient. However, it is essential to learn more about the presser foot pressure.
The presser foot can be changed
- Lift the presser foot and needle.
- Remove the presser foot holder by pressing the buttons on the foot holder’s back.
- As you can see below, the presser’s new foot is resting on top. The pin is inserted into the preceding groove.
- To secure the foot, lower the holder until the foot locks into position and the sound is heard.
Change the needle
- To loosen the needle clamp screw, turn it toward you.
- There should be a downward movement of the needle
- Take a moment to ensure that the needle you are replacing is compatible with the task at hand.
- The needle should be inserted as close to the clamps as possible, with its flat side facing away from you.
- Use a big screwdriver to tighten the needle clamp.
Removal of the Bobbin
- Turn the power off by swiping it to the left.
- Do not use the bobbin.
Turning the bobbin
- Pulling the knob away from the machine will release the clutch from its holding position..
- Wind the thread around the bobbin winder’s thread guide after removing it from the spool.
- Thread should be injected into the bobbin hole from the inside out.
- The bobbin should be attached to the winding spindle.
- To keep the bobbin in position, move it to the right.
- While pressing the foot control, keep the thread’s end in your hands.
- After a few windings, snip the thread close to the Bobbin and discard it.
- Keep the foot under control and then complete the winding.
- Cut the thread after rotating the spindle to the left.
- Clutch back on.
Adjusting the tension
- You can tighten or loosen your grip by turning the tension knob in a direction toward a higher number.
- When the thread visible from the top shows beneath the cloth, the tension is not tight enough, and when the thread of the bobbin appears on top of the fabric, it is overly tight.
Modifying the stitch and selecting it
- Adjust the control of the stitch selector to match the stitch you’d like to create.
- For each sewing project, you should tweak the stitch length and length dials to your preferred settings.
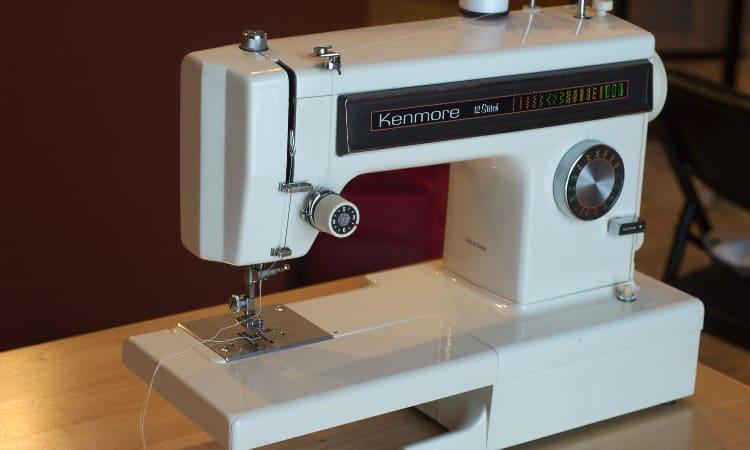
Are Kenmore Sewing Machines Good?
Sewing enthusiasts don’t think of Kenmore machines as being as good as those made by Brother or Singer, especially when it comes to vintage versions. If you’re looking for a less priced sewing machine, here are some of the best options.
How to Repair Your Kenmore Machine
If you’re confident in your skills as a mechanic, you may try to fix the machine yourself!
- After you’ve cleaned it, make sure to oil the machine. The items that need to be lubricated should be listed in the manual. Most of the time, oil is required for all moving parts!
- The needle needs to be shifted. Sewing professionals recommend changing the needle after every sewing operation since it sharpens so quickly..
- Everything, including the Bobbin, must be re-threaded. A few seconds of your time can make a huge difference in the accuracy of your initial attempt, so don’t be afraid to try again!
- You need to fix the light fixture. This is a simple remedy that might save you up to $100 in repair costs for some vintage machines that don’t have an illuminated needle.
How Do You Thread An Old Kenmore Sewing Machine?
- To learn more about your specific Kenmore model, consult the owner’s manual.
- Before going through the tension knob, pass the thread through the hook.
- To make a loop around the hook, begin by pulling the loop up and around the hook.
- Pull the thread towards the lever, then down into the clip and into the thread clip after releasing the hook.
- Needles’ eyes
- A minimum of one-inch of thread
To learn how to thread a sewing machine properly, go to this video showing how to do so on a Kenmore model.
Conclusion
You may now consider yourself an authority on vintage Kenmore sewing machines! You’re aware of the history behind these Sears products, the best places to purchase them now, and how much they are typically priced.
Nguồn: https://spasifikmag.com
Danh mục: Sewing Tips


