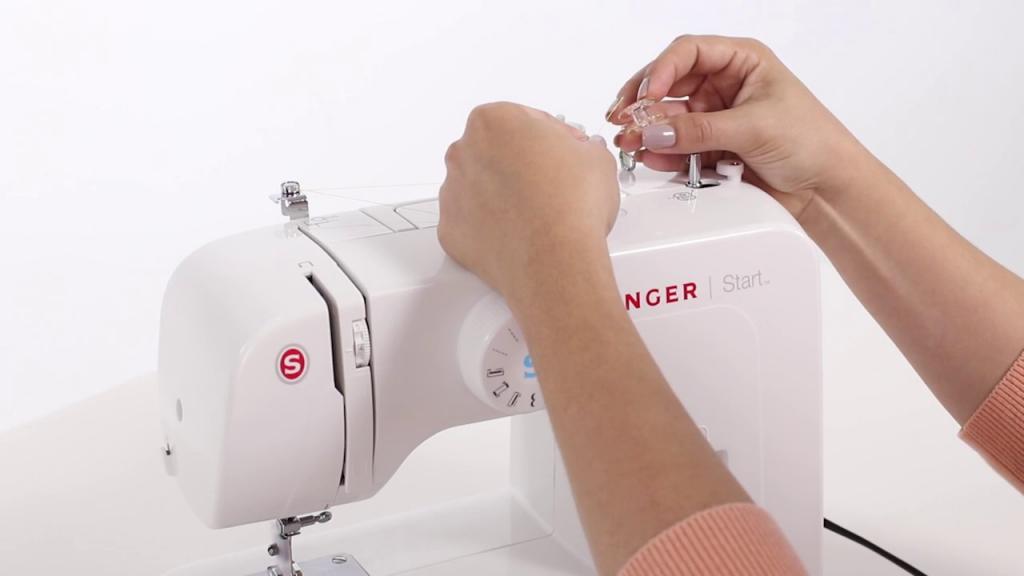
When viewed from a distance, the sewing machine appears to be simple to operate. You put fabric into a sewing machine, and the machine makes stitches to hold it in place.. When you first start using a sewing machine, you’ll find that pressing the pedal isn’t the only way to get things going. We’re going back to basics today and talking about how to thread a singing machine.
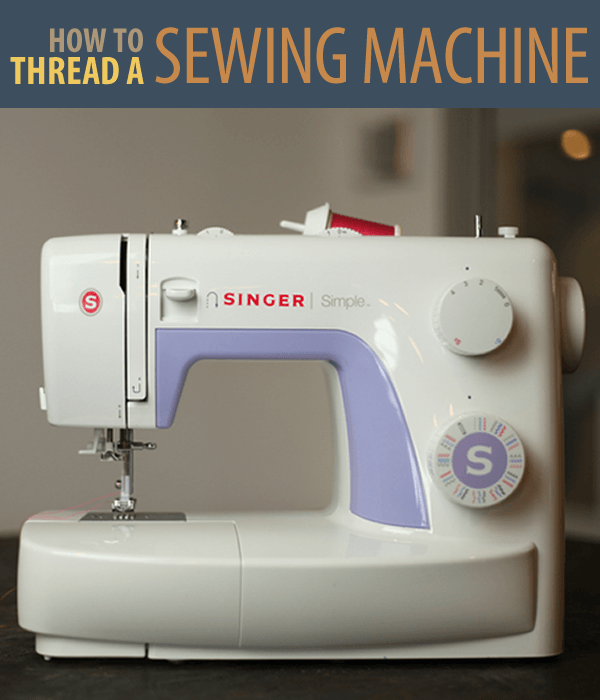
Singers have always been a favorite of mine, especially for first-time quilters and sewers. The two that I’ve used throughout the years were both simple to use, which made troubleshooting a snap.
Bạn đang xem: How To Thread A Singer Sewing Machine? 7 Easy To Follow Steps
How to Thread an Older Singer Sewing Machine
In order to thread an antique machine, you must spin the balance wheel toward you in order to free the needle from the bobbin. Place a new spool of thread on top of the one you already have, and you’re ready to go. After that, thread the needle by hand and pull the thread (approximately a fourth of its length) through the hooks on your front. Next, tension the assemblies. Once you’ve learned the hooking method, it’s a piece of cake.
Steps to Thread a Vintage/Older Singer Sewing Machine
It’s conceivable to initially find the ancient Singer machine’s thread-weaved front to be a little unnerving. Before you can properly thread the machine, you’ll need to master at least five or six hooking points. During the threading process, you’ll also have to manually adjust the thread’s tension.
However, don’t be scared off by the thought that a Vintage Singer’s threading mechanism is overly complex. When compared to modern sewing machines, the antique sewing machines’ threading system is remarkably simple.
Is this still a problem for you? To thread an ancient Singer sewing machine for the first time, follow this step-by-step tutorial. If you follow the procedures perfectly and have good hands, the entire process should take no more than a minute!
Step 1 – Disengaging/Raising the Needle
An antique Singer machine’s needle-raising mechanism lacks the convenience of a switch or lever. When there is no thread on the spool, use the balance wheel to adjust the height. A alternate way to raise the needle may necessitate elevating the presser foot as well. Then use your needle clamp to secure it.
Elevating the needle in this stage is an anticipatory step since it makes threading the needle in an elevated position considerably easier and less untidy. You can’t really move the balance wheel with a thread already attached to the pin and at a predetermined tension, can you?
Step 2 – Attach Your New Spool
While the next step is presumably obvious, we’ll go through it just to make sure. Once you’ve removed the spool from the pin, you’ll be ready to begin. The pin is the only mechanism on vintage Singer machines that holds the spool in place, so you simply have to lift it. In the next step, you simply need to put your new spool on top of the spool’s pin and begin manually unwinding the thread that might go all the way up toward the needle (around a quarter of a meter is acceptable, but it’s preferable to leave a little leeway to be sure that your eyes didn’t trick you).
Step 3 – The Thread Guide
Xem thêm : How To Applique Letters With Sewing Machine?
It’s important to keep the thread taut across the upper arm horizontally and then attach it to the thread guide’s hook at the other end. Before moving on to the next hooking site, double-check that the thread is properly taught and hooked. The thread must pass through the left side of the thread guide hook.
Step 4 – The Tensioner Mechanism
The tensioning mechanism, which looks like a wheel and may have numbers printed on the side, is located on the front of your machine’s head, immediately beneath the first hooking point. The spring tension, thumb nut, and tension disk make up the tensioning mechanism. This is where the hook is going to go next.
Depending on the Singer model you’re using, the tensioning mechanism may vary slightly, but figuring out the optimum technique to loop your string around it shouldn’t be too difficult. You must spin the thread in the direction of the tension disk and the tension disk before moving on to the next hooking point on most Vintage Singers machines.
You should look at an illustration of how the threading process for your specific machine is carried out in order to understand how the most important component of threading is carried out, When you first start sewing, a mistake could create a lot of problems.
Step 5 – The Take-Up Lever
There is a lever on top of the thread guide that is used to take up threads. It’s the next place to connect up. To do this, you’ll first need to take your thread up, beneath the lever for take-up, before hooking it up to the thread guide on the right-hand side of the head of the sewing machine just a few inches below the tensioning assembly.

Step 6 – Threading the Needle
You’ve already finished 90% of the task. Threading the needle is the last thing you need to do. Hooking points at the needle’s level have been added to modern machines in order to make threading needles easier for persons who are visually impaired or have difficulty with their hands. If you have an older Singer, you’ll have to manually thread the needle.
Final Step – Attaching the Bobbin
A threaded bobbin is required for sewing, even if you’ve used the main spool to thread your machine. A bobbin is a spool of extra thread that sits beneath the needle and is fed from the bottom. Before you begin sewing, lift your needle and peek inside the chamber to see if the bobbin has been placed. For those who aren’t sure if it’s there, you’ll need to find or produce a new yarn and place it in the bobbin’s casing before fixing it.
Make sure the machine is properly threaded by turning the balance wheel clockwise to see if the needle enters the bobbin compartment, and then take the bottom thread and attach it to the top thread. To stitch, the thread must be allowed to move freely on the upper spool without getting tangled.
How does a sewing machine actually make a stitch?
To ensure that everything makes sense later on, it’s a good idea to understand how a sewing machine forms a stitch before we get started.
You’ll recognize a sewing needle if you’ve ever used one to sew something by hand. The space at the end allows the thread to flow through. It’s long, narrow, pointed, and thin. When sewing by hand, the needle’s sharp point penetrates the fabric first, before the thread is pulled through from the back.
Xem thêm : Smartek Mini Sewing Machine How To Thread
Sewing machines work in the opposite direction as normal. First, the needle’s eye cuts through the fabric, and then the rest of it follows suit.
As a result of the fact that sewing machines can’t thread a needle all the way through a piece of fabric before turning to the other side, they instead push the needle through the cloth instead of drawing it out.
Slack thread that is dragged down through the needle is caught by a metal shuttle at the bottom of a sewing machine.
How To Thread A Singer Tiny Tailor Sewing Machine
One of Singer’s smaller sewing machines, the Tiny Tailor, is also available. The repairing machine is what it’s known as. This means that it is a model that can be sewn by a beginner. To thread the model, follow these simple steps:
- Using the thread guide, insert the thread and then guide it through the tension dial.
- After the thread is drawn through the tension disk, check to see that the lever is in its highest position.
- Using the lever for take-up, thread the needle from left to right and then lower it.
- Using the thread guide visible to the right, begin threading the needle and move it forward.
- When the needle has reached the maximum height, it is time to stop.
- The needle should pass across your eye when you thread it. Using the needle’s left-to-right motion, thread it through the loop.
- Take a left turn with the needle.
How To Thread A Singer Merritt Sewing Machine
Sewing machines from the era of Singer Merritt aren’t uncommon. Is it surprising that this model is known for its reliability? Here’s a step-by-step tutorial on how to thread this model.
- Close to the spool, the thread should be run through the guides.
- As you raise the lever, pass the thread through the tensioned disc.
- The two thread guides should be used to help guide the thread down the needle.
- To elevate the bobbin thread, spin the handwheel.
- Make sure to thread the sewing machine with a long, tight loop at the top.
- It’s time to rewind the lower and top threads
What Is the Best Thread for A Singer Sewing Machine?
Every Singer sewing machine, old or new, will be able to handle any type of thread you currently have on hand. In fact, this is true of practically every other sewing machine on the market, as they are designed to handle a variety of threads. The project you’re working on, as well as considerations like the brand, the material, and the pricing, will influence the type of thread you choose.
How To Thread A Singer Tradition Sewing Machine
Singer sewing machines have long been associated with tradition. If you’re looking for something that’s easy to set up, this is a good option. The following is a step-by-step guide on how to thread this model:
- To raise the presser foot on your Singer Tradition sewing machine, look for the lever at the back of the machine.
- Make sure that the needle is at its highest point by turning the handwheel.
- The spool should be attached to the pin before the cap is attached to the other end.
- When the upper thread is attached to the tension spring, it should pass through the thread guide.
- After passing through the lever with slots, continue to run the thread along the left and right edges of the slot.
- An automatic needle threader is used to thread the thread down the slot.
How do I choose a thread for my sewing machine?
Thread selection is influenced by the fabric or project being worked on. Lightweight materials like cotton, silk, and polyester might benefit from a finer thread, such as a cotton, silk, or polyester blend. The thicker thread can be found while working with denim or other heavy textiles. The more noticeable your thread is, the thicker or thicker it is.
Conclusion
Please tell me if this post was useful to you. To get a short overview of how to thread a Singer sewing machine, you’ll first need to thread the machine’s upper and lower threads, respectively. Threading different Singer sewing machines has some commonalities, as we’ve demonstrated in this guide.
Want to know how to thread a Brother sewing machine? You might want to take a peek at our model instruction.
Nguồn: https://spasifikmag.com
Danh mục: Sewing Tips


