Although piping or trim isn’t strictly necessary for a cushion, it gives your cushions the appearance that they were sewn by a professional.
- How To Hem Stretch Fabric With A Sewing Machine?
- Easy Window Curtains How To Make Your Own Without Sewing?
- How To Sew A Lapped Zipper In A Pillow? A Step-by-Step Learning Guide
- What Is A Facing In Sewing? Sewing Facing Tips and Techniques
- How To Line Curtains Without Sewing? Complete Step-by-Step Guide
It is easy to select piping (or welting, as it is sometimes called) to match your cushion because it comes in a variety of colors and styles.
Bạn đang xem: How To Sew Piping On A Pillow? Complete Step-by-Step Guide
What Is A Piping?
To begin, let us define the term “piping.”
A “pipe” of folded fabric that can be put into a seam to add further detail to clothing, garments, pillows, and more is described as “piping” by Wikipedia.
In most cases, a bias cut is used to create this fabric strip. Make one yourself, or buy one online if you don’t have the materials at home.
Piping has been more popular as an accent on pillows and clothing in recent years. You won’t have to get rid of the old to make room for the new. Let’s freshen things up!
Supplies
This post may contain affiliate links. Please be aware of this before reading further. Using these links helps us earn a tiny commission (at no extra cost to you). Qualifying purchases allow me to earn money as an Amazon Associate. Our recommendations are, however, based on what we use ourselves. Click here to view our disclosures if you’d want to learn more.
- Your cushion’s fabric. Our tutorial on sewing envelope cushions and our step-by-step instructions for producing box cushions are available if you’re unsure how to cut out your cushion fabric..
- machine for sewing
- Zipper or piping foot
- Piping
A Couple Of Tips
Tip #1: If your sewing machine has a piping foot, attach it now so sewing piping is a breeze. Zipper feet can also be used if the zipper foot is not available.
In order to cover the entire perimeter of the cushion, you will need to purchase extra piping. If you want to make an 18-inch square pillow, you’d need to multiply that by four to get the total amount of fabric you’d need. that’s roughly 78.5″
Pin The Piping To The Fabric
To begin, place the cushion’s front piece on a table with its right side facing up. This is the piece of fabric that does not have a zipper if you are sewing an envelope pillow. Both the top and bottom pieces of fabric for box cushions must be sewn together in the same manner for them to function properly.
Pin the piping around the fabric’s edges so that the piping’s raw edge meets the fabric’s raw edge. In the middle of an edge, begin piping (rather than at the corners).
Xem thêm : How To Miter A Corner In Sewing?
Allow the pipe to turn more easily by cutting the corners off of each piece. When doing this, take care not to cut through the piping’s thread.

Join The Piping Ends
At least 1′′ should be left over when you return to where you started, so cut the pipe at this point so that there is some overlap.
If you don’t have enough piping to go around your cushion all the way, this is one option.
Using a needle and thread, remove the final few stitches from the piping cover.
Fold the fabric back to expose the piping cord.
The piping cord may be seen by folding the fabric backwards.
The extra piping fabric should be wrapped around the two cord ends to hide them.
Sew The Piping To The Fabric
To sew with a basting stitch, set your sewing machine’s thread length to 11. (probably the longest stitch length available).
Remove the pins one by one as you sew the piping into place on the fabric. Maintain the corners’ contours by moving carefully around them.
A basting stitch is all you need for now, as the piping will be sewed into the rest of the cushion later.
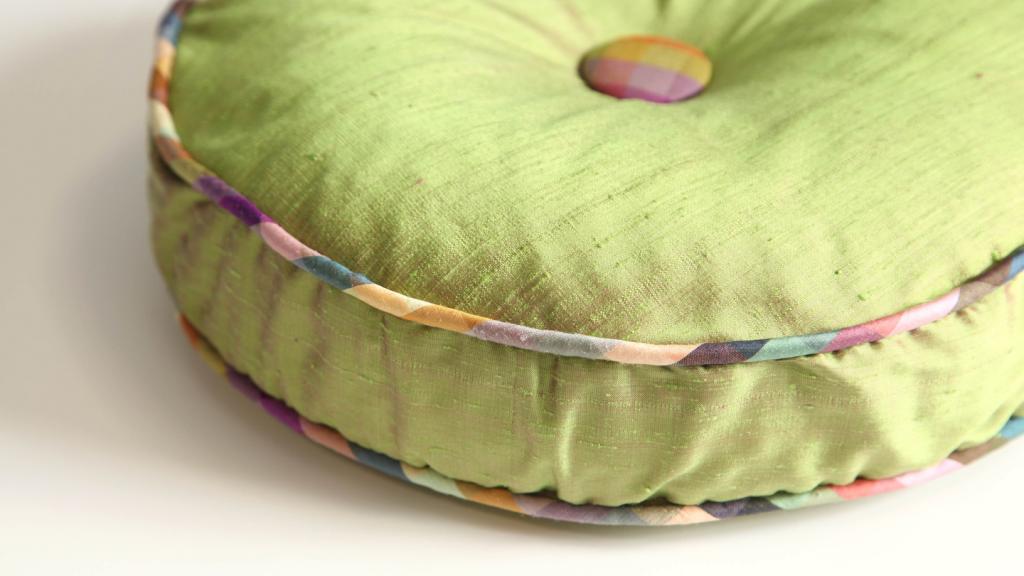
All right, let’s wrap this up! When you’re done, you won’t even see the pipe connection.
Xem thêm : What Is A Free Arm Sewing Machine? Top Free-Arm Sewing Machine Models
The completed cushion also appears to be of a high quality.
Can you add piping to existing pillow?
At a distance of about 1 inch away from the folded end, thread on the cording. Bias tape is pinned inside the cording. Starting 2″ from the folded edge, leave the folded end open. Once you’ve attached the piping to the Pillow Front, you’ll be able to insert the other end this way.
How do you install piping on an upholstered chair?
Dining Chair Piping: An Easy and Inexpensive DIY Project Cut a piece of fabric to the desired length, allowing at least 1-2 inches of excess cloth at the edges. To keep the cloth in place, use a staple gun to secure it at the top and bottom in the center. Stopping 2-3 inches from the corner, staple from the center to the left across the top. To use both sides of your chair pad, repeat these procedures on each of them two times.
Do you need a special foot to sew piping?
A zipper foot can be found on the majority of sewing machines. In order to avoid the requirement for additional feet, this can be utilized to install plumbing. While it may seem like a lot of work, using a piping foot (like the one pictured on the right) makes adding piping a breeze. Wrapped with fabric and sewed into place is a piece of cording.
How do you sew piping on a cushion?
To make the piping, fold your square of cloth diagonally in half and cut along the fold so you have two triangles. Mark 5cm from the raw edge using dressmaker’s chalk before cutting. Cut strips of fabric until you have enough to cover the cushion completely.
Can you buy premade piping?
Sailrite carries both pre-made piping and piping cord in its inventory.. As the name suggests, the fundamental difference between readymade and piping cord is that the piping cord comes in an unfinished state and needs to be coated with your own material before being sewn into place.
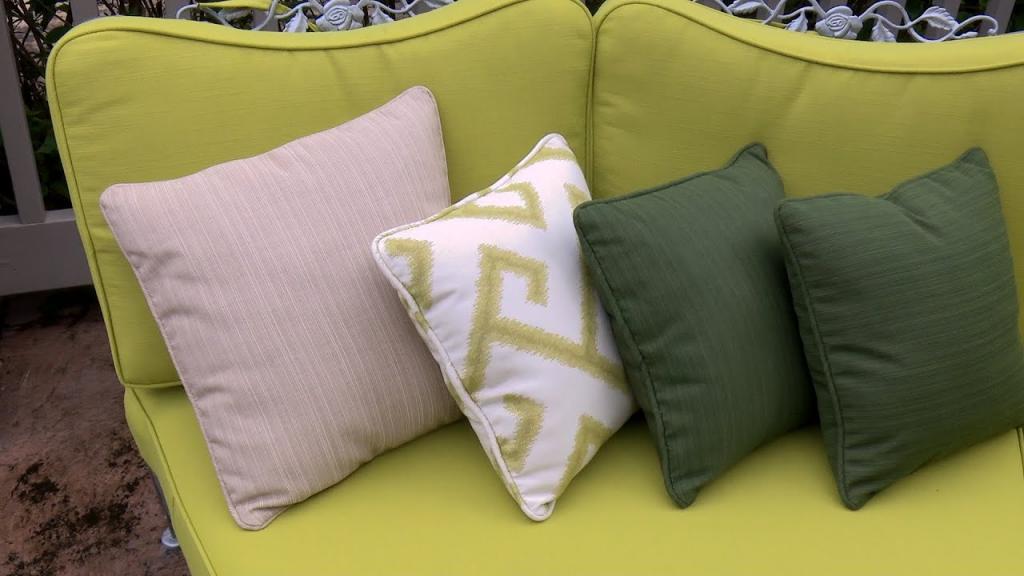
Do cushions need piping?
Adding piping to cheap cushions is expensive, but if you buy more expensive cushions like outdoor furniture cushions, you may expect piping to be included as a basic feature of the design.
Conclusion
You’ve just learned how to make a pillow with piping.
Were you able to enjoy yourself? Do you like what you’ve done so far? You’ll notice that your pillows now have a more vibrant appearance than they did before. Let’s see how impressed the visitors are.
It doesn’t take a lot of pricey furniture or decorations to make a room look better.
Innovations can become a reality if a person has a creative mind and the ability to persist and be patient in the face of obstacles.
Nguồn: https://spasifikmag.com
Danh mục: Sewing Tips


