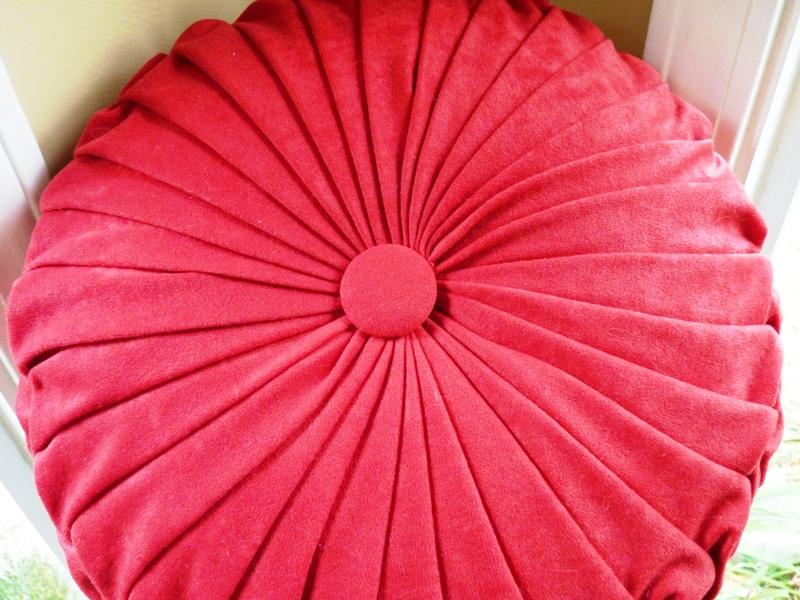
A quick break from talking about the exterior restoration of our home so I can show you how easy it is to sew a round pillow is in order. The velvet pillows I made for Instagram were a big hit, and some readers observed that the circular velvet cushion complemented the other velvet pillows. My teal velvet rubbish chair fabric was utilized for several of the pillows, but I also had a bizarre circle of fabric remaining from a (failed) matching ottoman project. So I made a simple round pillow with no zipper, no fancy stuffing, and just a bunch of leftover batting. It’s a quick and easy sewing project. To help you make a round cushion, I’ll show you how to sew one and give you some pointers on how to maintain it round.
Easy Steps To Sew A Circle Pillow
Even now, you may feel bothered. Put an end to it right now because we’re going to talk about how to sew a round pillow.
Circle pillows are one of the most popular pillow designs. Throw cushions in the living area are commonly shaped like circles.
They give more diversity to the interior design of one’s house. Other pillows won’t fit in those spots since they’re too narrow.
There is greater variety in one’s home’s interior design with the use of these items They can also fit into areas where conventional pillows cannot.
Xem thêm : How To Put A Foot On A Sewing Machine?
With these, a person can add variety to the decor of their own home. Other pillows won’t fit in those spots since they’re too large.
It doesn’t matter why you decided to take on this endeavor. It’s critical that you focus on your goal and remain confident in your ability to achieve it.
Your faith in your ability to succeed will be tested at this moment.
Materials for DIY Circle Pillow
- Yards of fabric (amount will depend on how large you make your pillow)
- Polyurethane (amount will depend on how large you make your pillow)
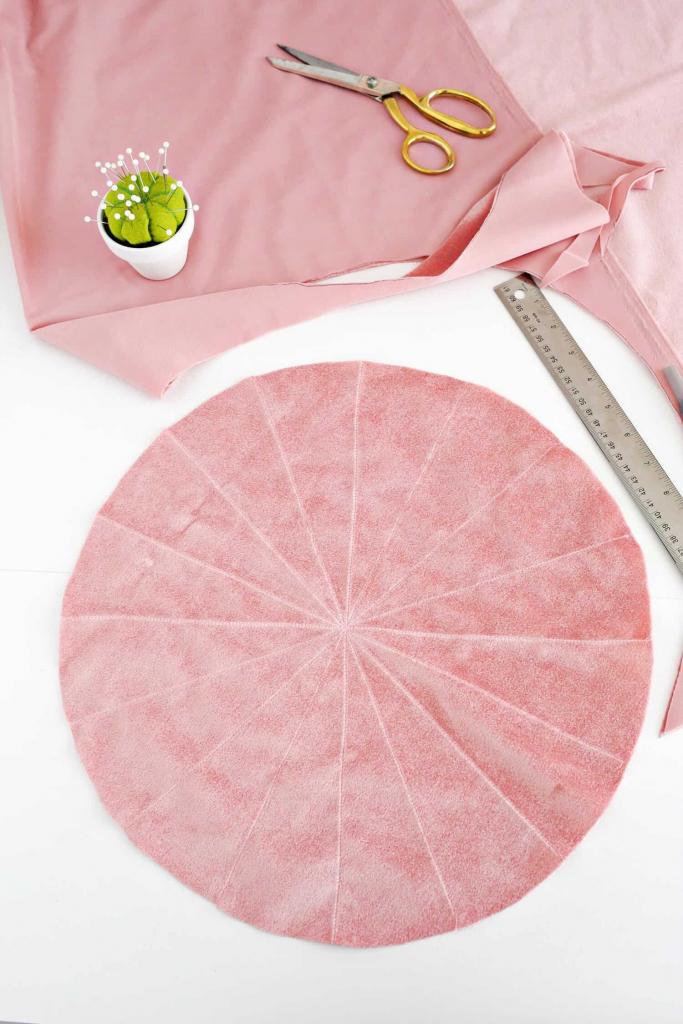
- A tool to help you trace the arc (like a large bowl)
- Fabric-matched needles and threads
- machine for sewing
Instructions for DIY Circle Pillow
Draw a circle on your fabric and trace it. I had a huge bowl on hand that worked perfectly. Then, cut out the shape from the paper.
Make a second piece of fabric and repeat the technique from step 1 again.
Xem thêm : How to Hem Your Curtains Without Sewing? Step by Step Instructions
Finally, use safety pins to join the two parts together (face to face if your fabric has a front and back).
A three-inch gap will be left free for filling with pillow stuffing, so stitch the rest of the edges. Begin and conclude with a backstitch.
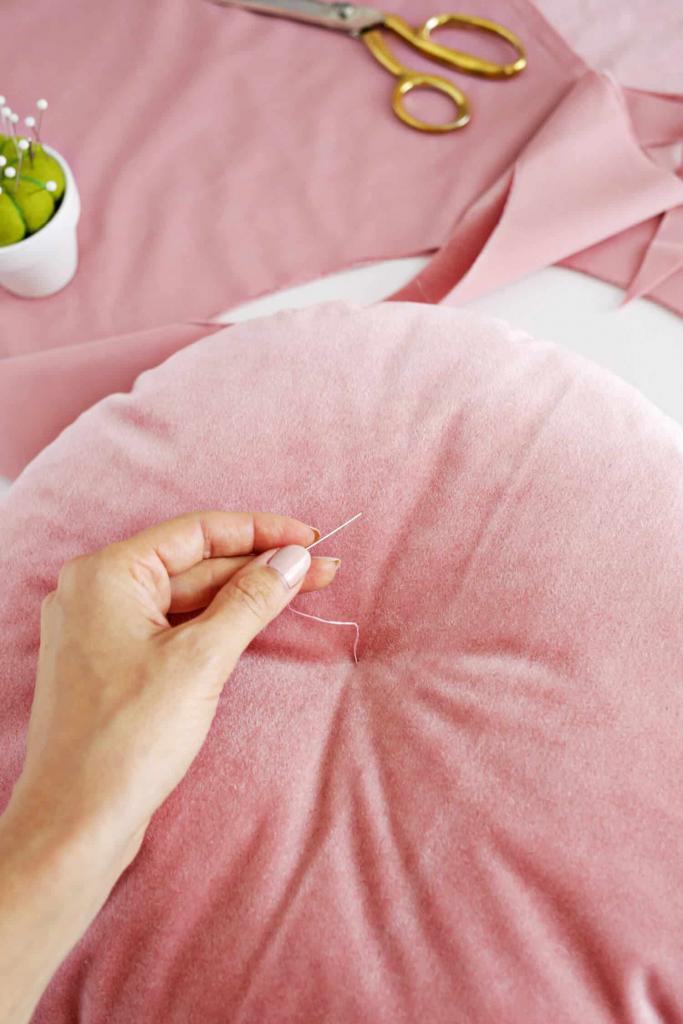
Make sure that the polyfill is distributed evenly across the circle and that you’ve attained the appropriate fullness.
With a needle and thread, sew the three-inch hole closed. The bag is now ready for use.
Final Words
I hope you’ve found this tutorial on how to sew a circle cushion helpful. You can learn anything if you only have the belief that you can.
It’s a privilege for me that you’ve come this far. We are grateful for your efforts and time!
Nguồn: https://spasifikmag.com
Danh mục: Sewing Tips


