Cushions, pillows, and slipcovers can have a more polished appearance thanks to welting, which draws attention to the seams and design details of the item. There is a wide variety of shapes and colors to choose from, but creating your own is easy.
- Who Makes Elna Sewing Machines? Everything To Know!
- How To Hem Pants With A Sewing Machine? Step by Step
- How To Service A Pfaff Sewing Machine? Troubleshooting and Repair Guide
- How Many Joules Do I Need In A Surge Protector To Protect My Sewing Machine
- How To Use A White Sewing Machine? Step by Step Instructions
Supplies
For this guide, I used cording with a diameter of 8/32 inches.
Bạn đang xem: What Is Welting In Sewing? How to Make a Welt Pocket?
A sewing machine with a zipper foot.
a string of identical text
Scissors
Pins
Needle
Directions
Before beginning, it is important to measure the object that will receive the welting. Extend the length by three inches. Reduce the width and length of the cord so that they are uniform. For the purposes of this guide, a 20-by-20-inch cushion will do nicely. As a result, we had to shorten the cording to a more manageable 83 inches.
Cutting Fabric Strips
Fabric strips should be used to wrap cording around the bias, or along one side of the cloth. Bias-cut cloth has more give when it comes to bending over corners and curves. Because of how well this strategy usually works for me, I feel bad about the times I’ve cheated and cut my material straight down, even if the fit was perfect.
Xem thêm : How To Sew Swag Curtains? Things You’ll Need
When one continuous length of fabric won’t do, multiple strips will need to be cut. These two strips were exactly what I needed.
Determine the circle of the cording and multiply it by two to get the length of your strips of fabric. For me, it was 1 3/4″ broad pieces of fabric – 3/4″ for the cording’s circle and 1″ for the 1/2″ seam allowance – that I used.
Piecing Fabric Strips
To calculate the length of your fabric strips, simply double the circumference of your cording. My finished fabric panels measured 1 3/4 inches in width (I used 3/4 inches for the circle of cording and 1 inch for the 1/2 inch seam allowance).
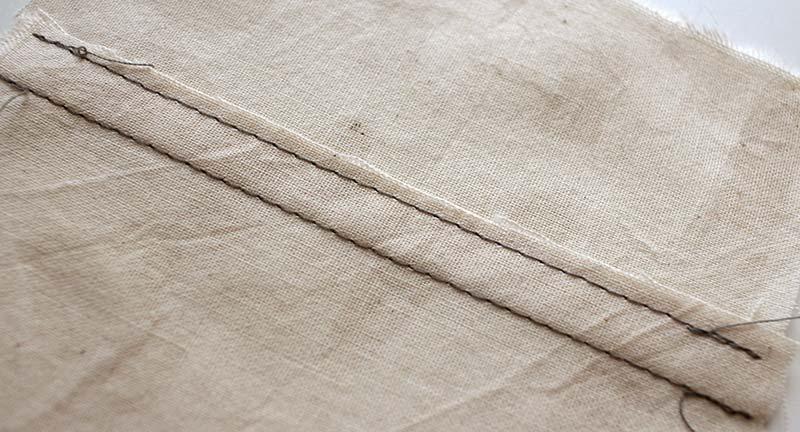
The diagonal seam should be sewn and pinned using a 1/4′′ seam allowance.
Split the seams open. The same method can produce as many strips as are required. Cut the fabric strip a bit larger than the cable.
Split the seams open. The same method can produce as many strips as are required. Make sure the fabric strip is longer than the cable.
Tear apart the stitching. The process can be repeated indefinitely to produce as many strips as are required. Ensure that the fabric strip is slightly bigger than the cable.
The welting process
Separate the stitching. The process can be repeated as many times as necessary to produce the desired number of strips. Fabric strips should be cut slightly larger than the cable.
When you arrive to the point where two strips of fabric are joined, open the seam.
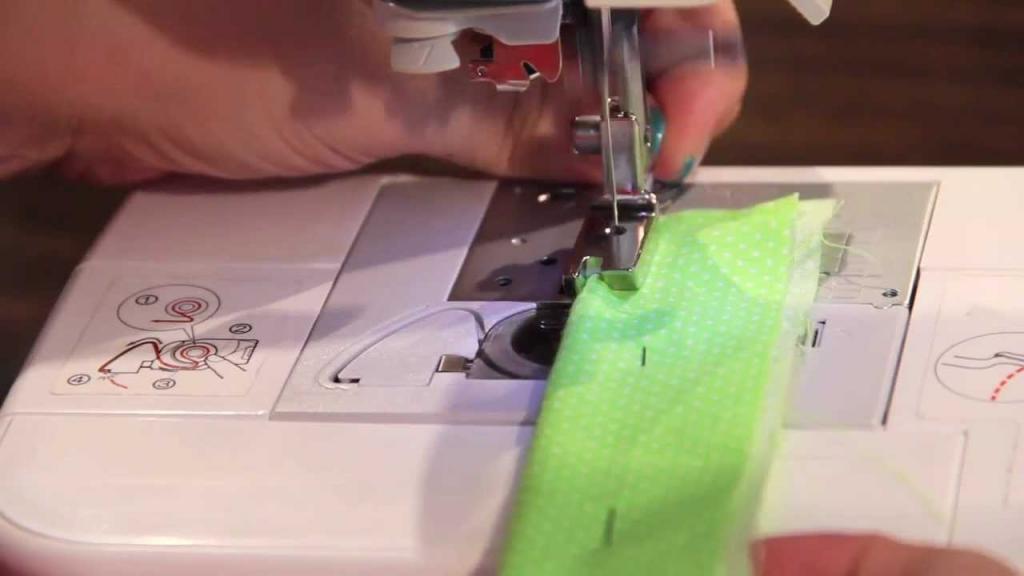
Put your sewing skills to use by putting together your outfits utilizing the zipper foot. I almost never stitch the final few inches of cording since it complicates the process of joining the two cord ends.
Attaching Welting
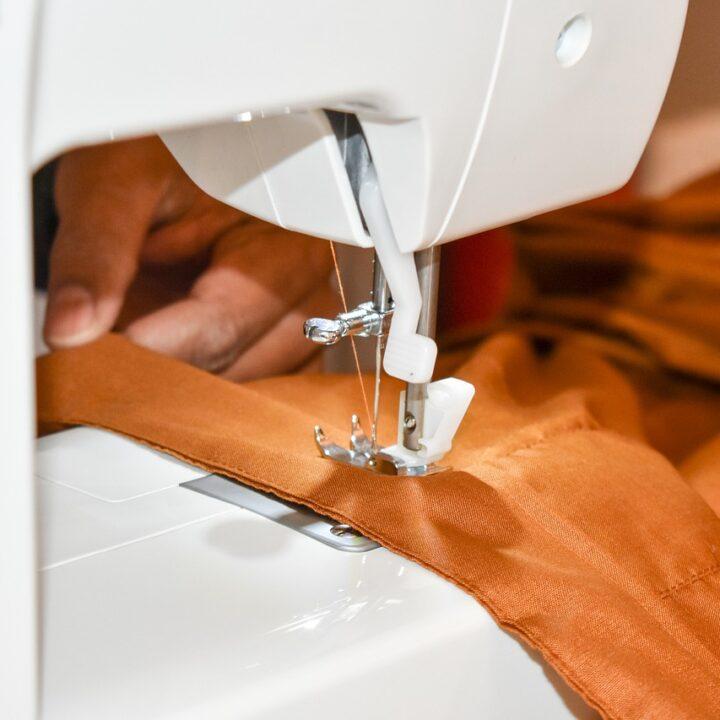
It’s time to put on your welting once it’s set. Using a cushion, as I mentioned earlier, I’ll show you how to make a cushion. Begin sewing the welting at the bottom of the pillow or the rear border of the object to which it will be attached.
It’s time to put on your welting once it’s set. Using a cushion, as I mentioned earlier, I’ll show you how to make a cushion. Begin sewing the welting at the bottom of the pillow or the rear border of the object to which it will be attached.
As soon as the welting has hardened, you should begin wearing it. As I indicated before, I will demonstrate how to build a cushion using one. The welting should be sewn into place first at the pillow’s hem or the item’s back edge.
Once your welting has hardened, you should start wearing it. As I indicated before, we’ll be making a cushion out of something. The welting should be sewn into place first at the pillow’s base or the item’s back edge.
Cloth should be folded in half and the raw edge of the other end covered. To smooth out the rough edge, fold it in half. Pin.
How do you create a welting cord?
- Cutting across the grain diagonally will result in a cloth strip.
- Sew the two pieces of fabric together at an angle, following the diagram as a reference.
- The cords should be stitched inside the fabric strips.
- Make sure your fabric cords are tucked away and ready to use.
How to Make a Welt Pocket
Fabric cords should be tucked aside and ready for use.
- Fusible Interfacing is used to add padding to the fabric. Attach a strip of interfacing to the side of the pocket on the garment’s wrong side to give it more body and structure. You can draw more attention to the welt (the front of the pockets) on the dress’s reverse by using hand-basting stitches.
- Create a pattern for pockets and set it aside. Put a horizontal line on the back of your garment (on another side to be able to see the side that is opposite of your interfacing). This line will serve as a guide for how long and where in the pocket you want the mouth to be.
- The welt defined Cut out your welt using interfacing that is half the size of your cloth. Fold the long sides in half and use the short ends to join the right and left sides. Make sure the interfacing is tucked inside the folded welt by trimming the seam allowances and turning the cloth right-side out. The top of the garment is a good place to designate the seam line.
- Make sure your welts are straight and in line with your clothing. Wear your welt as a decorative accessory on top of your clothes (the seam line that you sketched across your welt will be aligned in a horizontal direction with that line that you traced on the right side of your clothing). Attach the pocket to your garment by stitching around the welt.
- Lining the pocket is a great idea. Sewing or affixing the pocket lining to the clothing is recommended. Turn the garment inside out, and then sew along the marked lines. After that, turn the pocket inside out and cut the seam allowance down to about a quarter of an inch.
- Make a new stitch in the sand. After allowing for seams, a second stitch must be sewn underneath the first. This stitch length is one stitch shorter than the previous one.
- Remove the pocket’s opening cutter. Use a pair of scissors to sever the threads connecting the pocket liner’s two layers. Snip little triangles off of the fabric in a diagonal direction, working your way toward the welt’s edges. Make an incision in the reverse side of the garment and proceed as before.
- Create your own own backpack. After you have completed your welt, you have completed this step. You may then fold the welt inside to hide the pocket opening and the split you made in the cloth to insert the pocket liner. Take off the dress’s lining and spread it out flat on the floor. Close the pocket bag by folding the top of the lining inward and stitching or trimming the seam allowances on both sides.
- That little something extra is all that’s needed to round off the design. Keeping the pocket flap in place while keeping the opening small will help keep the garment from becoming too bulky.
What Exactly Is A Sewing Machine Welting Foot?
The production of embellishments with a Woven foot can be accelerated. It’s also known by the general name “piped feet.” Have a look at our guide to sewing machine attachments for additional information about presser feet.
Conclusion
Finished! You are skilled in welting, a decorative seam reinforcement. It can be used with a pipe, like a pipe, except instead of a stem, it has a cord inside.
Nguồn: https://spasifikmag.com
Danh mục: Sewing Tips


