It is possible to create new things, such as bags, clothing, toys, or even homes, by sewing. Sewing can be difficult at first, especially for people who have never done it before, but it’s not difficult at all once you get the hang of it. Using either your hands or a sewing machine, you may construct a number of stitches to create a range of seams. Hidden seams are the most well-known and well-known seams. In order to learn how to stitch a concealed seam with a sewing machine when you’re just starting out, this guide is for you.
Steps to Sew a Blind Hem Stitch Using a Sewing Machine
With a sewing machine, these are the steps you need to do to sew blind hemstitches
Bạn đang xem: 2 Steps to Sew a Blind Hem Stitch Using a Sewing Machine? Step-by-Step Tutorial
Step 1: Fold the fabric
Fold the fabric into the desired length. The hem allowance is the term for this. Then fold the top edges of your hem allowance backward so that you can see that the frayed edge is hidden. This is essentially a two-fold fold of this cloth. You will have three sheets of material after folding.
You may shorten a skirt by wearing it and taking it off immediately before folding it. The other side of the fabric must be folded in order to complete the project.
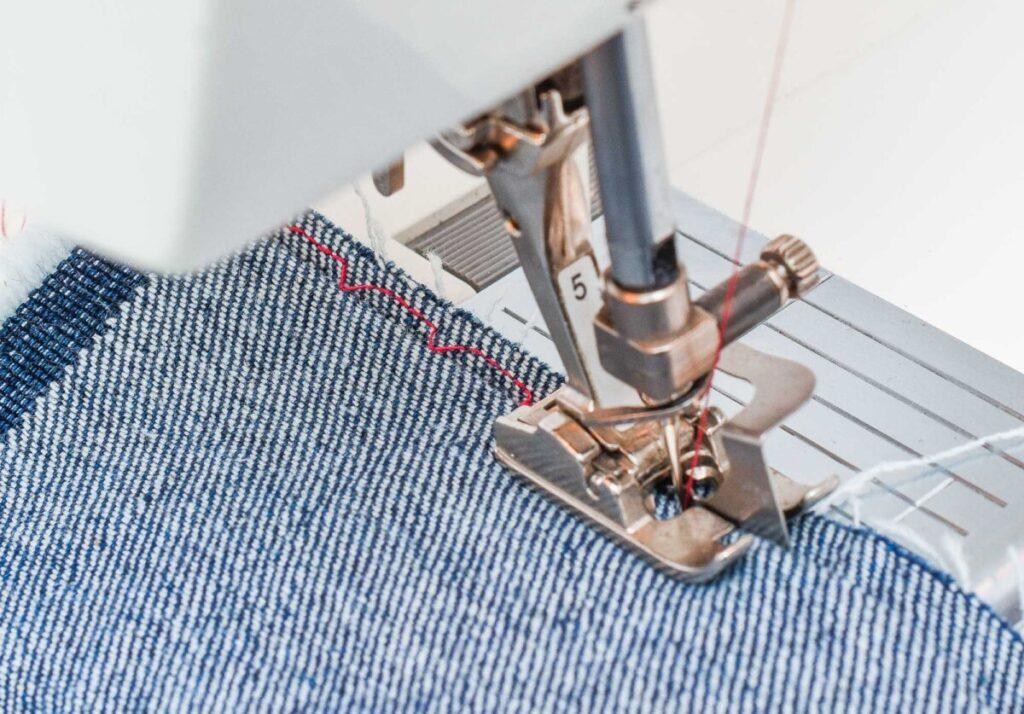
Step 2: Preparing the Sewing Machine
Afterwards, place your blind-hemped feet inside the machine. An inside guide and three grooves below are provided for the foot. The fabric fold should be aligned with the guidance during stitching. Because of the groove, sewing will go more smoothly.
Set the machine to blind hem stitch and then select the stitch length. The length and width of the stitch are influenced by the type of fabric and the intended use of the piece. Using the widest and longest stitch length and breadth for a home design item like a curtain is essential. You’ll be sure to get all the tiers of material covered this way.
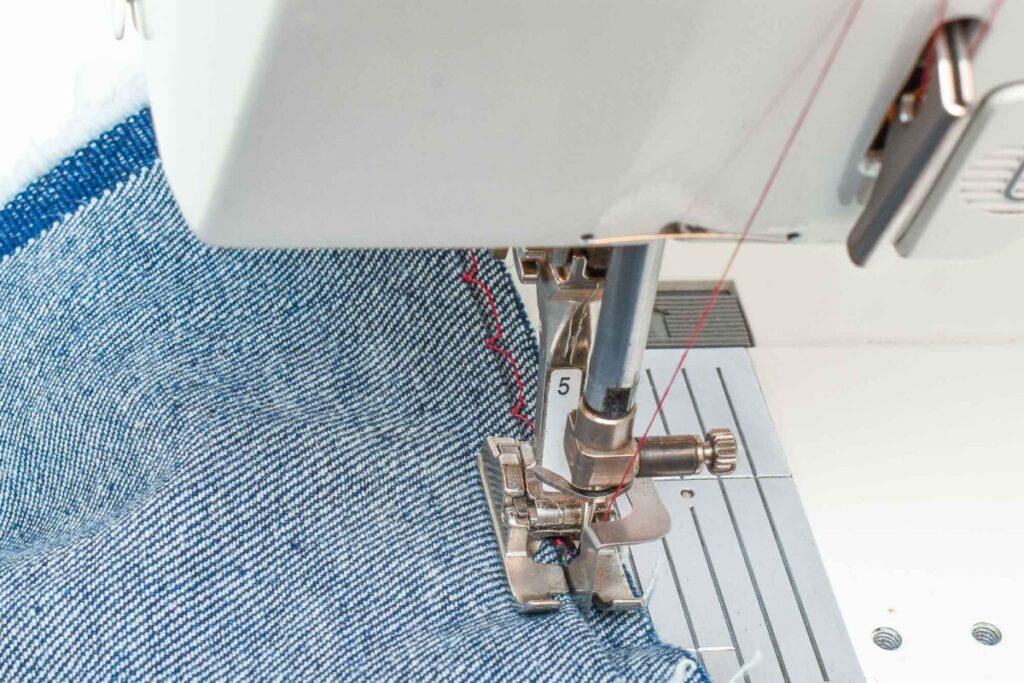
Flip the fabric upwards by sliding it over to the right side. The edge guide must be fastened all the way to the end of the piece. Remove the presser foot before starting to stitch, and then place the needle on top. Needle through cloth, folded edge in line with ruler; this should be your sewing technique. As a result, this ensures the stitch is accurate. Continue sewing until all the edges are sewn after you remove the pin.
How to Sew A Hidden Seam with A Sewing Machine
However, keep in mind that both front and back edges must face each other when sewing an invisible seam to ensure that the seam is completely invisible. Stitch the underside as well. Open the front edges, sew the seam, and you’re done! You’ve done an excellent job at hiding the seam. One of the most common sewing tasks is to make a seam. You can be proud of your finished product if you sew it straight and evenly. In order to avoid any mistakes, you should practice sewing on a scrap first before starting your final piece. Don’t be afraid to learn how to use a seam ripper to remove stitches that you don’t like.
Xem thêm : What Size Needle For Sewing Fleece? A Perfect Guide For You!
Perfecting the art of the invisible seam requires a significant amount of time and effort on your part. Your sewing skills will improve dramatically as soon as you master this technique. Using thread that matches the color of the fabric you’re sewing is the first step to creating a seamless seam that is virtually undetectable.
Position of the Fabric
Begin by pressing both fronts of the two materials together, and then sew them together at the ends. As a result, the material fronts you’ve built will be facing one another.
Front and Back Side of the Fabric
Some fabrics fade their colors on the back, making it evident which side is the front and which is the reverse if you’re lucky enough to be stitching plain fabric that isn’t printed. The weave of your fabric can also be used to distinguish between the front and back of your garment (it is quite clear on the edges). Hand-stitching the seam helps to hold the pieces together.
Adjust the Seam Allowance
Ensure that your seam allowance is there after the fabric has been sewn to the desired setting. Seam allowance can be the amount of fabric you stitch away to the edges of the fabric. The universal seam allowance is about half-inch (12 millimeters) which is 5/8 inches (15 millimeters). After you have adjusted to the allowance for seams, you should hold your thread in a backward direction so it isn’t caught within the machine as you begin sewing. The thread can be let go once a few stitches have been made.
Check your seam allowance after the fabric is ready for stitching. It is possible to use seam allowances to indicate the amount of cloth that is sewn away from the fabric’s edges. The standard seam allowance is approximately 5/8 inch (12 millimeters) (15 millimeters). To prevent your thread from becoming stuck in the machine as you begin sewing, you should hold the thread in a backward motion. A few stitches down, the thread could be let go.
Reinforcement Stitch
A reinforcement stitch can be created by changing your seam allowance and setting your stitch to be the length of two. Using this stitch at the beginning and finish of seams will keep stitches from unraveling. Because it’s so close to the edge, it requires a few backward stitches.
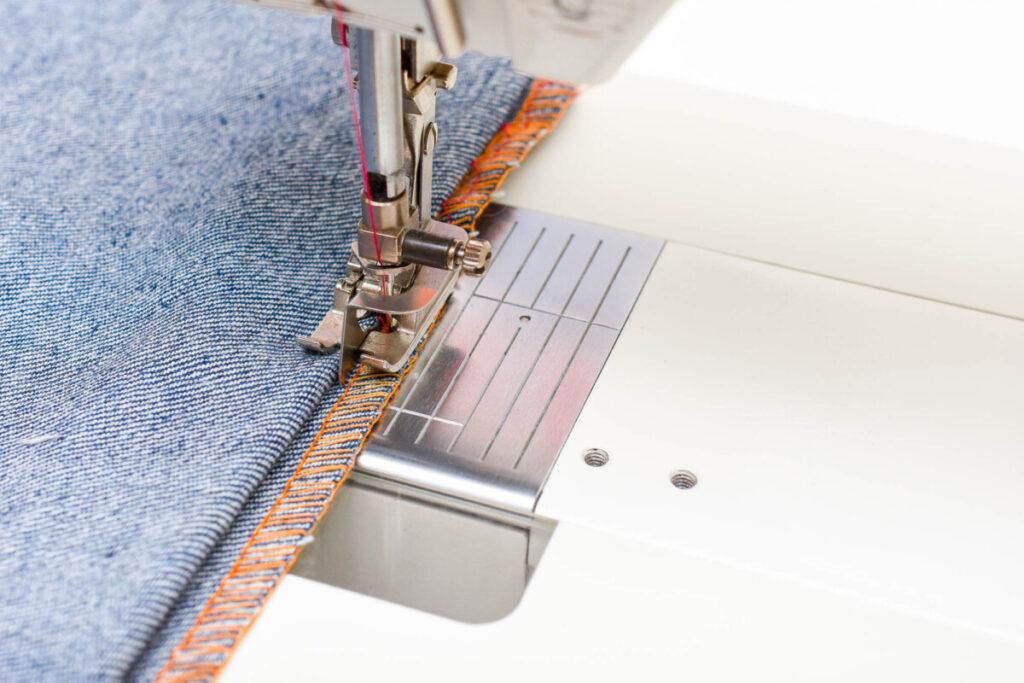
Sew the Seam
Stop back-stitching (after three or four stitches) and gently try to release the thread after you have accomplished the aforementioned steps Then, proceed in a sequential fashion, making allowances for seams as you go along. Using the aids in the needle plates will help keep the stitch perfectly straight.
Finish with Reinforcement Stitch
Remove the Fabric
Iron the Seam
Xem thêm : How To Hem Curtains Without A Sewing Machine? Step by Step Instructions
Finally, when you’ve finished stitching. Lastly, apply pressure. Seam ironing is a distinct method from regular ironing. Instead of dragging the iron across the seam, you press it in a few spots with a modest amount of pressure. A good straight seam is right there in front of you.
When you’ve finished stitching, it’s a good idea to press the seam. You’ll be able to get your seam in exactly the right shape and position for a beautiful and appealing appearance.
Related Questions
What is the difference between stitches and seams?
The term “stitch” refers to a loop of thread that is woven into the fabric and then slid back out. The thread can be woven through a single piece of fabric or several layers. Stitching lines are formed when a series of stitches connects two fabrics.
It is possible, however, to use a seam as a decorative finish to the fabric’s edges. When two layers of fabric are sewn together, the seam serves as a connection point. Sewing methods vary depending on the fabric and the texture.
How do you sew fabric together seamlessly?
When it comes to sewing textiles together, there are a slew of challenges. It’s very uncommon for a seam to split open or for the machine to have difficulty moving the fabric. In order to ensure that the fabric is sewed neatly, below are a few tips
- To maintain a smooth finish, it is best to use the same thickness and texture of fabric while sewing. If you have to sew cloth with a variety of textures at any point, you must practice on a scrap of fabric before sewing the final product.
- The fabric must be pinned correctly before stitching can begin. This will aid in the fabric’s adhesion and reduce the likelihood of sewing errors.
- The fabric must be wrinkle-free before sewing. Even if you do anything about the wrinkles in the future, the outcome will still be less than ideal. When sewing with cotton or other fabrics that stretch easily, it’s a good idea to iron the fabric first.
- Stitching speed, length, and type should all be considered. This will ensure that your stitching is perfectly smooth and uniform.
Conclusion
I wish you all the best with your sewing endeavors!
Please share it with your friends if you enjoyed it. In the event that you enjoyed this post, you may want to sign up for our newsletter. For those that are intrigued, I’m trying to provide an additional benefit! Please return to this page at the conclusion of it!
Nguồn: https://spasifikmag.com
Danh mục: Sewing Tips


