Trying to figure out how to manufacture curtains? In just eight simple actions, you will be able to accomplish this.
- How To Line Curtains Without Sewing? Complete Step-by-Step Guide
- Where Can I Sell My Sewing Machine Near Me? 5 Tips to Remember
- Where To Donate Sewing Machines? Comprehensive Guide
- What Is A Mechanical Sewing Machine? 16 Best Mechanical Sewing Machine Reviews
- How To Thread A Consew Sewing Machine According To Manual?
Checking your measurements twice before beginning any home improvement project is always a good idea.
Bạn đang xem: How To Measure And Sew Curtains? 8 Easy To Follow Steps For You!
For those looking for a tutorial on how to measure and sew curtains, you’ve found the proper place.
Materials Needed
- Decorators’ fabric.
- Warm months are kept at bay using lining fabric. If you want to retain the light’s clarity, you can alternatively use blackout textiles.
- For “no-sew” curtain versions, use Heat ‘n Bond.
- Affixation of heavy or medium weight
- Polypropylene thread
- Clips for curtain rods
Step 1 – Measure, Measure, Measure
Your curtain rod should be above the height of your window frame. Hanging your curtain rod higher than the window’s height is known as a “faux pa.” When you do this, the window appears to be smaller than it actually is. To get an immediate “vavoom,” place it high and broad.
I raised it about six inches above the glass.
Take measurements from the clips or hooks as illustrated to the floor, and also in the other way from one side with an instrument measuring tape.
It’s not just about measuring the windows, but also the height of the fabric that will rest on the clip.
In order to account for errors and seam allowances, add roughly 5 inches on top of your measures and 5 inches on the bottom of that measurement.
Step 2 – Pick A Pretty Fabric
DIY curtains are awe-inspiring. Fabric can be quite expensive. As a result, you’ll frequently see individuals making curtains out of drop cloth. The fact that it’s inexpensive means that you can spray paint or stencil designs on it. If the cost of cloth is prohibitive, you may want to consider an other option.
Take, for example, a 54-inch-wide piece of ornamental cloth for your home (most of them are).
If you have huge windows, like mine, you’ll need to sew (or use the Heat and Bond) a lot of fabric to cover them all.
As a rule of thumb, I’ll buy 1.5 more than the amount of material needed to cover the breadth of my windows. If you want to give your windows a more comprehensive appearance, you should buy twice as much window covering as you think you’ll need.
In my case, I needed a piece of fabric large enough to cover both the left and right sides. To cover the centre, I required a single piece of fabric that would be cut in half.
The measurement of a yard is equivalent to 36 inches.
Because of this, I wanted each panel to be 2.5 yards long, resulting in a total of 7.5 yards in length.
Step 3: Sew The Panels Together
In order to cover windows with wide apertures, you’ll need to sew two separate pieces of fabric together (see Step 2.).
The “right” side should always be sewn to the “right” side when sewing, as the “right” side is considered to be the most attractive side when using designs. Your curtains will have a beautiful seam that is hidden in the folds when you sew together the panels for DIY curtains.
Place a single piece of fabric on top. Then, with the “correct” sides of the half-panel together, cover it with the edges. Use straight pins to hold your fabric in place and form one huge piece of cloth as indicated in the diagrams. Pin the second half-patch of fabric to the first half-patch of fabric while it’s still on the table.
Sew it up after that. Seams up to one inch wide can be sewn. Keep your seams from being apparent after you lift them by not sewing directly on the white selvage (the fringed part of the fabric edge that keeps it from unraveling).
After unzipping, you’ll see a beautiful seam!
Flatten the seam with an iron to get a clean, finished look.
However, be aware! If you’re using designs over plain fabric, it may be a real pain if you don’t match the patterns and wind up with a seam like the one I did!
It’s time to repeat this method for the second broad cloth that you’ll use to make the second curtain.
Step 4: Press Seams And Hems!
Xem thêm : How Do You Control A Foot Pedal On A Sewing Machine?
Re-stitch the seams that you just sewed.. Iron the edges to seal them. I prefer to make curtains with hems of about 3 inches at the top and bottom. Think about the fact that you’ll also need hems on all sides! Press the hems all the way around. Make sure the hem is the same size around the entire garment.
Step 5: Make The Curtain Lining!
You can’t go wrong with lined curtains in your home! It’s actually fairly easy to do and quite cost-effective to do so..
The same steps you used to generate the wide curtain fabric will be used to construct the curtain lining. As with STEP 3, tie two lining fabric panels together and sew them together (or use Heat ‘n Bond).
Liner fabric will be a little smaller than the curtain fabric. It’s impossible for me to provide you precise measurements because my curtains may differ from yours. Trial and error is all that’s required. Make it slimmer and shorter. Make it as straight as possible.
Here’s a picture of how I’m attempting to gauge how much sewing the lining will require based on how it fits.
Step 6: Stick In A Heavy-weight Interfacing To The Top
Your curtains will hang lower than Aunt Gertrude’s if you don’t add an extra layer of interfacing at the top. HA!
I used scissors to cut out interfacing and then glued it in place. Purchase iron-on interfacing, which will hold it in the correct position!
Step 7: Tuck The Lining Fabric In
The interfacing can be folded into the cloth and pinned below the curtain fabric after it has been installed.
A half-inch of the rough edges will also be turned over.
With the lining sewed in, it should leave clear edges as shown above.
Step 8: Sew The Lining In Place
After that, you’ll sew the seams and the lining to the sides and the top of the garment. BUT……. Don’t attach the lining to the bottom of your curtains until you’ve hung your curtains, and don’t stitch the bottom edge until you’ve done so.
Check the length of your curtains before hanging them (remember that we added an additional layer of fabric on the upper and lower sections?).
The hems of the lining should be allowed to flow so that they don’t bunch and clump together when the curtains are closed.
There is no right or wrong answer here; it’s entirely up to you!
How do I get started when measuring for curtains?
Putting your track fittings or pole set up comes before thinking about fabric. In this instructional video, there’s a method of comparing yourself to others. Using a metal tape measure, measure 10-20 cm above the window and 15-30 cm on the other side for your curtain pole or track. Between the finials, you should measure the length of your pole (ie. do not add them).
How much fabric do I need for the curtain drop?
The drapes’ length isn’t predetermined. Perhaps you’re swayed by the sight of sill-to-sill drapes that are exquisite in their simplicity. Maybe you prefer the way a puddle looks with a lot of curtain fabric bouncing about on the floor below. There is no correct answer, although doing so by chance is not recommended. If you want to make sure you obtain the correct look and avoid overspending on fabric, take out the tape measure before placing your curtain fabric order.
A few inches off the ground is typical for lengthy curtains. This makes it possible to hang the curtains straight and prevents them from coming into contact with any potentially dirty flooring1.
Dictate the direction and if you’ll be utilizing a track or pole for your curtains after determining their design. This will determine where you start measuring from.
Pencil pleat curtain measuring instructions
Take measures all the way up the track if you’re using pencil pleats to hang your curtains. Your curtain will fit perfectly over it if you do this. Measure from the eye of the curtain ring to the end of your final drop with an iron pole. The curtain pole will hold the curtains in place.
In order to estimate how far you’ll have to drop the curtains, you’ll need to know where the curtain pole or track is located.
Xem thêm : How To Thread A Handheld Sewing Machine? 4 Easy To Follow Steps For You!
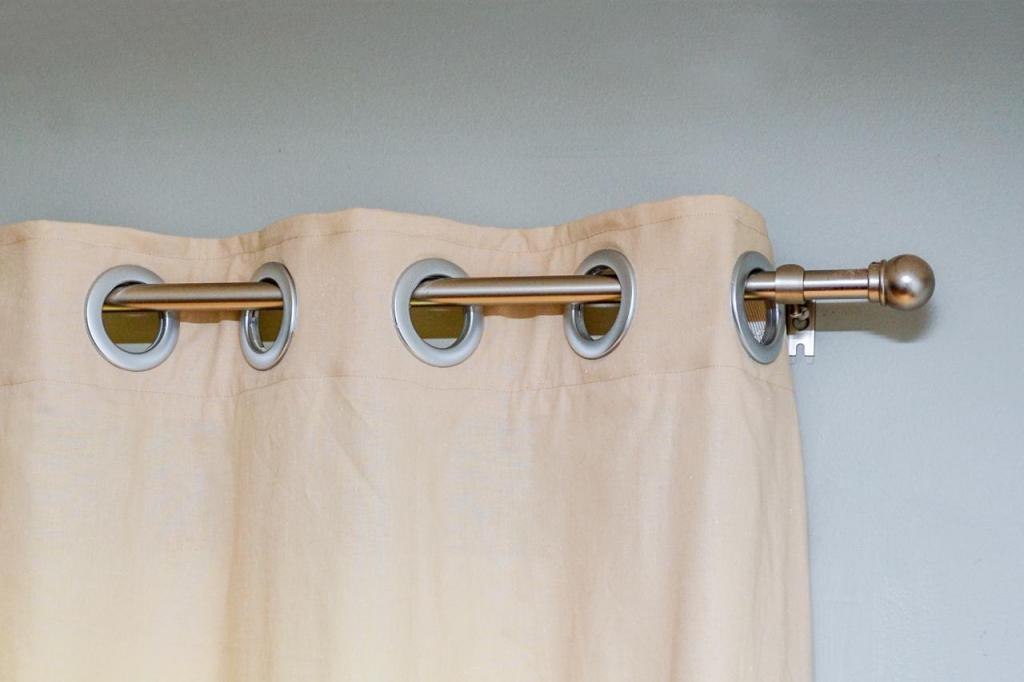
What is the best way to take eyelet curtain measurements?
To measure eyelet curtains, measure from the top of the rod to the final drop, and then add 5cm to that measurement. ‘ To accommodate eyelets, you must leave a 5cm gap from the edge of your fabric.
If you’d like us to make your eyelet curtains, please allow at least 5cm of space above the curtain rod. If you don’t, please let us know in the comment section of your order or by contacting us directly.
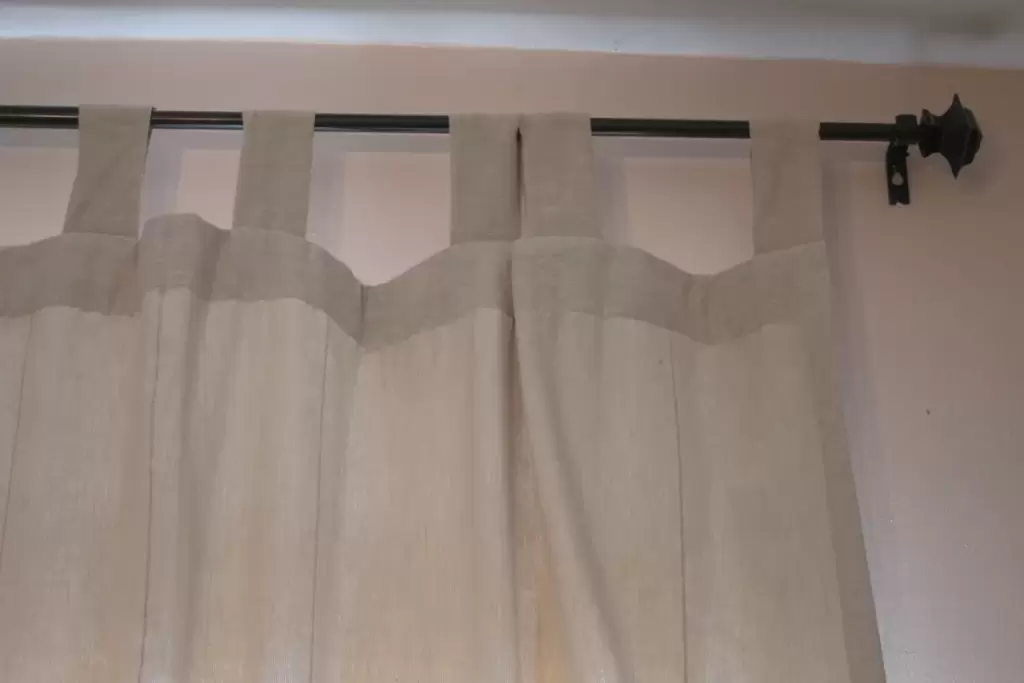
How to measure for tab-top curtains?
Take measurements from your pole’s highest point to the appropriate drop for tie or tab top curtains. In the meantime, take a look at the widths of the fabrics that you’ll need for your curtains.
How to measure for pencil pleat curtains?
Using pencil pleats on a track, measure from the highest point of your track to the hem of your curtains. When the curtains are pushed back, they should be able to completely cover this area. If you use an iron pole, be sure to take your measurements all the way from the curtain ring’s eye to the very end of the curtain. The curtain pole will hold the curtains in place.
Depending on where the curtains are to be hung, you’ll need to figure out the distance from the curtain pole or track to the final drop point.
How to measure for eyelet curtains?
Add 5cm to the length of the curtain rod when measuring for eyelet-style drapes. Because eyelets are often 5cm lower than the bottom of the curtain, you’ll need to allow for this while designing your curtain.
Please make sure that you have at least 5cm clearance above the curtain pole if we are making eyelet curtains. If you don’t want it, please let us know in the comments section of the order form or by contacting us.
How many widths of fabric do I need for curtains?
When it comes to curtains, they’re not just a bunch of fabric. This is a personal preference, although it is normally determined by the curtain heading style you’ll require (often 2 or 2 1/2 times the fullness for a sophisticated look) in most cases.
For each heading, here’s a list of the quantity of fullness that you need to use.
A pencil pleat, gathered, floppy top two ful (6′′ Pencil pleat tape might be 2.5′′ for greater depth).
Fullness of the Eyelet/Tab Top 2
Pillowcase with an additional 2.3% of volume.
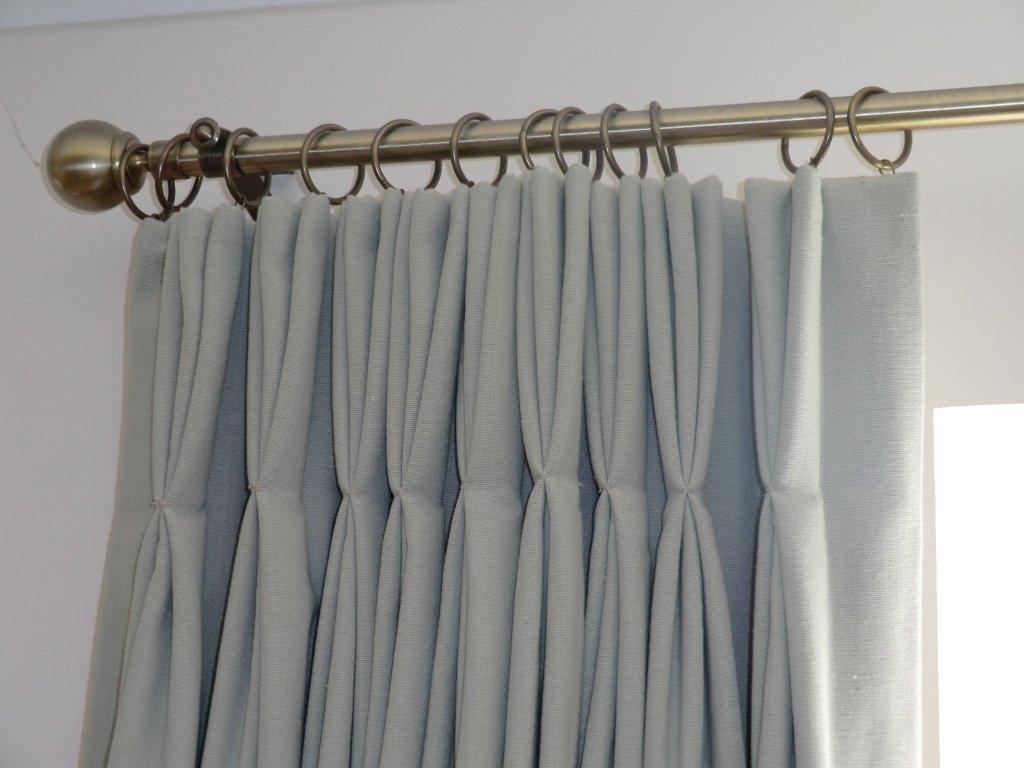
Fullness of 2.5 Triple Pinch Pleats
Calculating the amount of curtain fabric needed is a simple process. The first step is to multiply the length of the track or pole by the desired width (e.g. 150cm + 2.5 equals 375). The fabric’s breadth is typically about 137cm, so divide the figure by that (375 divided by 137 is 2.73). Determine how many widths you’ll need by rounding the closest total number (3). Decide how many meters of curtain fabric you’ll need by multiplying the drop length by the curtain width (175cm drop, 3 times 525cm = 5.5 meters).
For a pattern, you need to think about how much extra fabric is needed to match the pattern based on the amount of its repeat. Once you’ve determined your desired heading and the desired curtain drop, you’ll need to divide the design in half and round it up.
Example: Curtain drop 220cm, hem 25cm (for pencil pleat). 245cm is the result of multiplying 220cm by 25cm. It takes 64cm to complete a repeat of the pattern. If you divide 245cm x 64cm = 3.8 repetitions, then the answer is: You have to round to four. To achieve a total drop length of 256cm, 4x64cm repetitions are required for each drop.
How flexible are you when I order curtain fabric?
Because we sell our stunning variety by the half-meter and offer custom-made options for custom-designed schemes, we’ll never force you to buy more curtain fabric than you actually need. Regardless of whether you’re unclear of how much fabric you’ll need, our experts are here to help you over the phone or via our free Virtual Visit service, which allows us to examine your requirements via video chat.
Create a custom design and include at least one more repeat to give yourself some wiggle room and the freedom to begin your pattern wherever you wish.
It’s A Wrap!
It’s as easy as that!
There is now a finished window in the room you’ve selected.
Nguồn: https://spasifikmag.com
Danh mục: Sewing Tips


