In order to complete a sewing project, you must have the bobbin filled with thread that matches the color of the finished product. With your hands, you can weave thread onto the bobbin. However, it takes a lot of time and doesn’t wind the thread as tightly as a machine can. The bobbin will be able to hold less thread if the thread is coiled loosely. If the thread is too loose, it may become stuck in the machine and cause a lot of problems. Because Singer sewing machines are equipped with bobbin-spinning mechanisms, you can have the job done in a matter of minutes.
- How To Make A Buttonhole With A Singer Sewing Machine? Ultimate Guide
- Why Does My Sewing Machine Keep Jamming?
- 13 Steps on How to Sew Curtains With Grommets? Things You Should Know
- What Is A Long Arm Sewing Machine? How Do You Use A Long Arm Machine?
- How To Make A Chair Slipcover Without Sewing? Things You Will Need
How To Fill A Bobbin On A Singer Sewing Machine Correctly
Things You’ll Need
- Singer sewing machine for the home
- An enormous thread spool
- Bobbin
- Scissors
Bobbin Threading a Basic Singer Sewing Machine
Step 1
It’s on the right-hand side of the steering wheel. The needle will not sew if your finger is on the indented disk in the middle of the wheel until it stretches outward.
Step 2
Attach the thread spool to the machine’s spool pin, which may be found on the machine’s upper right side. Make that the thread spool is held in the correct position by placing the spool cap on its spool pin.
Step 3
Pull the thread end toward the thread guide on the left side of the unit. Place the thread in front of the guide with both hands. The thread needs to be pushed into the guide’s slot from the side.
Step 4
After pulling the thread ends to the right, the thread should be drawn back through the slot at the top of the thread guide.
Step 5
The bobbin tension disk is positioned on the left-hand side of the machine, to the left of the needle. Rotate the disc counterclockwise using the thread’s other end.
Step 6
Make sure there is at least an inch of thread left on the bobbin by inserting the thread’s end into one of the tiny holes.
Step 7
Xem thêm : What Is A Blind Stitch Sewing Machine? Uses & More
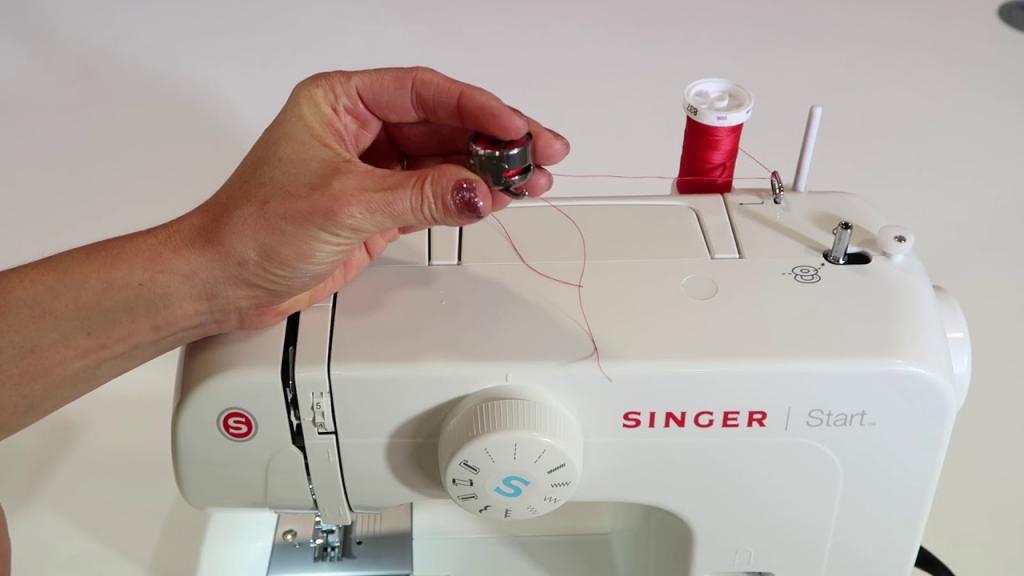
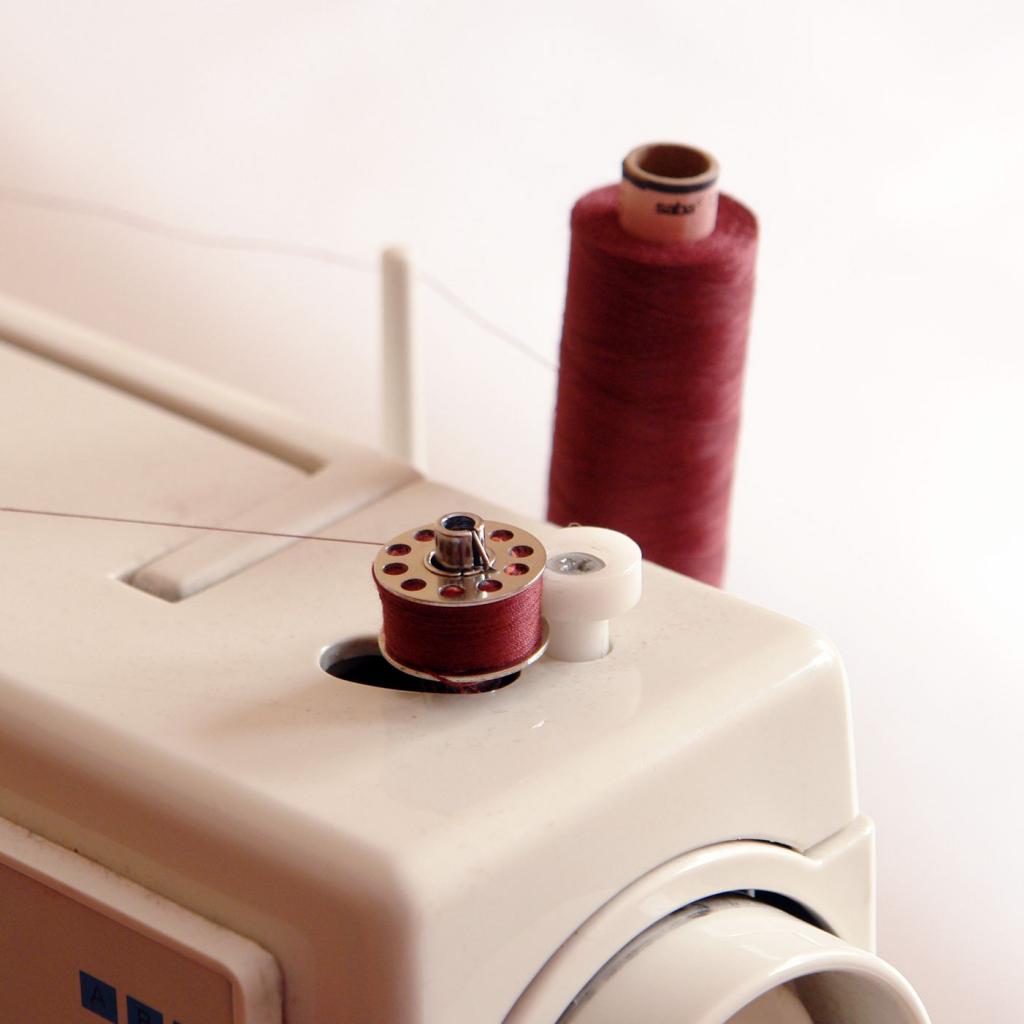
You’ll find the bobbin winder on the machine’s right-hand side, at the front. Push the bobbin all the way down to its bottom position, with its threaded side facing upwards. Bobbin winder should be moved to the left.
Step 8
Maintaining the thread at the end, press the pedal to fill the bobbin. Before putting the machine back together, trim any extra thread from the bobbin’s top.
Tip
These instructions are for the most common model of Singer’s home-based sewing machine. Because your machine’s components may be located in a different location, check the handbook for a diagram with a label.
The item may have a different thread guide or a different style. As long as the guide is level and constructed of steel, there is no need to change the handwheel’s position in order to easily thread through it. The thread can be spun counterclockwise around the disk inside the guide straight from the spool.

How To Insert A Front-Load Bobbin On A Singer Sewing Machine
- In order to raise the presser foot, first lift the needle.
- Hold the bobbin case with one hand while opening the bobbin cover.
- Test to see if the thread is going clockwise by putting the bobbin in position.
- Place the bobbin’s case with its latch in the slit and then thread the thread through both the slit and your finger.
- Place the bobbin on the shuttle for the bobbin machine.
How to Install a Top-Load Bobbin on a Singer Sewing Machine
Setting up a top-load bobbin is much simpler.
For starters, you must unlock the bobbin’s cover by pressing its right-hand button, which is located near the bobbin cover. The bobbin can then be placed inside after the lid has been removed. A counterclockwise rotation of the bobbin is necessary if it is to pull your thread in a particular way. Top-loading bobbins are usually marked with arrows at the bottom of the machine to help you figure out which way to go.
You’ll then need to take the thread and insert it into the first bobbin case aperture. Once you’ve done that, make a U-shape under the second incision as shown below.
Xem thêm : What Is A Grainline In Sewing? Why is a grainline so important in sewing?
Replace the bobbin cover after removing the lever from the presser’s foot. It is necessary to re-insert the tab’s left end under the base. The right side of the base will return to its original place with a swish.
How To Insert A Top Drop-In Bobbin On A Singer Sewing Machine
- It is recommended that you lift the needle as high as possible.
- To remove the bobbin cover, locate the release button and press it.
- Pull the thread to determine if it spins counterclockwise when the bobbin is inserted into the machine.
- The thread should be snagged from the designated position and then dragged to the left.
- Pull the top of the bobbin until it stops in another slot, then place it on top of the bobbin.
- You’ll need around 6-inches of thread, and you’ll need to move it toward your machine’s presser foot to keep it there.
- Return the bobbin cover plate to the needle plate by putting it back in place.
Find the manual for your Singer machine to locate the designs for thread guides and slots.
How To Raise The Bobbin Thread On A Singer Sewing Machine
- Turn the sewing machine off to make sure it’s safe
- Lift the presser foot and needle.
- It’s critical that you keep your thread in your needle and keep turning your handwheel until you lower and raise the needle at the same time.
- Watch the bobbin thread rise as you pull the top thread.
- Make a loop with the needle and bobbin threads and pull them both back.
Is A Drop-In Bobbin Better?
For beginners, sewing machines with drop-in bobbins are becoming increasingly popular. You can tell how much thread is left in the bobbin since they use an opaque cover. It’s easier to thread a drop-in bobbin than a front-load bobbin because you don’t have to remove the accessory box. When utilizing a drop-in bobbin, you may find that you experiment less with tension.
Do you think a front-loading bobbin is better?
Beginners can use drop-in bobbins, but front-loading bobbins have its advantages. For example, a screw in the bobbin case allows you to simply adjust the bobbin’s tension. If you’re having issues with tension, you can also change the bobbin’s cover.
Are Metal Or Plastic Bobbins Better?
Depending on the case you have on your sewing machine, plastic and metal bobbins will have different advantages or disadvantages. Plastic bobbin cases require plastic bobbins while metal bobbin cases necessitate metal. The casing and your stitching experience may be harmed if you use an incompatible bobbin.
How Do I Know What Size Bobbin To Buy?
There are several different sizes of bobbins to choose from. You must be able to establish the size of the bobbin case you have in order to acquire the correct size. The bobbin needs to be able to fit in the casing without moving, but it shouldn’t be too large that it can’t. As an alternative, you can look out the bobbin size required in the handbook that came with your sewing machine.
Can You Hand Wind A Bobbin?
If you don’t have a bobbin winder, you can wind the bobbin by hand, but this is dependant on the type of thread you’re using. The hand-winding of the bobbin is a breeze when using robust materials, but the process takes too long with delicate threads because they get tangled in the winding process.
Conclusion
You now know how to thread a Singer machine’s thread. Before inserting the bobbin and elevating the bobbin’s thread, make careful to thread the top thread and the Singer bobbin. At first, it may seem challenging, but with practice, you’ll master the skill in no time at all.
Nguồn: https://spasifikmag.com
Danh mục: Sewing Tips


