Curtain making might be scary because of the sheer volume of fabric required. With just a few straight seams, creating curtains is quite easy. Adding a fun burst of color or accent to your existing decor is as simple as making your own personalized curtains. You may not always be able to discover a curtain set that perfectly matches your style at the store. I’ll show you how to make curtains in this post so you may redecorate your home as frequently as I do. Enjoy!
Steps on How to Sew Curtains With Grommets
Step 1
Multiply the area’s width by 1.5 to get the final result. The cut width of the fabric should be increased by six inches.
Step 2
To get the final drape length, multiply the finishing drape length by 8 inches and add 5 1/2 inches for the top fold-over facing. Then cut the cloth to the desired length.
Step 3
The lining should be cut at the same width as the cloth. Add 1/2 inch to the finished drape length to get the lining’s length Cut the fabric 54 inches wide and 63 1/2 inches long for a drape 32 inches wide and 50 inches long; cut the lining 54 inches wide and 50 1/2 inches long.
Step 4
Using a sewing machine, turn the bottom hem of the fabric 4 inches up, then turn it another 4 inches up and press. The second fold should be stitched as near as possible.
Step 5
Press the fabric’s top edge by 5 inches. When the lining is joined, the top facing will be folded back down. On this side, the grommets are spread out. Remove the fold.
Step 6
Sew close to the second fold of the lining hem after turning the hem 3 inches over twice.
Step 7
Sew a 1/2-inch seam allowance along the top edge of the lining and the top edge of the drape, with right sides together. Lay the drape on the table with the right side facing the table after turning it right side out. The self-facing is created by folding the drape along the pressed fold line on the lining side. When the facing is folded back into place, the lining extends 5 inches above the top of the drape.
Step 8
Press each 1 1/2-inch-long outer edge after it has been turned over twice. It is 1 inch shorter on the lining side compared to the fabric side. Close the second fold with a stitch.
Step 9
In order to get an accurate measurement of how long it will take to drape a piece of fabric, lay it flat against a table with its right side facing up. To determine the number of grommets per panel and the distance between them, multiply this amount by an even integer. Between 6 and 8 inches is the standard distance between grommets. A 48-inch wide fabric panel, for example, has 8 grommets positioned 6 inches apart.
Step 10
Place a pin at the halfway point between the left inner hem edge and the top fold of the garment. The first grommet’s center can be seen here. It is important to keep track of how far you have to go, so you can determine how many grommet locations you need.
Step 11
Xem thêm : What Is A Low Shank Sewing Machine? Helpful Information
The top of the grommet placement line should be drawn 1 inch from the top of the facing on the incorrect side. First pin location is at center, top of the grommet is immediately below top of the grommet placement line; trace around grommet’s inside with grommet pattern. Make a list of all the grommet locations on the drape’s length.
Step 12
Make holes in the grommets. Work your way outwards from the center of each grommet trace, starting with a little snip. The outside edge of the drawn line should be snipped around the circle.
Step 13
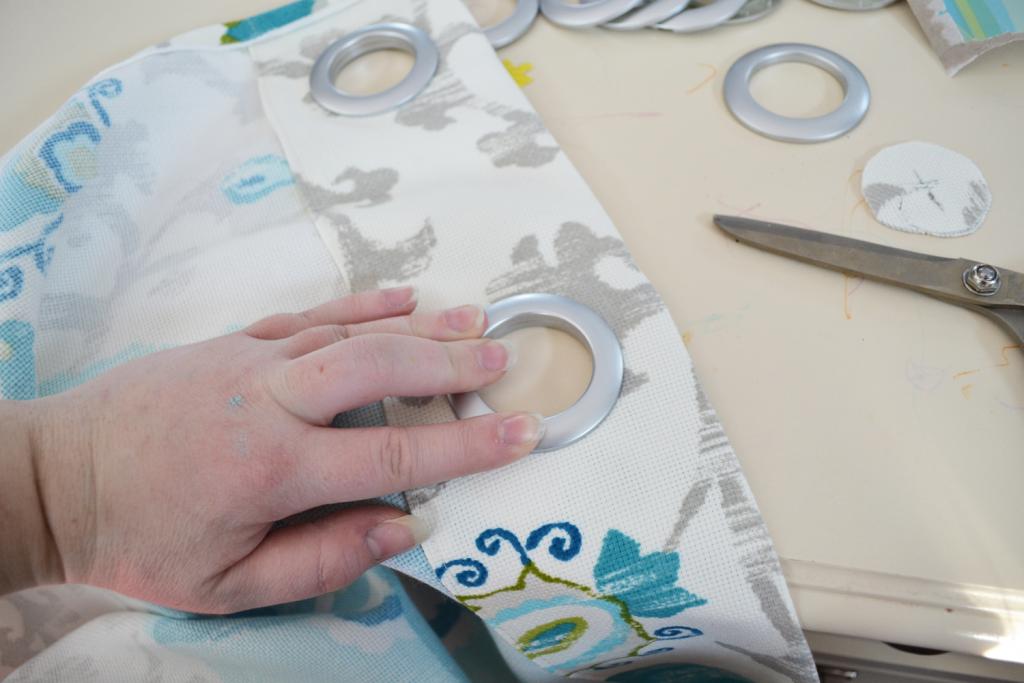
Using a pair of scissors, cut a small slit in the flange of one of the grommets and lay it over the grommet. Do what you need to do to make the drape flat around the grommet; extra fabric may be necessary. Place the female side of the grommet on top of the male side and snap into place, following the manufacturer’s instructions.
How do you Put Grommets in Curtains?
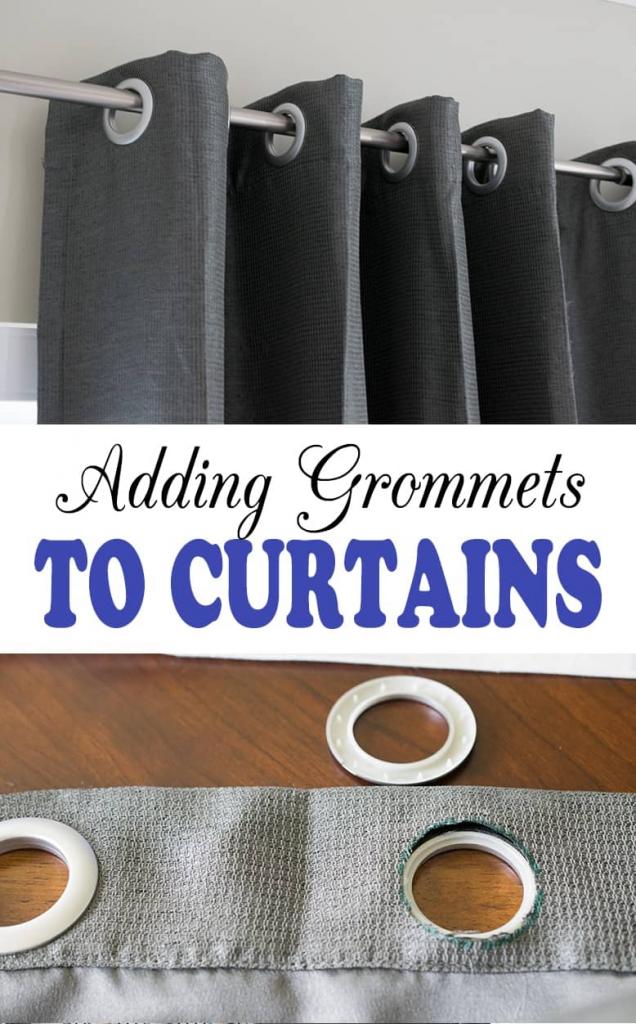
Put a male grommet on the table, with the snipped hole positioned over the grommet and the flange of the grommet protruding through the hole. Drape must be flat around the grommet, so snip additional fabric off as needed. Snap the female side of the grommet into position on top of the male side, following the manufacturer’s instructions, as shown in the illustration.
Each grommet is made up of two equal halves that are welded together. Curtain grommets require the following:
Place the grommet on one half of the curtain’s designated and perforated top.
Afterwards, cover the grommet with the other half side of the grommet. To keep the curtain in place, clamp the grommets securely. Do this in all the templates marked on the curtain where grommets will be fixed.
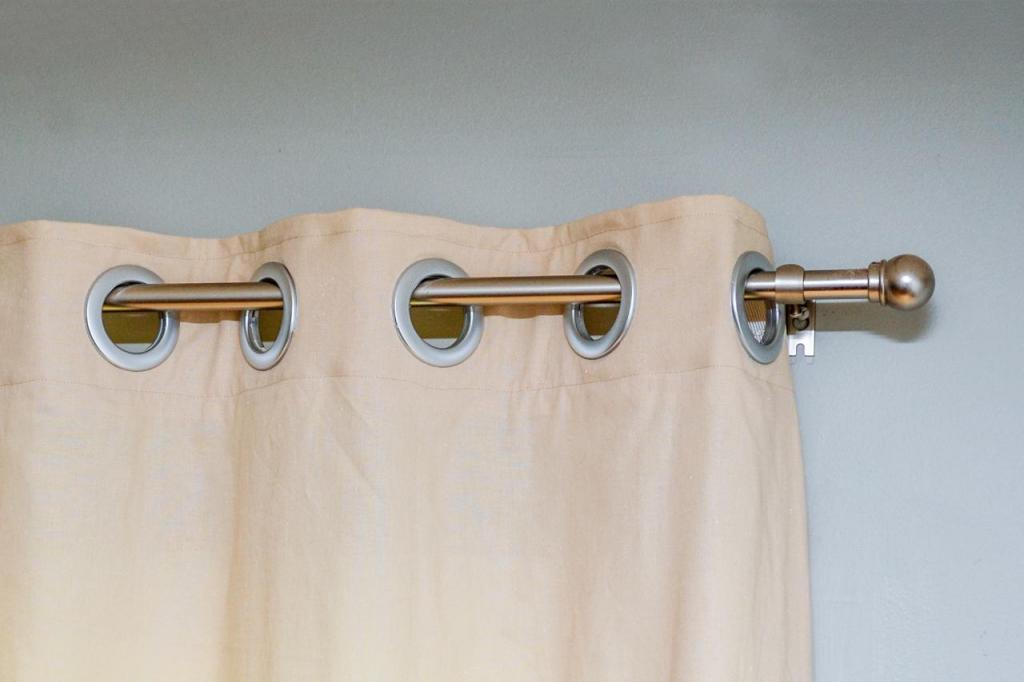
Finally, working your way backwards and forwards through the grommets, insert the curtain rod. Then, simply nail it to a wall. Metal grommets and plastic grommets are both installed using the same procedure.
How do You Make Grommet Curtains Look Good?
First, you need to learn how to sew grommet curtains, after which you pass the metal rod through the grommets in a forward and backward motion, as if it were some sort of zigzag movement.
To keep the curtain in place, you’ll need to place the bracket between the first two grommets, which will allow it to move freely or remain still. Remember that the length of the metal rod you provide must match the length of the grommets on the drape while performing all of this.
The well-folded, pressed, and professionally sewn curtain, which has a well-placed grommet, would create an upscale look in the room..
How far Apart do you Place Grommet Curtains Evenly Spaced?
Xem thêm : How To Oil A Kenmore Sewing Machine? How Do You Know If Your Sewing Machine Needs Oil?
Grommet curtains should be spaced six inches apart in the middle.
The grommet curtain spacing makes it evident that whatever is behind the rod is either the window frame or the type of shades that are used at the window.
How far apart should curtain grommets be spaced?
The spacing of curtain grommets is not set in stone. The fabric’s thickness is frequently a deciding factor. Your grommets can be placed 3 to 4 inches apart on thin curtain fabric. Grommets should be spaced around 5 to 6 inches apart if the fabric is heavy. This will prevent the curtain fabric from being stretched out of shape when it is hanging on the rod.
Generally speaking, the larger the curtain ring, the more space between them you should leave. If you’re working with thick cloth, you’ll want to use extra-large rings.
What are the most used types of curtain grommets?
Curtain grommets come in a wide variety of styles. In the following list, you will find various examples:
Fixed Grommet
Shower curtains often employ this style of grommet. Shower curtains and other heavy textiles are the best candidates for this product because of their pre-sewn seams. They are used to keep water out and hold your curtains in place. Easy to install, these grommets can be purchased at various sizes and styles.
Adjustable Grommet
These grommets are adjustable so that they can fit rings of various diameters. Because of this, they are frequently utilized in any form of curtain, particularly in window coverings. With the help of a sliding sleeve, you can alter the length to fit your curtain rings. Plastic or metal are common materials for the sliding sleeve. A small hole and a rubber washer on the end of these grommets hold the curtain rod firmly in place..
In some locations, the adjustable grommet is referred to as a pinch pleat or pinch roll because of its ability to be adjusted. Formal curtains with a need to keep out drafts from windows and doors often utilize this sophisticated fabric because of its attractive appearance. Decorative pinch pleats, like those found on drapes and blinds, can be added to a room’s design.
Conclusion
Sewing curtains with grommets is a bit of a challenge, but it’s not impossible. Buying and sewing curtains with grommets will be a breeze for anyone who reads this simplified guide.
After attaching the grommets, you can organize and beautify your curtains. Initially, they don’t come with grommets.
Creating a custom curtain with evenly placed grommets at the top is now as simple as taking a few minutes, sitting down, and measuring the proper length of the cloth.
The room’s dcor will suffice to convince you that sewing grommets into your drapes was a worthwhile investment of time and effort.
Nguồn: https://spasifikmag.com
Danh mục: Sewing Tips


