The pillowcase is one of the first projects you tackle while learning to sew. Pillows are a popular decor item since they are both comfortable and decorative. To the untrained eye, making a pillow case appears to be a simple task. It’s as easy as writing four lines of code. However, in order to insert the stuffing, you must first cut a hole in the pillow. Afterwards, the hole needs to be filled in. The problem, as you’ll soon discover, is that stitching it after stuffing is no longer an option. The next logical issue is how to use a sewing machine to seal an unstuffed pillow. You want to make a cushion that looks as good as the ones you buy after all the effort. However, the good news is that this tutorial has detailed instructions on how to carry out this accomplishment. In just a few hours, you’ll have a beautiful, finished pillow that everyone can admire.
- How To Make A Buttonhole With A Singer Sewing Machine? Ultimate Guide
- How To Sew Swag Curtains? Things You’ll Need
- How To Reverse Stitch On A Singer Sewing Machine? Step by Step Instructions
- What Is Ease In Sewing? How Do You Define Negative Ease?
- What Is A Blackout Curtain? How To Attach Blackout Lining To Curtains Without Sewing?
How to Close a Pillow with a Sewing Machine Adopting the Simplest Method
Step-by-step instructions can help you better comprehend our rules, which have been broken down into a series of simple steps. We strongly advise against reading any of the procedures that could lead to a sloppy final product.
Step 1:
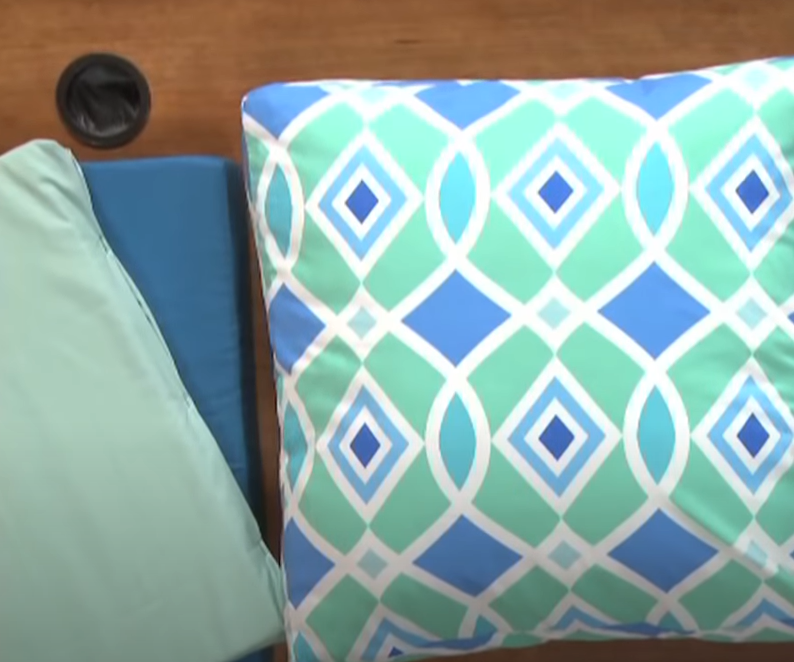
When making a pillow, you first need to choose out the fabric. Make sure that the material you chose is gentle and does not irritate your skin before making your final decision. Silky fabric, on the other hand, is more pleasant than cotton.
Step 2:
Sharp scissors can be used to cut the fabric into squares, rectangles, or any other shape that you like. In any size you like, cut two identical pieces of the format you’d like to use. Sharp scissors might reduce the quality of the final fabric, so avoid using them.
Step 3:
One fabric on top of another. Place them so that their exteriors face one another. Make sure that the edges are straight. When you’ve done so, lay the seam between the feed dogs and sewing foot. Remove the foot, select your preferred stitch, and then turn the machine on. It’s important to sew the entire seam from one side to the other.
Step 4:
For the other three sides, do the same thing. Since little stitches might make the seam loose, the fabric of the pillow will be released slowly, make sure the seams are sealed with a thick stitch. Check to see if the seams have been stitched with twin or even triple stitching at the beginning and end.
Keep in mind to leave a sliver of each seam unstitched. Otherwise, you won’t be able to put the pillow’s fabric inside at all.
Step 5:
Until this moment, you’ve built a box with three closed and one open seam. There’s a chance you’ll remember that in step three, you were sewing while retaining the box shape of each piece. It’s time to remove the old covering.
Step 6:
You may now decorate the exterior of your cushion with whatever design you like. Make a design template and position it on each side of the surface. Then, copy the design across the entire surface. Using a needle or a hand needle, you may then stitch the designated pieces together.
Step 7:
To prevent yourself from attempting this, use a hot iron to press the pillow cover’s exterior.
Step 8:
Xem thêm : How To Finish Sewing A Pillow After Stuffing? Comprehensive Guide
The pillow’s material can be silky cotton, feathers, or anything else you choose. If you’re looking for a high level of comfort, feathers and high-quality cotton are often the best options. You should, however, talk with a doctor if you have stomach problems or any other disease before making a pillow purchase.
Step 9:
As soon as you’ve stuffed your cushion with enough material, sew up the tiny gap you left unstitched in Step 4. Because the pillow has already taken on an enormous shape, it is advisable to stitch the seam unstitched using a hand-stitched needle rather of putting it beneath the feed dogs.
As a result, the final gap should be stitched with a very tiny hand needle. Double stitch the edges after sewing the seam with dense stitches. The machine’s seam will be strengthened as a result of this.
The cushion has been placed. Now all that’s left is to bask in its glory. Enjoy!
Necessary tips
- The flat position is preferred over the vertical posture every time. Avoid squeezing it or applying pressure on it while it is still folded. Stitch seams might be weakened by certain positions. When one of these postures is used, the fabric may appear to tear.
- Soft cotton pillows should be placed in direct sunshine at least once a week if possible. Because the cotton does not form a lump under the influence of the sun’s light, making it more pleasant for the user.
- If you want to keep your pillow cover clean and free of dust and grease, opt for a loose cover. If the original cover is filthy, it is preferable to use a soft cloth or cotton to remove the dirt. A small bit of detergent can be soaked in the cotton and rubbed onto the cover. Put the pillow in the sun for a few hours if you find the dirt has disappeared.
- When sewing, be careful to choose an ergonomic sewing chair.
Techniques to Effect a Good Pillow Closure
There are several ways to sew a pillow back, and they all depend on your personal preferences. Decide how you intend to use your pillow before making a pillow-back choice. Do you have to take the laundry cover off before you can start? Yes, I want to keep it shut firmly. The choice is yours: do you desire an eye-catching lock or one that goes unnoticed? It’s time to put your feet up on your bed after you’ve answered these questions.
Sealing your pillow is not limited to the sewing procedure.
Button Closure Method
When using this method, you will need to cut an additional 6cm from the initial piece of wood. On both sides, fold each edge twice at a distance of two cm. In order to prevent the edges from folding and to stop a ridge from being misplaced, you push the edges with a hot iron after each fold.
Button ends must be stitched together. Using a rag and an eraser, mark the spot where the button stitching will go. On one side, mark the button’s exact location, and on the other, mark the holes that correspond to it.
Along the buttonhole edge, sew a hem. For this type of stitching, a sewing power of 530 to 550 feet per minute is recommended. Shops typically carry buttonhole sensors. In terms of size and length, they are always the same.
Using a sewing machine, you may either sew the buttons in manually or use button sewing software. Sew the buttons to the inside of the garment in the case that the buttons are arranged in a tidy, clean loop.
Xem thêm : How To Sew A Pillow Sham With Flanges? What You’ll Need
It’s now time to put the two pillow parts together. Ideally, one band should have buttonholes and the other band should have buttons. Then, you may sew the pieces together and install the buttons as per the instructions.
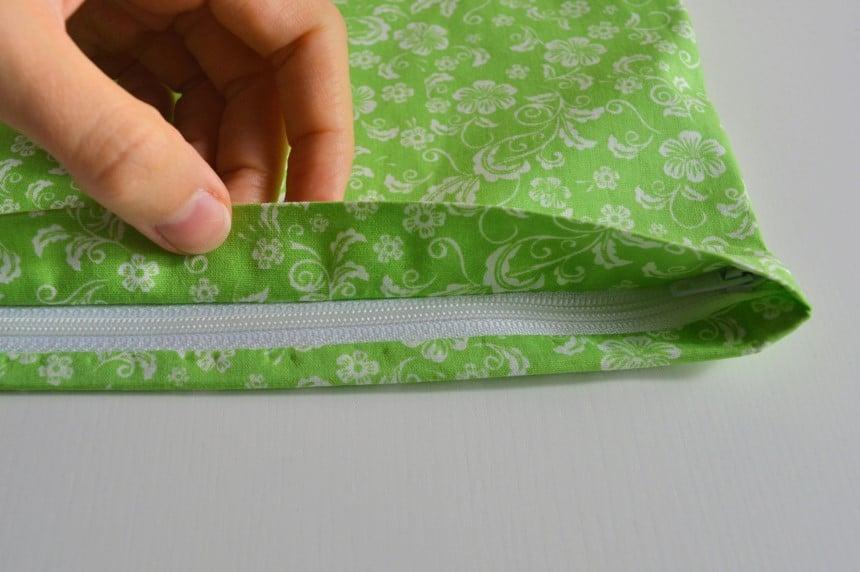
Zip Closure Method
You’ll need a zip before you can begin. The first step is to remove the frame’s bottom two edges. From the top to the bottom, you will hem all of the edges. An underlock, or a curled edge, is used to sew the sides together. Zip lines can then be used to finish the top of your pillow.
There are 1.5cm and 1cm marks at the edge of the hem. The best area for zippers is created by pressing on both sides. Stitch the specified hems with a zipper foot.
When trimming a cushion, be sure to account for the length of the zipper. Using an embroidery machine stitch, allow a 2cm gap and then sew. Now that the zip has been opened, you can utilize it.
Best Ways to Close an Opening when Making a Pillow
Before deciding on the ideal way to close your pillow, consider a number of factors. From the fabric you choose to the final look, it’s important to be delighted with the overall result of your pillow.
- Pockets are one of the easiest and most effective ways to close the cushion. Overlapping flaps of cloth are included on one side of the cushion cover in this design. Pull the folds over your cushion and place a pillow formed from them on top. If you have enough fabric left over, you can quickly accomplish this by cutting out a rectangle that is large enough to cover all of the edges with surplus material.
- Consider hand-stitching the traditional method of closing a pillow, which is to sew all four corners together. Because you want all sides of your pillow to be exactly alike, this is the safest option. In cases where cutting pillows isn’t an option, or if you’d prefer to utilize a cushion instead of a shape when inserting it, this method is ideal.
- Make the case look like an envelope instead of a pillow case. To close the case around the pillow, place the pillow inside and pull the case’s cover over the pillow’s cover. Despite the fact that this approach necessitates more material, the complexity level is comparable to that of the pocket-style method.
Each of the three pillow sides can be closed in a variety of ways after being sewn with an embroidery machine, depending on your personal preference. The cushion will last for a long time if these measures are followed.
Questions
What is the aim of a closed seam?
Open seams and closed seams both have the same width on both sides, which makes them very comparable to each other. Instead of separating your hands, you can just link them together.
What is a Whipped stitch?
It is a simple hand sewing stitch that requires the needle to be inserted and then withdrawn from the fabric in a criss-cross pattern.
Final Words
Do you think it’s an easy or a difficult process? There are a lot of steps, but they’re not that difficult.
Once all of the stages have been performed, I’m assuming you already have a wonderful cushion. It’s wonderful to be able to invest your time and effort into something you’ve worked so hard on.
You should already have a sewing machine-aided way of sealing the pillow. Make sure to sew neatly!
Nguồn: https://spasifikmag.com
Danh mục: Sewing Tips


