To sew high-quality clothing and everyday wear with machine-made construction, all sewing machines serve the same goal, but they aren’t built the same way. Even within a single firm, the sewing machine’s design and functionalities might vary greatly from one model to the next. As a result, the mechanisms for threading sewing machines are diverse, resulting in a somewhat different threading operation for each machine. In this tutorial, we’ll teach you how to thread the Euro-Pro Shark Sewing Machine.
Step By Step Guide
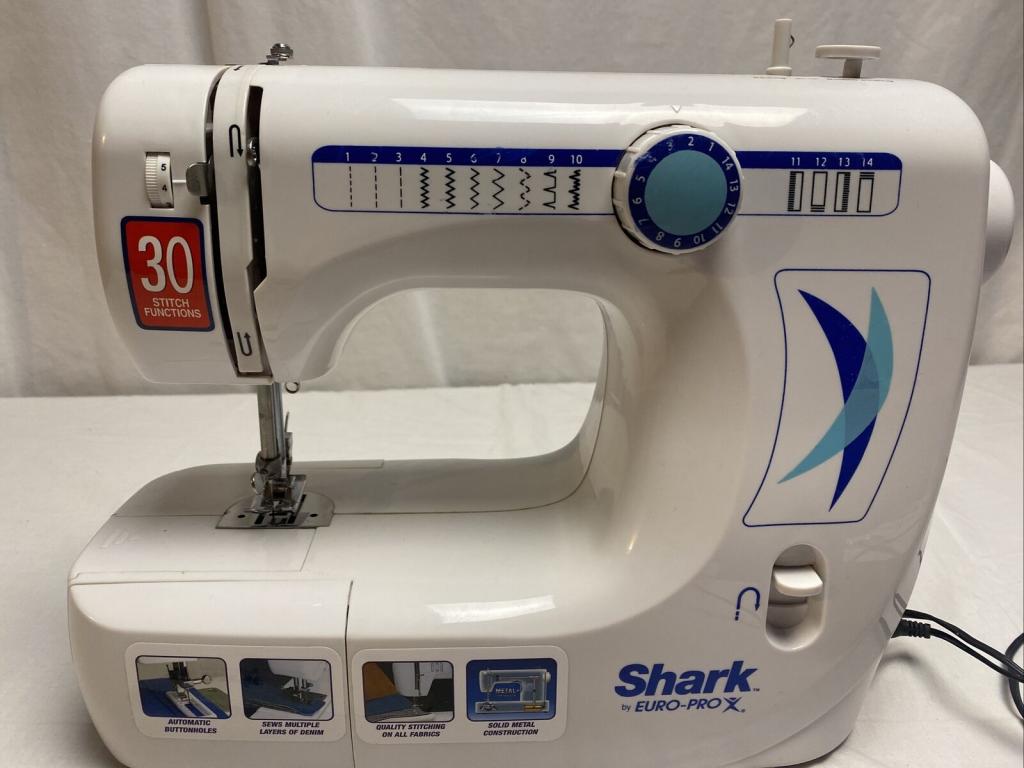
Please keep in mind that this manual is exclusive to the Shark 612C model. To learn how to use a different sewing machine model, consult the owner’s manual.
Step 1
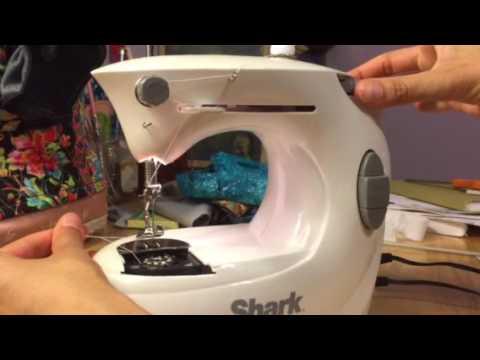
Make sure that the thread spool is attached to the spool pin before proceeding. It is tucked away in the machine’s right-hand carrying handle. Its back is to us.
Step 2
The upper-side lead thread that passes through the thread guide just above the machine’s handle.
Step 3
There were only a few spaces left in the guide for the first higher thread, which was specified in step 2 of the procedure.
Step 4
Xem thêm : How To Sew A Lapped Zipper In A Pillow? A Step-by-Step Learning Guide
The thread should be positioned around the thread guide and then down the thread guide before continuing the stitching process.
Step 5
As you descend through the discs of stress, lead threads come toward you.
Step 6
Continue to drag the thread into the slit by lowering it into the slit further. Making a “U” shape, bring the thread back to the left-hand part of the guide, and catch the spring that is used to check the thread as it returns to it on the left.
Step 7
Continue to drag the thread into the slit as you go. Using a “U” shape, bring the thread back to the left side of the guide and capture the spring that is used to verify the thread as it returns to it on the left.
Step 8
Slide it through the guide for horizontal threads after threading downward on the lead thread.
Step 9
The clamp needle connects the wire thread guide to the guiding thread.
Step 10
Xem thêm : How To Free Motion Quilt On A Brother Sewing Machine?
Pull six inches of thread through the needle from the front to the rear to create an extension. Threads are now on this machine.
Bobbin Winding
Remove the Bobbin Case by following these instructions:
- Remove the sewing machine’s extension table.
- It can be done by squeezing to the left.
- Pull the tab on the shuttle cover to remove it.
- Right-hand side of cover has the cover.
- Turning the dial to the highest setting will raise the needle.
- To your left, turn the handle to your right.
- When you draw the bobbin case back, hold it by the hinged latch.
- Straight from the shuttle, this Bobbin case is ready to use.
To Wind the Bobbin:
When thread is loaded into the machine, the spool pin holds the spool securely in position. The location of the spool pin
- Take remove the spool pins from their sockets.
- Start with the felt then place the spool of thread into this
- Place the spool of thread into the felt first, and then proceed with the felt.
- As seen in the illustration, the thread is emerging from the thread spool.
- Pulling the wheel away from you while releasing the clutch will release it.
- As a result of this, you may spin the dial without moving the needle.
- Bobbin.
- When you’ve finished winding the spool, it’s time to start sewing!
- The Thread Guide encircles
- To keep the thread taut, pass it through the tension-holding disks.
- Thread the bobbin through by running the thread through the
- In order to thread the bobbin, simply run the thread through the bobbin and it will be done.
- Hand-winding the thread around the bare needle is the proper method.
- Bob the bobbin in a counter-clockwise motion
- The bobbin winder’s spindle should be loaded with the bobbin.
- Spindle must be moved to left while using bobbin winder
- The bobbin spins while the foot control is lightly pressed. The
- When the machine is full, it will automatically shut down.
- Return the bobbin winder spindle to its original position.
- It’s left, therefore I’ll cut the thread.
- To make use of the clutch, simply turn the handwheel on the console.
Keep in mind that if the clutch is not engaged, the machine will not work.
To Insert the Bobbin:
- It’s important to make sure the thread is being fed counterclockwise into your bobbin holder before inserting it.
- The thread should be dragged through the slot in the bobbin case
- Thread should be dragged into the bobbin case through the slit.
- The thread should be drawn through the bobbin case’s opening.
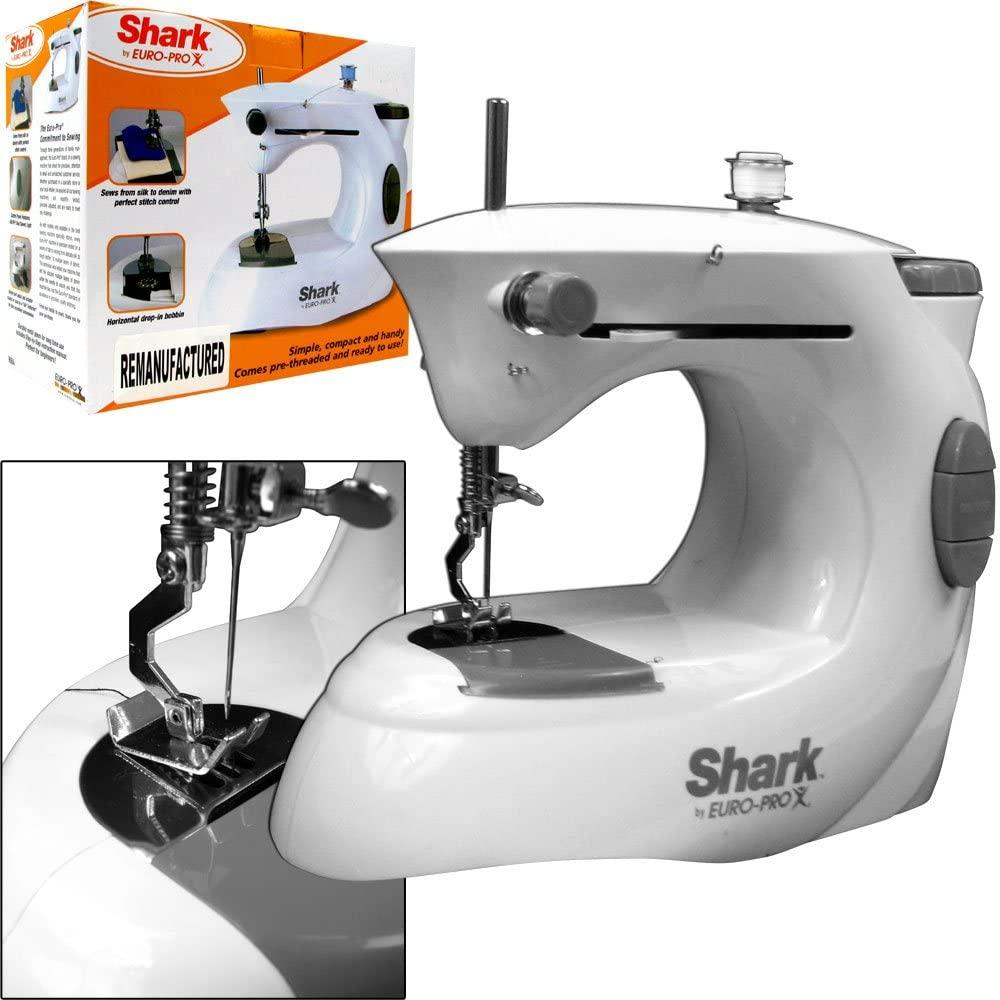
How Do You Thread A Shark Automatic Euro-Pro Sewing Machine?
- Get familiar with the layout of the Euro-Pro Shark manual by studying the manual and looking up the illustrations in the manual
- Make sure the sewing machine has been turned off.
- If you can, lift the needle bar to the highest point you can.
- Navigate through the guides in the manual in the correct order..
- Thread the needle bar’s thread guide with the thread you just cut.
- The needle’s eye should be threaded from the front to the back, not the other way around.
- Four inches of thread is ideal in front of your needle.
Conclusion
Is that all? As a quick recap, here’s how to thread a Shark sewing machine: First, thread your needle according to the manual’s instructions and thread take-up levers. Your hand wheel can be used to draw threads and get ready for sewing.
Nguồn: https://spasifikmag.com
Danh mục: Sewing Tips


