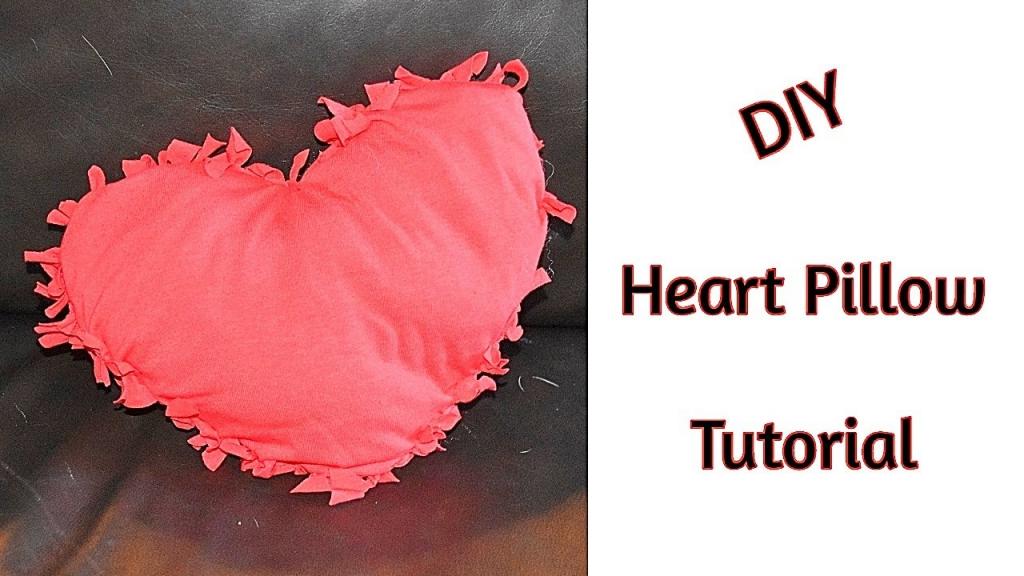
Trying to find a fun and easy project to do with your kids? Or maybe you just want to get started with something simple for yourself. The best place to begin is with this cute tutorial on how to make a heart cushion!
What You May Not Know About Heart Pillows
Is it surprising that heart pillows have their own set of healing properties? Patients who have recently undergone open-heart surgery, for example, are frequently given these. In order to reach the heart during this sort of surgery, the patient’s chest and breast bone need to be supported for the next three months following the treatment in order to ensure their safety.
The use of a heart cushion has been shown to alleviate the discomfort that these individuals experience when coughing, deep breathing, laughing, sneezing, or even getting out of bed. Heart pillows are non-medical items, but each time a patient cradles it, it helps protect and alleviate discomfort at the incision site. The heart cushion isn’t simply a gorgeous addition to any living area, but it can also be used to help post-heart surgery patients recuperate.
How to make a Heart Pillow
Supplies and tools
- Fleece or minky sherpa (white, pink, peach or red)
- stuffing
- Contrasting cloth for the heart ornaments at the top is an optional extra.’
- pattern for a heart pillow (link to the free pattern below)
- matching thread
- Cutters (scissors, rotary cutter, and mat)
- measure with a ruler or caliper
- An ironing board with an iron.
- clips or pins for stitching
- This can either be done using a sewing machine or by hand. There’s just one seam to deal with, so it’s quick and simple.
A Step-By-Step Guide on How to Sew a Heart Pillow
STEP 1: Prepare the heart pillow pattern
If you want to build a huge heart cushion, download and print the heart pillow design at 100% (no scale). The sewing pattern for the little heart pillow should be printed at 60%. (red one pictured below). Tape the two sections of the sewing pattern together after trimming the excess paper.
STEP 2: Cut the fabrics
Place the heart template pattern on the fold of the fleece cloth. Pin the cloth to the template and cut it out. There is already a 1/2-inch seam allowance included in the price. Repeat the process with the second piece of fabric to create two identical heart shapes.
Pre-cleaning the fabrics is always a good idea when washing them repeatedly. As a result, your DIY heart pillows will never shrink and always look their best!
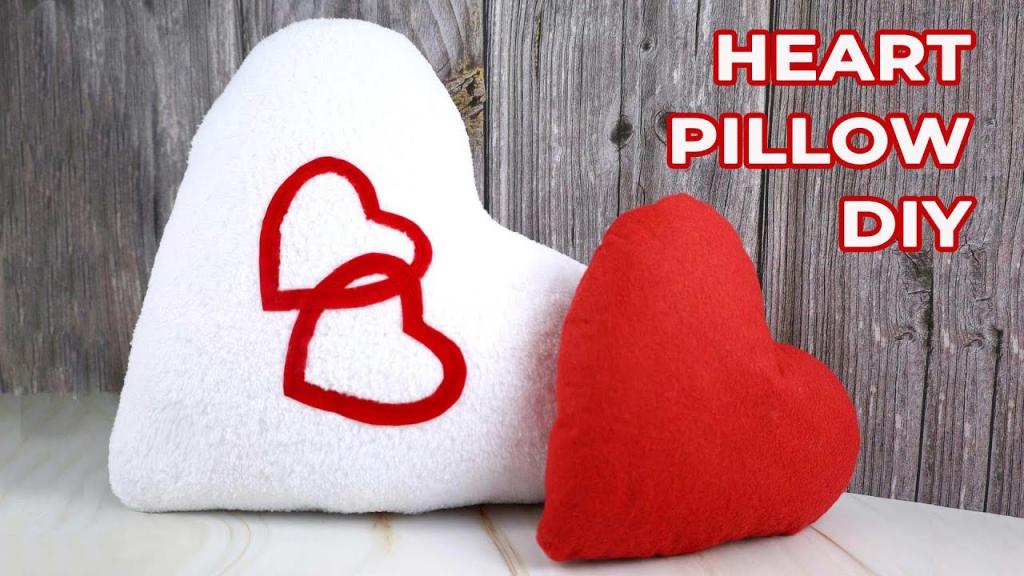
STEP 3: OPTIONAL: Add decoration on top
Make the normal minimalistic pillow instead if you don’t want to do this step.
The heart outline should be cut out.
Xem thêm : How To Date A Necchi Sewing Machine?
Cut out the middle-sized heart outlines from this free template. When cutting the template, fold the fabric in half and pin the template on top of the fold. Trace the outline of two hearts and cut them out.
The heart’s elements should be arranged in this way.
The wrong side of the hearts should face the right side of the pillow top when placing them in the center of the heart pillow top. Set them up whatever you like. Simply stack the hearts one on top of the other to get the same effect. To make the twist design, carefully lift the top heart and cut throw the heart below it. Stitch everything into position before you begin sewing to ensure that it does not move about while you are doing so.
Sew along the entire motif with a straight stitch.
A single line at the center of the fabric can be used instead of two parallel lines on either side of the outline. Sherpa fabric with another fabric on top is a tricky combination to manage, although parallel lines would undoubtedly look great if done well. Inexperienced sewers might save time and effort by sewing just one line through the centre.
STEP 4: Layer and pin fabrics
Place the back piece over the pillow top with the right sides facing each other. Sherpa fleece should be pinned around the heart to keep it in place. Allow a three-inch space on one of the pillow’s straight sides.
STEP 5: Stitch around
Using a half-inch seam allowance, sew around the heart pillow.
If you have a walking foot, use it. Sherpa fleece is thick, and it will make sewing it much simpler if you use a walking foot. Sew the heart’s curves by stopping and pivoting at corners.
STEP 6: Trim and clip the excess
Xem thêm : How To Fill and Thread An Old Sears Kenmore Sewing Machine? Step by Step Instructions
Taper the seam allowances on the sides toward the bottom’s apex, as seen above. To make the heart cushion lay flat and look nicer, make a series of 12-inch-wide triangle notches along the curved edges.
STEP 7: Turn around
Using the slit you made, turn the entire heart pillow inside out. Push the seams out as far as you can using your fingertips.
STEP 8: Stuff well
Fill the cushion to your desired stiffness with the poly-stuff. Poly-fill is a great choice for filling pillows, so don’t worry if this is your first time using it.
STEP 9: Pin
Pin the gap’s raw edges in place by folding them inwards by 1/2 inch.
STEP 10: Stitch the gap
Hand-sew the gap shut with a ladder (invisible) stitch or a whip stitch using a matching thread and needle. You can plainly see where I’m sewing on the white pillow since I’m using red thread, but using the same thread makes it completely undetectable.
Voila! You’ve completed your heart pillow. Totally adorable. When displayed in a cluster of two or three, these heart pillows are just stunning!
Conclusion
Pillows in the shape of hearts make thoughtful Valentine’s Day or holiday gifts. For the most part, these pillows aren’t sold in malls or shops. A DIY tutorial appears on the internet at this point to help anyone who want to make their own.
Using these instructions on how to make a heart pillow can save you time and effort if you don’t have a sewing machine. It’s also more heartfelt to give something you’ve made yourself.
Nguồn: https://spasifikmag.com
Danh mục: Sewing Tips


