This is a step-by-step tutorial for restoring beadboard sheeting that has been damaged by water. Repairs in this case necessitate the removal and reinstallation of the sheets.
- How To Tell If Water Damaged Subfloor Is Okay? Complete Step-by-Step Guide
- How To Repair Water Damaged Pressed Wood Drawers? Ultimate Guide
- How To Fix Water Damaged Wood Furniture Side Panel? Complete Step-by-Step Guide
- How To Repair Water Damaged Textured Ceiling? Step-by-Step Tutorial
- How To Fix Water Damaged Windows In Mobile Home? Easy Step-by-step Guide
What are beadboard sheets?
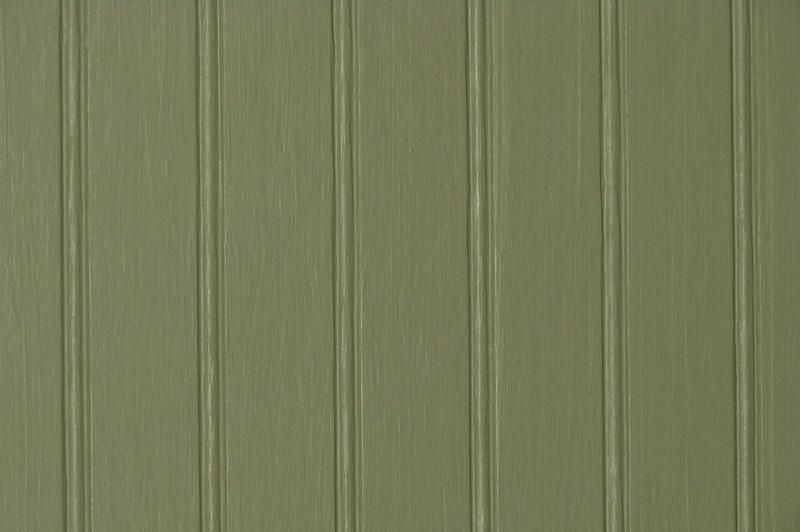
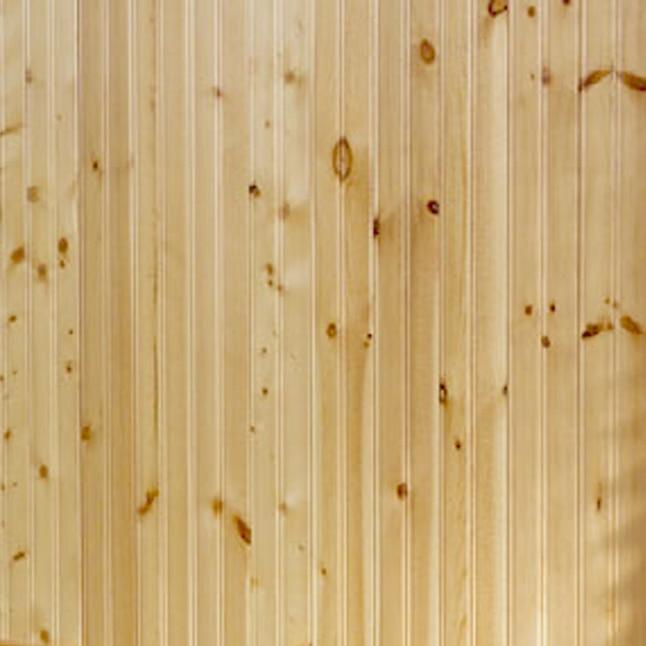
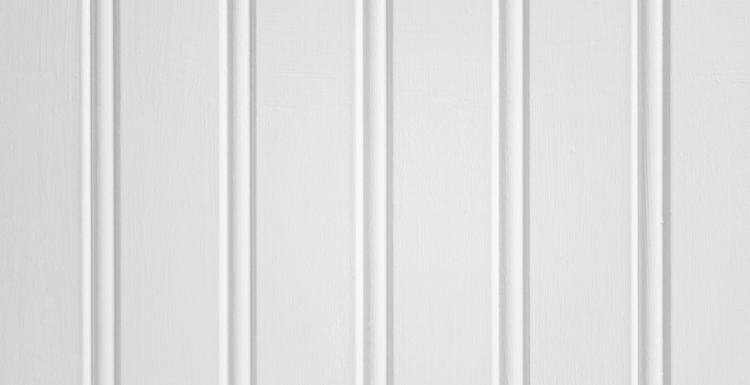
Homeowners who want to give their walls a more rustic vibe often opt for beadboard. A row of vertically aligned wooden boards. The name “beadboard” refers to the indentation between the planks, which is called a “bead.”
Bạn đang xem: How To Repair Water Damaged Beadboard Sheeting? Easy Step-by-step Guide
Beadboards are typically sold in lengthy sheets. Beadboard sheets are commonly used for bathroom, bedroom, and kitchen walls. Homeowners have installed them in ceilings on occasion.
Beadboard sheets, on the other hand, are susceptible to water damage because they are made from wood planks. If the beadboard is located near a water source, such as a bathroom or kitchen, it is more likely to develop mold. If your beadboard sheets have been damaged by water, read on to learn how to repair them.
The pros and cons of a beadboard ceiling
What do you think? Is it better to have a beadboard ceiling or is it like having a popcorn ceiling in the modern age? Consider the benefits and drawbacks before you bring out the ladder.
The pros
- It’s a steal at this pricing. Beadboard’s low cost (around $1.50 per square foot) makes it an attractive alternative to more expensive options like coffered ceilings. In terms of price per gallon, though, you’ll be underwhelmed. Nevertheless, if you’re even considering a ceiling renovation, you’re probably looking for more than simply a new coat of paint. In this situation, beadboard is still a good investment.
- Popcorn ceilings are no match for this product. Looking for a quick way to remove that dingy popcorn ceiling? Put in the beads. There are methods for permanently removing popcorn from ceilings, however using beadboard accomplishes the same goal without the associated mess.
- With some basic carpentry abilities, you can easily install it. DIY kits are available that allow you to install conventional wood beadboard without the help of a pro. Besides fundamental carpentry abilities like measuring and cutting, you’ll also have to deal with a ladder. Hire a professional if any of this causes you any concern.
- It’s easy to change the look of a room in a matter of minutes. Is this your first time in a new place? Nope, that’s simply the beadboard on the ceiling you installed recently. Adding beadboard to a room may make a huge difference.
The cons
- Having a leak could spell disaster for you. To be fair, if there is water damage on any ceiling, you’ll be in a bind. It’s possible that you’ll need to replace a full board with a beadboard ceiling instead than merely patching up an area of a conventional ceiling.
- This isn’t a subdued alternative. Because they’re not frequently the center of attention, white ceilings are the most common choice. For those who are considering a new ceiling, this won’t be an issue. Beadboard is an important design element, so don’t skimp on the style or quality of the installation.
- Taking it down is a pain. Re-painting a room because of a poor color selection is a pain. With beadboard regret, things go even worse. It’s not as bad as stripping wallpaper, but beadboard ceiling dismantling is still a pain. You’ll also have to patch up all those nail holes if you decide to return to a plain ceiling. Make sure you’re prepared for the attention your ceiling will draw.
How To Fix Water Damaged Beadboard Sheeting
Beadboard sheeting that has been damaged by water is a laborious operation. The truth is, it’s a lot easier than you think!
Step #1. Assess the situation
You’ll need to inspect the beadboard sheeting before anything else. Discoloration, white spots, and musty odors are all symptoms of water damage, so be on the lookout for them.
If your beadboard sheeting shows symptoms of water damage, the first step is to locate the source of the leak. When a pipe bursts or a leak occurs, the surrounding area becomes wet and vulnerable to water damage.
Before you can repair the beadboard sheeting, you must first eliminate the leaks and fix the cause of the moisture. A professional should be called in for this task. In most cases, homeowners insurance will pay for unexpected plumbing repairs.
Step #2. Make the necessary repairs
It’s time to fix your beadboard sheeting now that you’ve restored the water source. This fix may necessitate a trip to your local hardware store. To replace the beadboard sheeting, gather the following supplies: measuring and cutting tools, paintbrushes, epoxy resin, and a vapor absorber.
You’re all set to begin repairing your water-damaged beadboard sheeting now that your supplies are ready. Water-damaged beadboard sheeting must be removed before any repairs may be made to the damaged sheets.
Beadboard sheeting is usually easy to remove from a wall because of water and moisture. Remove any molding that may get in the way of your beadboard sheeting before you begin the process of removing it.
Xem thêm : How Long Before Wood Gets Damaged From Water? What You Need to Know
Beadboard sheeting can be gently removed from a wall. Beadboard sheeting that has been damaged by water should be disposed of in a heavy-duty trash bag.
Afterwards, add a vapor absorber to prevent water damage to the new beadboard sheeting. The manufacturer’s instructions for employing a vapor absorber should be followed for this stage.
New beadboard sheeting needs to be measured and cut now. Make an outline of the beadboard sheeting’s dimensions with a chalk and tape measure. For a perfect fit, make sure you mark as precisely as possible.
Using a hand saw, cut the new sheet of beadboard. Slow and steady is the key to this phase. If you’re rough with the cutting procedure, you could damage the beadboard sheets.
The most difficult component of installing beadboard sheeting is the installation itself. To perform this activity, you will need another person. The beadboard sheet will adhere to your wall better if you coat it with epoxy glue before installing it.
Slowly lift the beadboard sheeting with the help of another person and set it on the wall. Using a nail set and hammer, you can fix the beadboard sheets once the epoxy glue has hardened.
Step #3. Finishing touches
You’ll need to sand the new beadboard before painting it. It is easier for paint to stick to a sanded surface.
Beadboard sheeting should be painted two to three times using a paintbrush or roller and your preferred color of paint. Use a paint sealant when this dries.
There is also the option of using varnish. Beadboard should have an even coat of varnish applied with a medium-sized paintbrush. Allow the beadboard sheet to dry after wiping off any excess varnish.
Can you patch beadboard sheets?
Patching beadboard sheets is a suitable short-term remedy for minor defects. Fill in gaps and cracks with caulk that is of the best quality.
In addition, caulk is not a long-term solution. Your old beadboard sheeting will eventually have to be removed and replaced with new beadboard.
Patching beadboard sheeting that has been damaged by water, on the other hand, is not an option. The water-damaged sheet must be removed and replaced.
Even if you can perform this on your own, extensive damage may necessitate the services of a professional. Fortunately, insurance companies will pay for water damage repairs if your pipes suddenly burst, your house floods or you are otherwise responsible for the damage. However, homeowner’s insurance is unlikely to cover damages caused by improper upkeep.
What is beadboard paneling made of?
As a result, a panel of medium-density fiberboard (MDF), a mixture of wood fiber and resin that is pressed together, is now our next best option. There are a variety of milling options available for these strong, ready-to-paint sheets.
1. Choose a Style
Xem thêm : How Electrical Fixtures Get Water Damaged? Everything You Need To Know
V-beads in the 212-inch and 158-inch sizes are great options for a traditional farmhouse design (top). In a large room, “boards” that are wider appear less crowded. V-beads can be made in a variety of ways, from the more casual to the more formal (near left).
2. Check Out The Profile
Choose panels that are at least 14 inch thick with deep, clean cuts and beads for the most convincing appearance and maximum longevity. Get a taste of the product before you buy it.
3. Consider The Application
Porches and other outdoor areas require exterior-grade fiberboard or PVC, while bathrooms should use specially designed beadboard panels that are resistant to moisture.
4. DIY Tips
Rather from having to add window and door trim to fit beadboard laid over drywall, if you’re starting from scratch, 12-inch panels can go immediately on the framing. They’re also easier to miter, say at an outside corner, than 14-inch.
5. Repair It Right
MDF, like wood, can be scratched, but it isn’t as hard as oak. A polyester auto-body filler, like Bondo, can be used to fill in larger imperfections, and it adheres effectively and can be sanded smooth.
6. Get an Authentic Look
Cutting high-quality panels into precise contours mimics the process of milling individual boards.
6 Particle Board Care Tips
Keep Moisture Away
Moisture is extremely damaging to particleboard. As a result, it is rarely seen in outdoor settings. Always avoid getting damp particleboard (such as in flooring, cabinets, or furniture). Keep the amount of water you need to clean it to an absolute minimum. In the event that you must use water or other cleaners, do it sparingly and remove it as soon as possible with a dry cloth. Work in small sections that can be dried quickly so that the material doesn’t have a chance to absorb water.
Ensure Proper Sealing
A moisture-proof sealer must be used to seal the particleboard on all four sides and corners. If any side is exposed to moisture, it will begin to inflate or distort as a result. Particleboard can get discolored as a result of water absorption. Ensure all of the particle board’s surfaces have been thoroughly sealed before purchasing it. You’ll have to reapply the sealer if it starts to wear off over time.
Never Wear Outdoor Footwear on Particle Board Flooring
Unlike hardwood and other wood flooring, particleboard does not hold up as well. Damage to floors can be done permanently if they are subjected to significant foot traffic in high heels or heavy outdoor footwear. Place pads under furniture to protect the particleboard from being damaged by heavy objects. To avoid scratching the surface, avoid dragging heavy items.
Ensure Adequate Support for Particle Board Cabinets
Many kitchens and bathrooms have particleboard cabinets installed. The more sturdy the cabinets, the better if you plan to store heavy objects in them. The cabinets must be supported properly if they are made of particleboard. Otherwise, they could slump and wear out under the weight of too many people.
Move Particle Board Furniture with Care
If a veneer of real wood is applied to particleboard furniture, it can be very appealing. However, the inside is not as durable as the outside. Piece by piece, dismantle and transport massive particleboard-based furniture if you’re planning on transporting it in one piece.
Use Nails and Fasteners Specifically Manufactured for Particle Board
Particleboard is incompatible with nails and screws because the wood particles will dissolve and fall apart over time. If you must replace particleboard screws or fasteners, it’s better to avoid doing so. If necessary, only use fasteners designed for this project.
Conclusion
There are several ways to incorporate beadboard sheeting into your home. However, water damage may occur from time to time.
However, do not be alarmed! Beadboard sheeting that has been damaged by rain or other liquids can be repaired with the help of this tutorial.
Nguồn: https://spasifikmag.com
Danh mục: Damaged


