Door jambs are often made of wood. Knowing how to repair door jambs that have been damaged by water is a valuable skill to have on hand. Fortunately, fixing it only only a few elementary procedures.
- How To Repair Water Damaged Wood Siding? Troubleshooting and Repair Guide
- How To Protect Cabinet Doors In Water Damaged Kitchen? Ultimate Guide
- How Much To Repair Water Damaged Soffit? Perfect Information For You!
- How To Fix Water Damaged Cupboard? Troubleshooting and Repair Guide
- How To Replaster A Water Damaged Ceiling? Step-By-Step Guide
Maintaining your door jambs properly involves more than just fixing any damage. Read this article to find out more information on the subject.
Bạn đang xem: How To Repair Water Damaged Door Jambs? Troubleshooting and Repair Guide
The Process On Repairing Door Jambs Damaged By Water
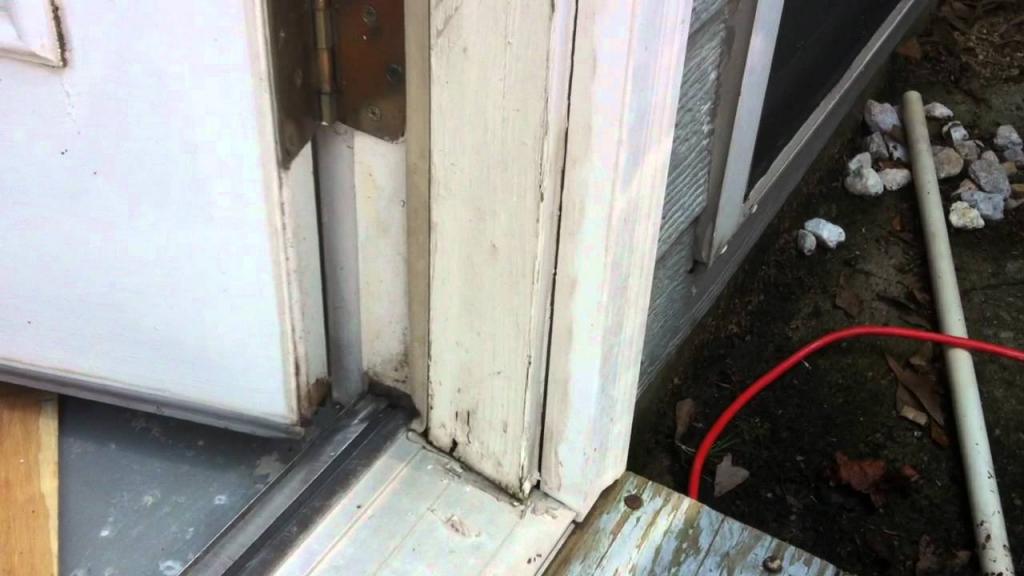
The door jambs of a door frame are the most crucial component because they hold the door in place and prevent it from moving. Wooden door jambs are susceptible to rot and water damage if you live in a very wet or chilly climate.
The bottom of your door frame is particularly vulnerable to water damage. That makes it vulnerable to contamination by moisture, mould, and the like. Wood rot will have set in within a few days.
Water damage to a door jamb can be easily repaired by following these instructions.
Step #1. Measure the area
It is essential to first conduct a thorough inspection and measurement of the affected region. Finding out how bad the harm is is the reason for doing this.
Step #2. Remove damaged area
The rotten or broken pieces can be carefully cut off using a chisel, knife, saw, or whatever else is preferred. After that, you should take new measurements of the affected area.
Step #3. Restore
A replacement plank or wood filler can fix water damage. If the area is smaller than 8 inches in diameter, you may be able to avoid unnecessary effort and delay.
Before using wood filler, a wood hardener must be applied to the damaged region of the frame. After that, use some wood filler you made yourself. Make it as smooth as possible by carving and smoothing it with a chisel or putty knife.
Put on another layer if necessary. The method and processes are the same whether you use epoxy or polyester filler. Depending on the ambient temperature and humidity, you may need to wait anywhere from 10 to 15 minutes for it to dry entirely.
Step #4. Finishing touches
To create a joint that looks and feels uninterrupted, sand the joint seam. Last but not least, paint it to match your front door.
Signs That A Door Jamb Is Water Damaged
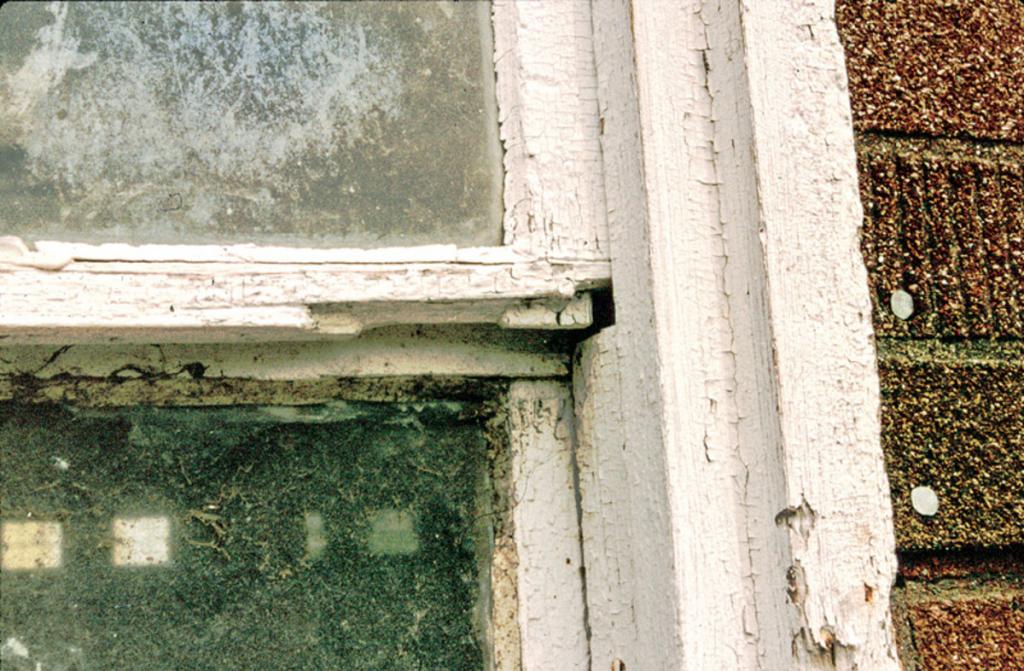
Water damage or decay to door jambs is usually easy to spot. Fungi development, which feeds on the wood’s moisture, is mostly responsible for the telltale dark and damp patches that emerge on the wood.
Water damage to a door jamb typically presents itself as rot, which can be easily seen. Fungi thrive in damp wood, thus dark and soggy areas of wood appear.
Water or rot damage to door jambs is usually very evident. Mold and other fungi cause the characteristic black and damp stains on wood by digesting its cellulose.
Draughts can blow through the door because of its drafty exterior.
Xem thêm : Professional Repair For Water Damaged Wood Floors A Perfect Guide For You!
There’s a separation between the door frames and the doors.
Outside door frames’ condition needs to be considered. Mold can also cause structural damage and drafts, both of which can increase the cost of utilities.
When To Replace Or Repair Door Jambs?
There is a narrow window of opportunity between fixing the broken section and replacing the complete door frame. It would be great to know and plan what to accomplish because it can save you time and effort. If the damage to the door jambs is localized or if the wood gives easily when prodded with a knife, screwdriver, or other tool, you can fix them.

A door jamb just has to be repaired where it was broken; a full replacement is unnecessary. The best way to save both time and money is to plan ahead. You can probe the door jambs with a knife, screwdriver, or anything you like if the damage is localized or the wood is soft.
Do not attempt to repair your door jambs on your own. If you make a costly mistake, avoiding further repairs may save you money. Talk to your insurance agent about whether or not water damage to your door jambs is covered.
Door Jamb – Pricing and Installation Cost Checklist
The expenditures associated with running a business mean that Door Jamb prices will vary greatly from one business to the next.
A contractor’s quote will be the most accurate if you wait until late fall or early winter, when they are less busy.
The cost of installing a door jamb is estimated to be 7–15 percent higher than actual costs.
Installing door jambs is not an easy job and might cause back pain afterward. Hiring a General Contractor to complete the work instead of doing it yourself could end up saving you money. If you need a door jamb installed, it’s not a project for a weekend warrior; instead, choose a general contractor with good reviews from your community.
How To Prevent Your Door Jambs From Getting Water Damaged?
Preventative maintenance is preferable to repair, as the old adage says. Avoiding door jamb water damage will save you not only money and time, but also the trouble of determining whether or not your insurance policy will cover the repair.
It’s a good idea to perform a safety check on all of your doors once or twice a year. Check the entire building for damage, such as cracks, mold, and other flaws. If you see any cracks in the surface, you should refinish it very away to prevent water damage.
In the event of water damage, mold growth and wood deterioration can be avoided by regularly waterproofing and sealing outside door frames. Always reapply sealant to protect door frames from water and moisture intrusion.
10 Tips for Seasonal Door Maintenance
Watch and Listen to the Door in Operation
Problems with your garage door or automatic opener will manifest themselves in jerky motions and grating, scraping sounds. Assuming it has been regularly serviced and adjusted, a garage door should open and close without making any strange noises or moving in any jerky ways. You should ensure that the system’s springs, pulleys, and cables are same on both sides.
Clear the Tracks
You should clean any rust or dirt out of the door tracks on either side. As an added safety measure, a level can be used to check the vertical alignment of the tracks. Small alterations to the track can probably be done by yourself, but anything more substantial will require the assistance of a trained expert.
Tighten the Hardware
The average garage door opens and closes hundreds of thousands of times a year. The door and track parts become less stable as a result of the movement and vibration. Examine the mounting brackets and screws that support the door tracks and garage door opener. A socket wrench may tighten any dangling bolts.
Inspect and Replace the Rollers
Xem thêm : How To Fix Water Damaged Cupboard? Troubleshooting and Repair Guide
Edge rollers of a garage door should be inspected at least twice a year and replaced no more than every five to seven years. Inspecting for damaged components is essential, and replacing old, cracked, or chipped rollers should be high on the list. You can get rid of most of the rollers by removing the brackets that are attaching them to the door.
Do not disconnect the lift wires from the roller brackets at the bottom of the door.
Check the Cables and Pulleys
There should be no slack in the lift cables or worn pulleys that are fastened to the door’s bottom roller brackets. The door’s springs can be used to safely raise and lower the door with their help. Garage doors typically employ one of two varieties of springs: Movement-increasing springs. These are the extension springs, and they are located along the horizontal (above) section of each door track. A metal rod is placed across the door opening to secure the torsion springs. Both kinds of door are operated by pulling up on cables.
Due to their high stress, professionals advise against DIY projects involving cables and springs. Damage to the wires or other signs of cable wear should prompt a call to a professional.
Lubricate the Moving Parts
Regular greasing of rollers and other moving parts can reduce wear and tear and increase their useful life. Spray lubricant of good quality, such as white lithium grease, should be used twice yearly to lubricate the rollers and hinges (available in a spray can). To fix stuck rollers or hinges, you can use WD-40 or another penetrating solution to loosen them, and then oil them.
Both the pulleys and bearings of extension spring openers and torsion spring openers need to be oiled for optimal performance. Apply some oil to the rusty torsion spring and see if it helps. White lithium oil can be sprayed over the opener’s metal chain or screw, if it has one; however, a belt-drive opener should not have any lubrication applied to its moving parts.
Test the Door Balance
If your garage door isn’t perfectly balanced, the garage door opener will have to work harder to open and close it. The springs in the door should be exactly balanced, so lifting it should only take a few pounds of power. To partially open the door without the use of the automatic opener, pull the release handle and raise it by hand. The door shouldn’t fall out of its frame without your intervention. Possible causes include broken door or springs. Any problems you have with your spring, you should contact a professional about.
Test the Auto-Reverse Feature
Powerful automatic reversing garage door openers stop and reverse direction if something is detected in the door’s path or if the door strikes an object as it closes. A pressure sensor or a set of photocells mounted on either side of the door are used to activate the system.
To test the pressure sensor, lay a 24 on the floor in front of the door. When the door moves down and meets the board, it should stop and go back up. You can check the photoelectric system by opening the door halfway and passing your leg in front of the sensors on either side of the door. Rather than entering through the door, you should turn around and ascend.
Consult your garage door opener’s handbook to learn how to modify the automatic reverse settings. Garage door openers that do not have this simple feature should be changed since they are now required by building code in many areas.

Repair or Replace the Weatherstripping
Rubber weatherstripping at the base of the door prevents drafts, water seepage, dust and dirt from entering the home. It should be checked twice a year at the very least to ensure it is still in working order. Some weatherstripping is put at the bottom of a door by fitting its flange into a corresponding slot. Garage door weatherstripping made of wood is often installed with nails. Garage door weatherstripping can be found in a wide range at most hardware and home improvement stores.
Check for any loose or damaged parts of weatherstripping along the door’s side-to-side opening.
Clean and Paint the Door
While you’re inspecting the machine, don’t forget to check the door. Check the steel door for rust spots; if there are any, clean them and repaint the door. Fiberglass doors can be easily cleaned with any multipurpose cleaner. Doors made of wood should be checked for warping and other signs of water damage. Touch up any flaking paint by sanding it down and repainting it. Seal or paint the bottom edge of a wooden door thoroughly before applying weatherstripping to prevent water from seeping in.
Conclusion
In most cases, a wooden door jamb will suffice. If they become flooded, they might be ruined for good.
Because of this, you should be able to repair door jambs that have been damaged by water. By implementing the aforementioned strategies, you can fix your door jambs and protect them from water damage in the future.
Nguồn: https://spasifikmag.com
Danh mục: Damaged