Even the ceiling plaster is vulnerable to water damage. This is the best how-to article you can find if you want to know how to repair ceiling plaster that has been damaged by water.
- How To Fix Water Damaged Spot On Wooden Table? Step-by-Step Tutorial
- How To Repair Water Damaged Pressed Board Cabinets? Comprehensive Guide
- How To Flatten Water Damaged Floor? Step-By-Step Process
- How To Replace Water Damaged Underlayment? Easy Step-by-step Guide
- How To Fix Water Damaged Wood Studs? Step-By-Step Process
Plaster on a ceiling that has been damaged by water must be repaired by first assessing the extent of the damage and then making the necessary preparations for the restoration job. This guide explains how to mend a ceiling that has been damaged by water, how long it takes for the plaster to dry, and how much it will cost both with and without insurance to do the repairs.
Bạn đang xem: How To Fix Water Damaged Plaster Ceiling? Easy Step-by-step Guide
What’s causing the water damage on your ceiling
If you don’t find the source of the leak soon, the damage to your ceiling will only get worse. Several origins are possible, including:
- Problems with the plumbing – Take note of the precise locations of any cracks in the ceiling. It’s probably under a kitchen or bathroom if you’re curious. A broken component in the bathroom’s plumbing system is likely to blame for the leaky shower, sink, or toilet. If your home has an older plumbing system, a rusted pipe may possibly be to blame for the leak.
- Roof damage Extreme precipitation and wind can expose flaws in your roof. The water flowing from your ceiling is likely coming from a leak in your roof if it is not obvious.
If the weather is terrible and the surface is wet and slippery, we don’t recommend you climb to see for yourself. Instead of taking unnecessary risks with your health, you should probably call in a professional for an inspection.
What to do in case of a leaking ceiling
Whether your ceiling is made of plaster or drywall, if it is leaking, you must act quickly to prevent more damage to your home. What you can do is as follows:
- Get rid of your stuff — pull your furniture away from the affected areas and try to soak up as much water as you can before it affects the floor. To deal with the water that will be dripping from the roof, spread out towels and put buckets or other suitable receptacles in convenient locations.
- Look at the harm and see what can be done – Look around the surroundings and see if you can figure out where the water is coming from. Since drywall ceilings can soak up water, leaks are unlikely unless there’s serious damage. Plaster, on the other hand, acts as a sponge, absorbing water before releasing it. If the latter occurs, you should make a small hole in the sagging ceiling to drain the water. Have a bucket handy, and cover the floor completely before beginning.
- In order to repair the ceiling, you must first prepare the space. This can be done once you have the situation under control and the problem’s source has been addressed. Make careful to clean the area thoroughly, get rid of any standing water or other sources of excess moisture to discourage the growth of mold, protect the floors with newspaper or plastic sheets (or whatever you have on hand), and allow fresh air to circulate by opening windows.
Steps In Repairing A Water-Damaged Plaster Ceiling
Here are some things to check off your list before repairing your ceiling:
Move your furniture
All furniture and personal possessions should be moved out from under the flooded regions. In order to keep the flooring undamaged, it is important to soak up any water that may fall from the ceiling. The water released by the plaster can be absorbed by squeezing it or collecting it in a bucket.
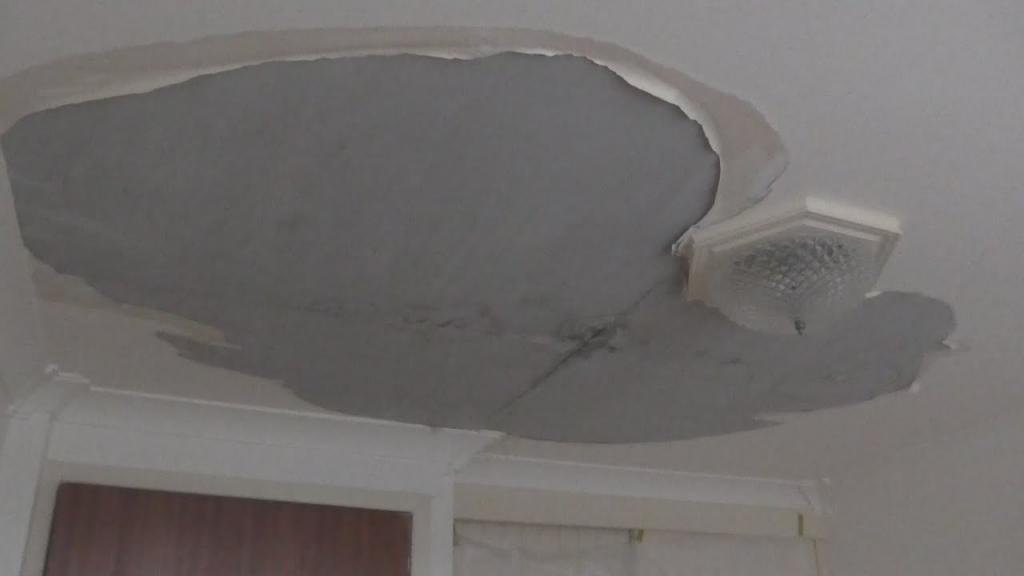
Gauge the damage
Find the source of the water by conducting a thorough survey of the area. Plaster acts like a sponge, soaking up moisture until it can no longer contain it.
Poke a hole in the collapsing ceiling to drain the water. Remember to keep a pail handy to catch the water that will inevitably drip from the plaster.
Prepare for repair
Xem thêm : How To Clean Water Damaged Concrete Masonry Unit Walls? Step by Step Instructions
Put down plastic sheeting on the floor to prevent any water damage. Make sure all the water and extra moisture on the ceiling and in the affected regions is dried up. Last but not least, roll down the windows and let some fresh air in.
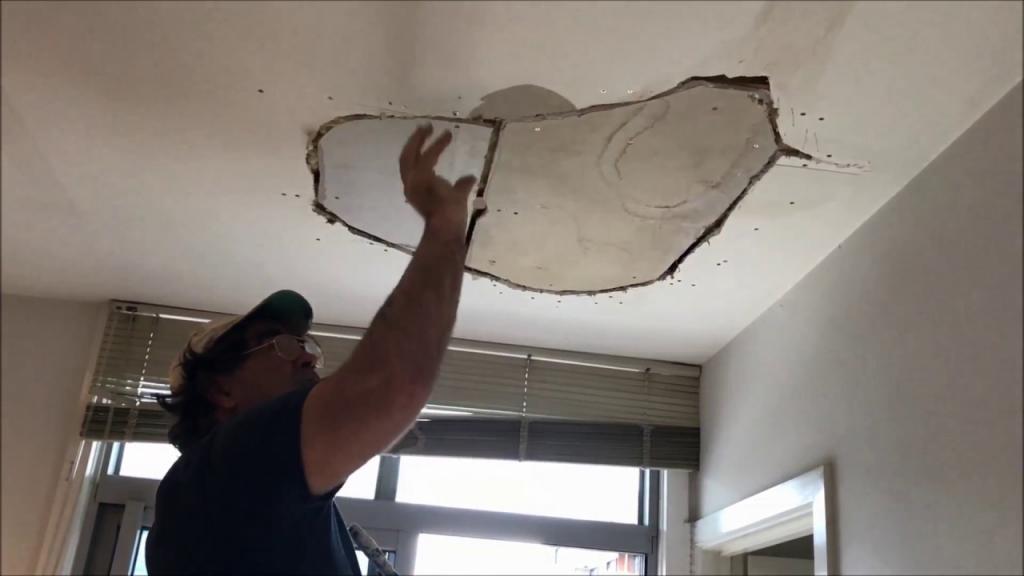
Step #1. Remove the damaged pieces
It is essential to dry out the ceiling before repairing it. Remove the chipped paint and plaster with a putty knife if it’s dry enough to do so. Before applying the patch, make sure the region is smooth.
Step #2. Fill the cracks and holes
When the damaged paint and plaster have been removed, a joint compound mixture can be used to replace the voids and cracks. Wait until the compound is dry to move on.
Step #3. Cover the surface
Apply primer to the ceiling after repairing cracks and holes in the plaster. After that, spread the joint compound with a putty knife.
Layers should be thin enough so drying won’t take too long. After each layer has dried, apply a second.
Step #4. Sand the ceiling
When the compound is dry, sand the ceiling to remove any irregularities. In this step, protective eyewear is required. Dust should be cleaned up with a moist towel after sanding.
Step #5. Retouch the ceiling
After the ceiling has been sanded, apply another coat of primer. Allow the primer to dry before proceeding.
Next, you should paint the damaged area to match the rest of your plaster. Hold off on rearranging the room until the paint has fully dried.
How many days does it take a plaster ceiling to dry out?
What this means, in a nutshell, is that there is no single correct solution. But, on the whole, drying time is roughly five days. Drying time for the water-damaged ceiling varies depending on the humidity of the surrounding air, with drier areas taking fewer days to dry than more humid ones.
Experts in water damage restoration are best-suited to handle such scenarios. They aid in drying the ceiling, clearing out the room of furniture and water, and making necessary repairs. If you’re overwhelmed by the water damage to your ceiling, you can look them up for assistance.
How much does it cost to repair a plaster ceiling?
Cost with insurance
Xem thêm : How Long Will Water Damaged RV Floor Be Wet? The Secret To Keeping Your RV Floors Clean
Homeowners insurance claims related to water damage are relatively prevalent. Every year, one in every 50 insured homes reports property damage due to water, making this a major concern for homeowners.
However, the typical insurance claim settlement is less than $7,000. However, this is a question that can only be answered after reviewing the specifics of your case with an attorney.
It’s important to keep in mind, though, that insurance typically won’t pay for wear and tear that builds up over time, damage from abuse or neglect, or mold growth (except for a few states). It’s crucial that you take good care of your house. Don’t risk the high cost of repairs if you don’t.
If you have any questions about filing your insurance claim, particularly under the aforementioned circumstances, you should consult an attorney.
Cost without insurance
Plaster ceiling repairs typically cost between $65 and $80 per square foot to fix. All expenses, from raw supplies to labor to site prep and security, are factored in. The cost to repair ceiling damage, of course, rises in direct proportion to its severity.
Usually, the increased charge of repair is $60 to $90 per hour. Repairing a plaster ceiling costs $790 on average for a home. Though some may only spend $125, major repairs may cost as much as $2,700.
What to expect from a professional service
- Cost estimates for major repairs must always begin with a thorough inspection by our specialist, while estimates for small fixes can be provided over the phone.
- The expert handymen will take a close look around and come up with a strategy.
- They promise to supply everything required to complete the task. Either you, the client, or the professional can supply the necessary resources.
- Your ceiling will be completely replastered and all holes and cracks will be repaired by the Fantastic handyman. They are also skilled in wall repair and can take care of that for you.
- The affected ceiling area will be thoroughly repainted to remove any signs of the water damage.
Cleaning and Maintenance Tips for Plaster Ceilings
Plaster ceilings require special care and upkeep to ensure they retain their long life and aesthetically pleasing appearance. Without regular maintenance, the dirt, dust, and smoke residues from cooking could penetrate the plaster and cause staining or discoloration. In order to keep your ceiling in good shape, you should familiarize yourself with the steps outlined below for cleaning.
Gently Vacuum or Dust the Ceiling
To avoid damaging the plaster, carefully vacuum the ceiling using the brush attachment, or wipe it down with a flannel cloth. If you need to reach the ceiling, don’t risk your safety by using a ladder or a stool; instead, invest in an extension pole. Don’t forget about the ceiling fans and light fixtures, if any are there. The next step is to wash the ceiling, which may be done after you have removed all of the loose dust, filth, and cobwebs.
Wash Stained Areas
To create a wash solution for the ceiling, use one part bleach or hydrogen peroxide with four parts warm water. The ceiling can be cleaned with one of these two options without fear of discoloration to the plaster. Before applying to the ceiling, try out different methods on a small, hidden patch of plaster. Start washing the ceiling slowly using an extension pole and a clean, soft, damp cloth, re-wetting the cloth as needed. Avoid getting any of the solution on the walls, as this could cause unsightly drips to form. Ceiling vents, light fixtures, and stained areas may require a second round of cleaning. Use clean water and a fresh cloth to rinse.

Precautions to Take in the Room Prior to Cleaning a Plaster Ceiling
- Drop cloths or plastic sheeting can be used to shield the furniture, light fixtures, lamps, and flooring from dust and other debris that might fall from the ceiling.
- To further ensure your safety, an extension pole should be used in place of a ladder while accessing the upper levels of a building. Since you’ll need to shift around on the ladder a lot to get the whole ceiling, it’s not a very safe way to do your cleaning.
- If you don’t pull the cobwebs off the ceiling, they’ll just stay there.
- Protect your hands from the cleaning solution by donning a pair of waterproof gloves. Wear goggles to protect your vision.
Conclusion
You now know how to fix plaster that has been damaged by water. You can choose to have experts have a look at it, though, if you ever run into trouble repairing it. Regardless, we hope that you find the solution you need here.
Nguồn: https://spasifikmag.com
Danh mục: Damaged


