One of the last step of making a quilt is putting on the binding. I know that sometimes, after I have spent a lot of time working on a quilt, I am anxious to get it done. It is such a temptation to do a quick job just to have it done. But after there has been so much time put into a quilt, it is important to finish it nice so that the WHOLE quilt can be awesome.
One way to have a really nice binding is to have mitered corners.
Bạn đang xem: How To Sew Corners On A Blanket
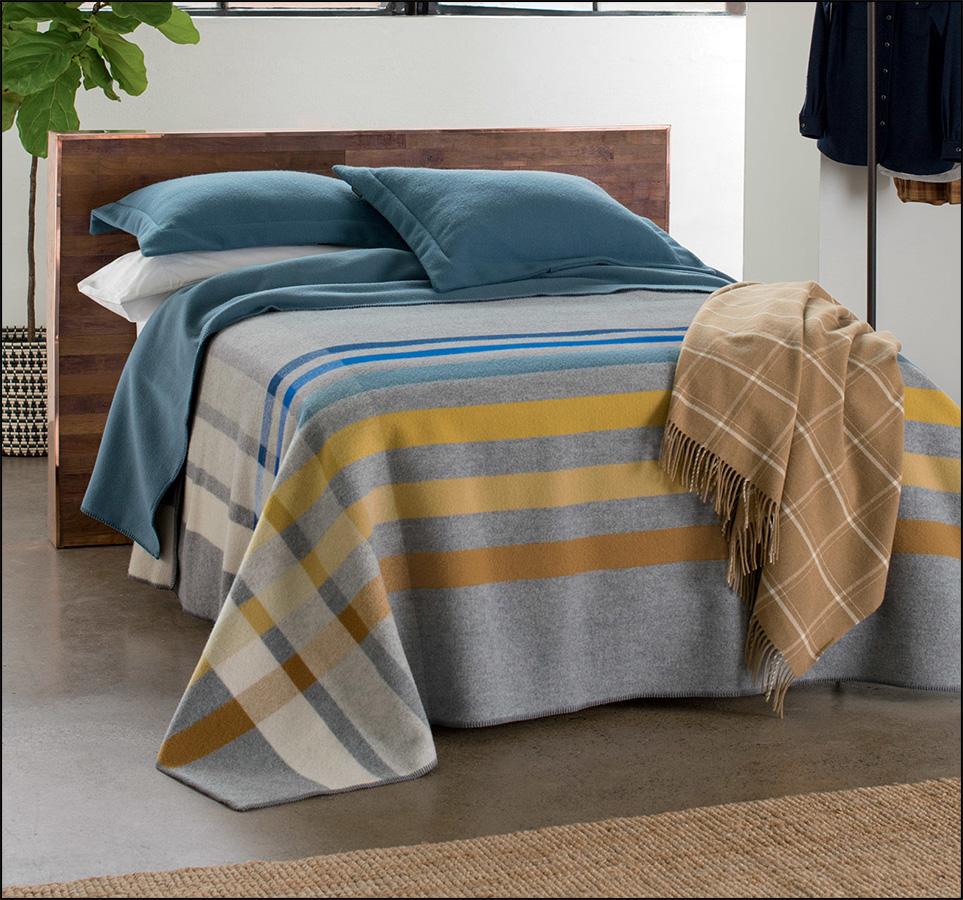
Don’t know what a mitered corner is? Think of it like an envelope closure for the corners. Here are a few examples.
Simple Steps On How To Sew Corners On A Blanket
With many ways to secure the corner of your blanket, we’ll try to focus on the ones on the beginner level. These methods are also for people who want to finish the job immediately.
![]()
Here we’ll enlist the most straightforward approach: stitching.
This method is done on your blanket directly and requires minimal to absolutely no experience in sewing. You will need just your blanket, a needle, a thread, and a pair of scissors.
Method one – self-turned mitered corner
In this method the fabric edges are turned to the back of the fabric ( or the front for a border like effect). This is the most preferred method of finishing the edges of napkins, blankets, bedspreads etc. The hem looks wonderful with no bulk on the corners.
How to sew this mitered corner
Cut the fabric edges really straight. In case of blankets napkins etc you have to ensure that all the four sides are cut really straight. In case of cotton fabrics you can rip and you will get a very straight edge. You can use the transparent square scale to get straight edge, as well.
Turn the edges 1/2 inch to the back of the fabric. Press in place.
Turn the fabric edges again the width of the first turn ( 1/2 inch, it was). Now you have made two folds for each edges. Finger press the edge fold.Mark the inside edge of this second fold with a chalk.
Open up one fold ( the second one).
Now bring the corner to meet the black you have made earlier
Crease nicely. Mark with a chalk on that line – you need to see the line; you will be stitching through it later.
Fold the fabric so that the corner is pointed and the line you had made earlier is on either side. Stitch through the line you have marked ( red line in the picture below). Start and end the stitch with back stitching.
Cut the extra seam allowance; press the seam open.
Xem thêm : How To Hang Sidelight Curtains? Easy Step-by-step Guide
Now turn the edge inside out so that it looks like the picture below. You can top stitch this mitered fold in place along the edge.
Method 2 – Mitered corner with a fold
You can achieve a similar mitered look without cutting anything.You should first finish the edges of the fabric with a zig zag finish or rolled hem finish. Mark a line 1/2 inch to the inside from the edges. Then turn the corner to the inside along the corner mark.Now fold the other folded edges to the inside . You will get a mitered corner. Stitch the folded fabric in place.
Method 3 – Mitered corner with bias tape
There are two ways to do it.
Method 1
You can see this method in action in the post on sewing a pieced blanket.
![]()
Method 2
This involves some finger tricks and easy stitching.
First and foremost you need to fold the fabric strip in a double fold – this means first the side edges are turned to the inside 1/4 inches
Then the fabric strip is folded by the middle so that one side is a little (1/8 inch or so) wider.
This projecting will ensure that the binding is done accurately and stitching catches the fabric underneath.
Stitch the binding in place till the very corner.
When you reach the corner fold the binding strip as in the picture
On the inside, the fabric edge should touch the centerfold of the fabric strip. Arrange it so, if the alignment is not correct.
Fold the fabric binding strip so that a mitered corner is formed.
Stitch this corner in place.
Check out the post on making bias tape and binding with bias tape for more details on this
Method 4 – Mitered corner with a Border
This method is used when you need to make a border for the fabric with a different coloured / patterned fabric than the main fabric, like for a shawl. With this method you will still need to finish the raw fabric edges after the border with the mitered corners are stitched.
- For this method you need 2 strips of fabric ( for one corner) 1 inch wide and length 2 inch more than the fabric edge of each side.
- Keep the fabric strip mid point aligned with the fabric edge midpoint
- Stitch the edges together. One important thing here is that you have to leave 1/4 inch unstitched on either side of the fabric edge.
- Now turn one short edge down as in the picture below
Xem thêm : What To Write On A Donation Brick? Best Ideas
Keep the other fabric strip on the adjascent fabric edge. Stitch the same way, along the edge, leaving 1/4 inch on either sides unstitched.You will find that you have a snug corner there already. Now on to get the mitered corner for your border strips.
Fold the fabric diagonally. Keep the fold along a scale; you will see that the scale is overlapping the fabric strips. Mark where the scale touches the fabric strip ( red mark in the picture below)
Stitch along that mark. Remember not to stitch the main fabric ; You will find that you are starting to stitch from the last stitch on the fabric strip, along the line you have marked.
Cut off the excess seam allowance. You will have a beautiful border with a mitered corner as in the below picture.
The disadvantage of this method is that you will need to face/line this border or the whole fabric, as the back will have exposed seams of the corner stitching.
Another method exists which finishes the edge and adds a border with another fabric at the same time quite beautifully. Though it is not a mitered corner, the corner is stitched quite neatly with border
How many inches do you cut for a tie blanket?
Description of steps on how to tie a fleece blanket: 1. Cut off rough selvage edge on both sides. Trim only as much as necessary, usually not more than 2 inches on each side.
What is a good size for a tie blanket?
Purchase anywhere from 1. 5 to 3 yards (1.3-2.7 meters) of each fleece. 1.5 yards makes a decent size throw, 2.5-3 yards (2.3-2.7 meters) makes a nice twin size blanket. Spread out the material.
What kind of stitch should I use on fleece?
When using a sewing machine; select a size 12(80) Universal needle, for sewing most fleece fabrics. Set machine for a long stitch (8 to 10 stitches per inch). A straight stitch or narrow zigzag works best. It is often helpful to decrease the presser foot pressure if possible.
![]()
How much fabric do I need for a full size tie blanket?
For a baby blanket you will need 1 yard of each fabric (so, 2 total yards). For a child’s blanket, 1 1/2 yards works well (a total of 3 yards). And, an adult-sized blanket will require 2 yards (4 total yards).
How big is a no sew blanket?
Step by Step instructions to make a No-Sew Fleece blanket. Fleece comes 60-inches wide, so your blanket should be around 60 x 60 (or longer). Your finished product will be about 10- inches smaller than the fabric you start with.
How much fabric do I need to make a tie?
For one tie, you’ll need at least 1 1⁄2 yards (1.4 m) of fabric for the front of the tie and about 5 x 6 inches of fabric for the back liner. Silk is a popular choice for tie liners. For a casual tie, go for patterned cotton, linen or denim.
How much fleece do I need for a large tie blanket?
To make a fleece tie blanket, you’ll need: 2 coordinating pieces of fleece (baby: 1 yard of each color, kid: 1.5 yards of each color, adult: 2 yards of each color)Oct 23, 2018.
Conclusion
Some people think that learning how to sew corners on a blanket is unnecessary, but it is crucial because sewn blanket corners are pretty and durable.
They also spice up your blanket style as well as protect it from getting torn on the edges.
Corner stitch reinforces your blankets so that they can keep their integrity. It also prevents curling or rolling later on. It is a specific part that can help you maintain your item longer.
Nguồn: https://spasifikmag.com
Danh mục: Home