When it comes to repairing water-damaged wallboard, water is no doubt a requirement, but it also becomes a foe. But this is not the time to be alarmed. With these simple methods, you’ll be able to restore the greatest possible condition to your interior walls and ceilings.
- How Can I Mend A Water Damaged Pergo Plank? Step-By-Step Process
- How To Replace Water Damaged Brick Sheathing? Step-By-Step Guide
- How To Prepare Wall After Water Damage? Easy Step-by-step Guide
- How To Repair Water Damaged Formica? Step-By-Step Guide
- How To Repair Water Damaged Glulam Beam? Complete Step-by-Step Guide
Before You Start Repairing
You may have wanted to mend the water-damaged wallboard right away after seeing it. Despite the fact that this is the primary reason you came here, you must follow certain procedures to ensure that the repair will be effective.
Bạn đang xem: How To Repair Water Damaged Wallboard? Step-By-Step Guide
Step #1. Spot the leaks
Identifying the problem’s cause is the first step in figuring out how to fix it. Having to redo the same methods and not find the source of the water damage would be irritating. No matter how extensive the repairs are, they will accomplish nothing in this instance.
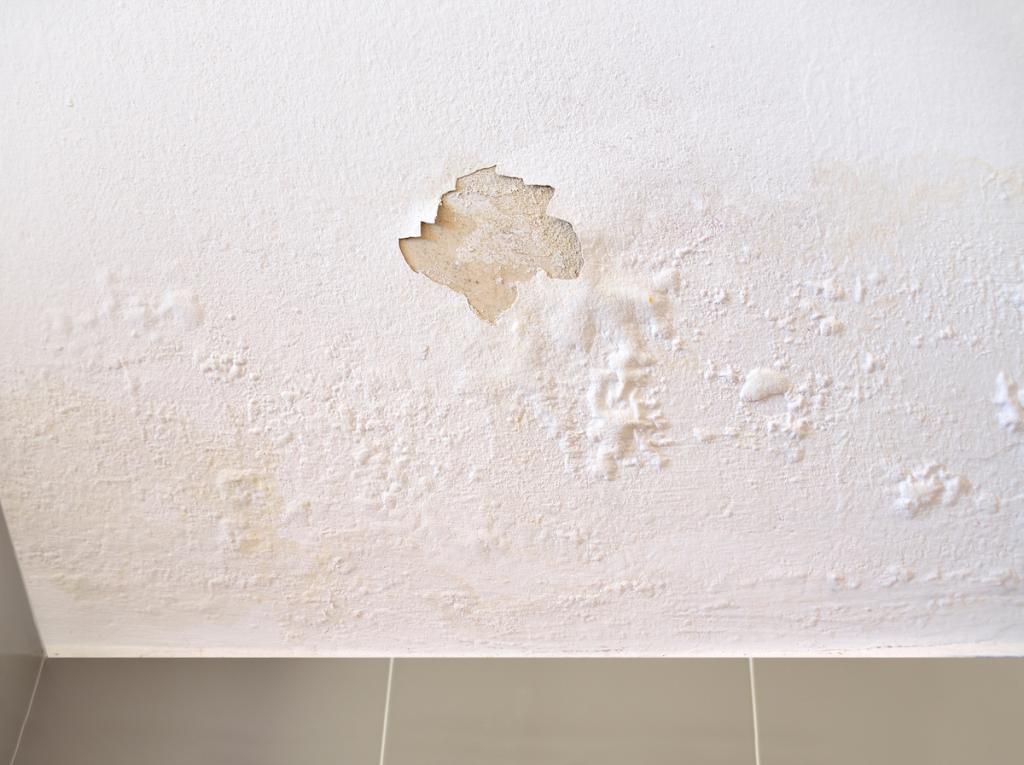
Water leaks can be difficult to detect at first, but there are some that can be seen with just a glance. You may have noticed water dripping from your ceiling or symptoms of structural decay on your wall when you arrived home. Take note of the source of these leaks, as water may have traveled a long way from the source.
Step #2. Check mold infestation
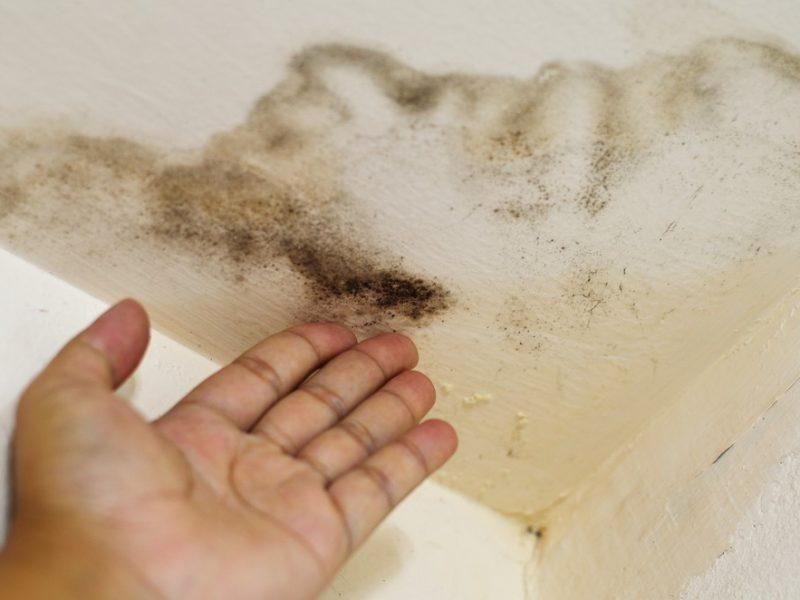
Mold can grow on water-damaged wallboards if the leak has been going on for a long period. Protect yourself before you notice any buildup by using gloves, a dust mask, and eye protection. As a result, you’ll be able to avoid breathing in part of the mold.
It’s best to leave the treatment of black mold to the experts if you find it in considerable quantities during your small research. This sort of mold has been linked to health problems. However, if only a tiny amount of mold is present, you can safely remove it yourself.
Step #3. Put away water damaged wallboard
Wallboards that have been saturated with water and have sagged can crumble with the slightest touch. The claw end of a hammer or a wrecking bar can be used to remove the damaged wallboard slowly and gently.
Use a keyhole saw to cut the devastated region into a square or rectangular shape, depending on the amount of the damage. Protect your eyes and face with goggles and a dust mask, just as you would while dealing with mold growth. There’s no reason to put your health at danger while performing household repairs.
During The Repair
It’s time to start working on the actual repair now that the preliminary work has been completed. To begin, the procedure will necessitate somewhat varied procedures depending on the size of the hole being drilled. Because of this, the prior step has to be taken.
For holes smaller than 6”
Cut out a square or rectangular part of the wall. These measurements will help you cut a piece of wallboard that is 2″ longer and 2″ broader than the hole’s diameter. Measuring 1″ on all edges is easy if you lay the item with the backside up.
After that, draw a line to show the dimensions clearly and only cut through the layers of backside paper and drywall gypsum. Finally, take care not to rip the paper on the front as you remove the various layers.
For holes bigger than 6”
Make two small holes in the new piece of wallboard with a drill. Tie the ends of a thread to the middle of the stick after inserting it.
Xem thêm : How To Fix Water Damaged Swollen Wood Table? Step-By-Step Guide
Between the board and the stick, the string should be at least 8″ long. In this case, the stick-sided side will be the front face.
Twist the stick to exert pressure on the board’s backside. In the final step, use a cement adhesive to seal the edges. Make a small hole in the wall, feed the patch through, and put it so the cement adhesive can firmly hold its solid portion around the hole’s rear end.
Finally, move the stick counter-clockwise to twist the string and raise the pressure on the patch board. The board will be held in place by this while the cement adhesive dries.
After The Repair
Apply a final smooth coat of paint in a zigzag pattern based on the board’s width for the finishing touch. Use small strokes to paint from the bottom to the top of each wall to ensure an even coat of paint is applied to the surface being painted. A small and angular paint brush should be used to produce a wall brushwork in regions where the roller can’t reach, such as corners and spaces close to doors.
5 Effective Wall maintenance tips for your home
1. Remove dust or dirt from walls
Dusting your wall is the first and most straightforward way to keep it in good condition. Keeping your walls clean not only reduces the amount of dust and filth in your home, but it also improves the appearance of your walls and preserves the paint. In addition, it keeps the surface of the wall from deteriorating and cleans the air inside the house. Dust and dry dirt can be removed from the surface with a feather duster or a dry cloth.
Every month, sweep your walls with a long-handled broom to remove the dust, filth, and cobwebs that shorten the paint’s life. Make sure you don’t overlook the ceilings, since gravity tends to collect part of the flying dust there, making them unclean.
2. Clean and remove stains from walls of the home
Depending on the type of paint and the texture of the wall, cleaning the walls can be difficult or impossible. When washing the walls, take care not to damage the paint texture or cause stains by rubbing too hard. To clean the wall, all you’ll need is some water and a soft sponge.
Stains on your walls, whether caused by your children or otherwise, can be a source of irritation. In terms of staining, oil and water-based options are both available. You can use a moist cloth to eliminate water-borne stains when cleaning or removing spots. Using a mixture of water and dishwashing liquid/soup or a mild cleaner can be used to remove oil stains, such as those caused by cooking.
Clean kitchen and bathroom wall tiles according to their condition. Wash it at least once a month to remove the cooking and steamy shower residues, and clean the painted surfaces of walls according to their current state as well.. An old towel can be used to dry the wall.
Before cleaning painted walls, do a test patch on one to see whether it works. When washing glossy and semi-gloss paint, which is widely used in kitchens and bathrooms, always test them in an unnoticeable area first before using them. Don’t wash the paint if it has chalked off on your sponge.
3. Repaint your old painted wall
Repainting the walls of your home can freshen up a dingy space. You can use the same color or try something new. You may give your wall a new look by simply repainting an existing painted surface. It’s also a good idea to pick a certain grade of paint depending on whether you’re painting the interior or exterior of your home. External wall paint of an interior grade may degrade the surface if utilized there.
4. Take care of damage on the wall
To preserve the paint in good condition, touch up or repair any damage as soon as possible. Touch up a scratched or chipped surface with sandpaper and fill up any gaps that may be present. Repaint the area to ensure a uniform appearance. This is a reference to minor damage that could be repaired with the use of touch up paint.
5. Protect from Dampness or Seepage in the wall – A Silent Killer
Xem thêm : How To Repair Water Damaged Side Of Dresser? Complete Step-by-Step Guide
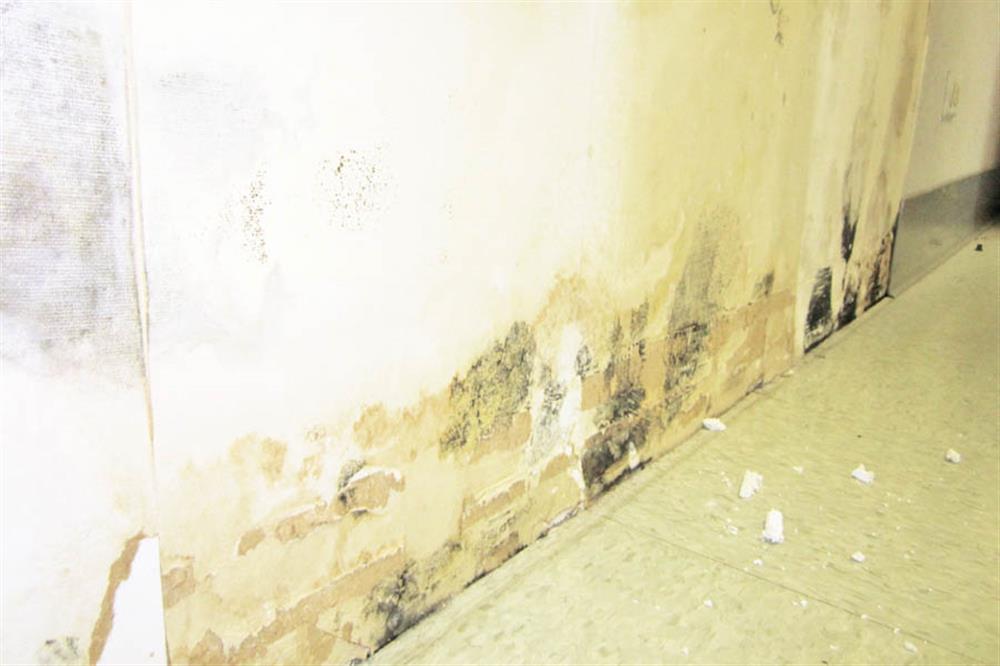
Water seepage and dampness in the walls are two prevalent issues that homeowners have to deal with. Efflorescence, paint peeling and popping, and severe degradation are all possible side effects. Human health is also severely harmed by it.
Your wall’s water-related sources must be inspected and repaired at all times. A weakening of the wall could occur if the problem isn’t addressed quickly. So the first step is to identify the source. Nowadays, modern Thermal Imaging technology can determine the cause of seepage/damp using camouflaged leaks, fractured pipes, and other concerns.
Other ways to keep your home’s walls in good condition:
Until now, we haven’t talked about how to care for the exterior of your home. Maintaining your building’s exterior is an important part of keeping it in good shape. While neglecting outside wall maintenance can lead to moisture infiltration, resulting in cracks, peeling paint, and other concerns, having professional exterior wall maintenance performed on a regular basis can help prevent all of these problems and the expenditures they entail…. You might ask, “Why should I employ a professional to take care of my building’s exterior maintenance?” To ensure that no structural damage is done, no one but certified building inspectors are allowed to conduct a thorough examination of a structure.
How to Prevent Damp Walls?
In order to keep your walls dry, follow these three simple steps:
Check for any Cracks in the Walls and Seal Them
Cracks can form in the walls of your home over time, usually along the frames of your doors and windows. Cracks in your building’s structure allow moisture to flow through, resulting in damp patches and wall seepage. Crack-fill putty should be used to fill in all of these holes. All the loose plaster must be removed and the wall repainted once the gaps and cracks have been filled. Do this as soon as possible, preferably before the rainy season begins.
Waterproof the External Walls and Roof
Water can leak through the outer walls of many buildings because of the permeability of the paint used on the exterior. Exterior waterproofing coats must be applied to external walls in order to prevent water seepage. The precipitation and moisture will be kept out of your home by a waterproof coat.
The roof must be waterproofed as well. Leaking and damp areas are common on the interiors because the terrace is exposed to extreme weather conditions. There should be some kind of sealer or coating on the roof to keep the water from leaking in.
Install a Damp-proof Course
The lowest part of your walls, near the skirting, may occasionally show wet patches.
Preventing groundwater from surging through your house’s walls and causing wall seepage is possible with a damp-proof course. As part of an anti-damping course, an impermeable barrier is built into the brick wall around 150mm above ground level in order to prevent water from penetrating it. Any groundwater that would seep into the walls is prevented by this.
A damp-proof course is typically installed during the building process. But if you discover damp patches on the lower half of your walls, it may be time for a new course. This is a time-consuming task that must be completed correctly. The damp-proof course should be evaluated by an expert to see if it needs to be replaced.
Do not forget to keep your house well-ventilated throughout this time of year as well! Respiratory problems might occur if mould or fungus grows on walls as a result of rain. Consult a specialist if you see excessive moisture or severe fractures in your walls. This will help prevent wet walls from developing.
Conclusion
When it comes to decorating our homes, water may be a nemesis. However, there is no problem that can’t be solved with the help of an online tutorial. This guide to repairing water damaged wallboard can come in handy if something else goes wrong with your interior walls down the road.
Nguồn: https://spasifikmag.com
Danh mục: Damaged


