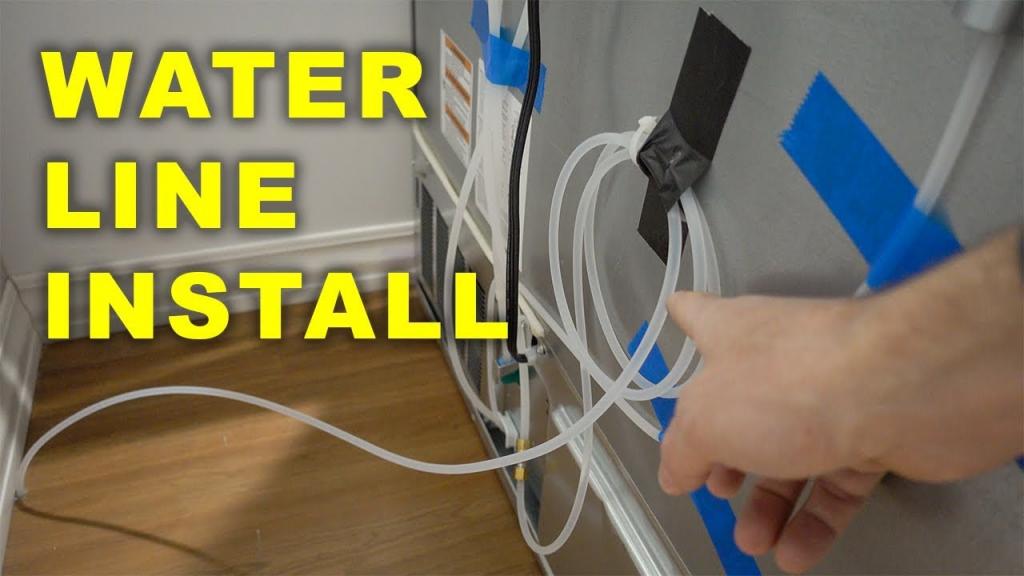
Ever ponder how to hook up a fridge’s water supply? To begin, we will require piers, connectors, and tubing. In just a few short minutes, you’ll learn how to get your water line operational again with the help of this article. Onwards!
- How Much Does A SubZero Fridge Cost? Perfect Information For You!
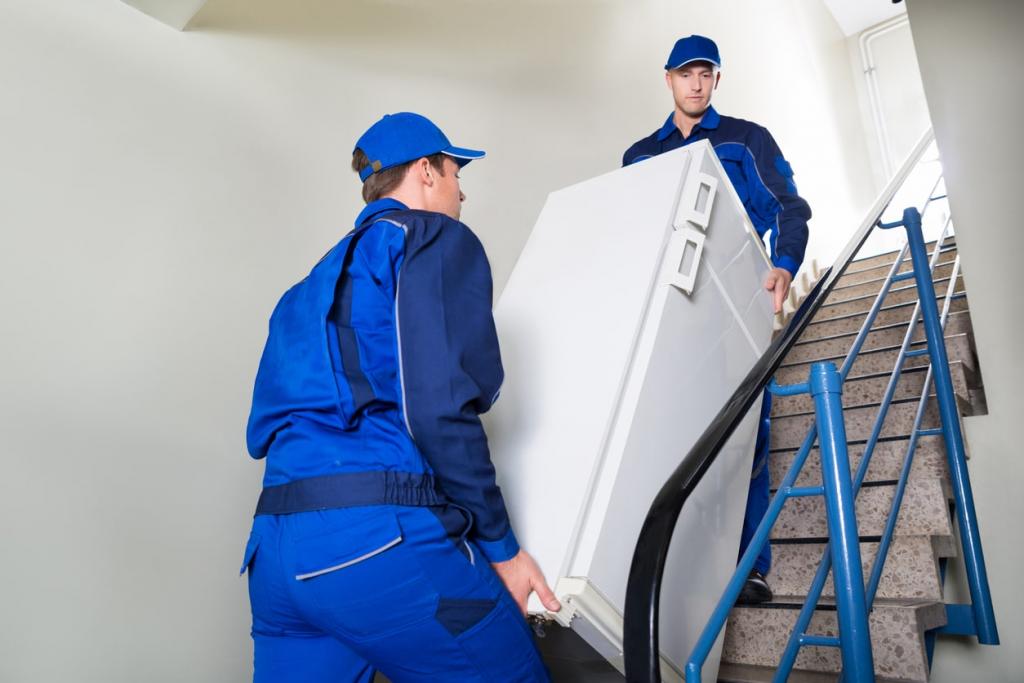
- How To Move A Fridge Upstairs? A Few Tips to Remember
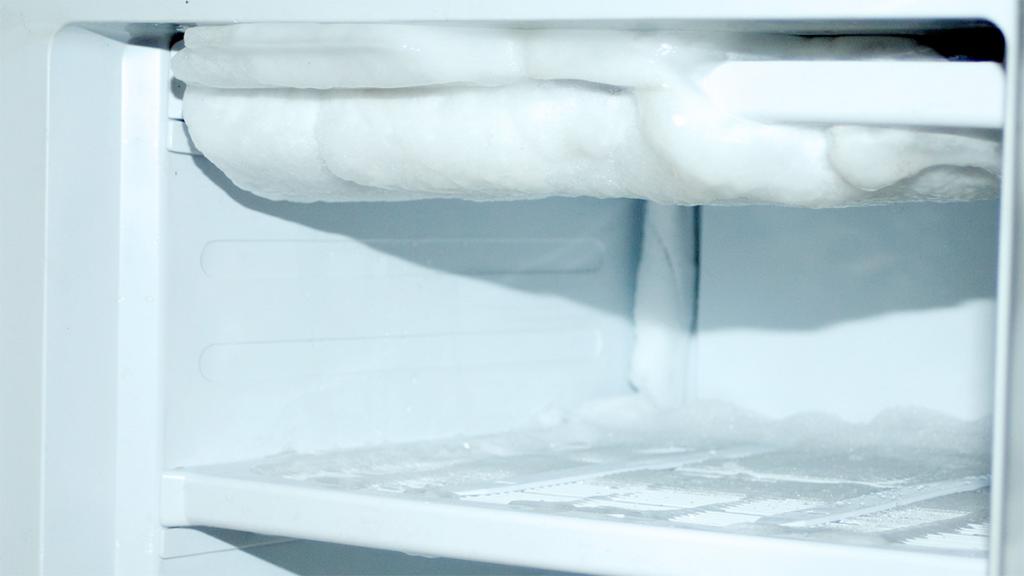
- How To Prevent Ice Buildup In Mini Fridge? Comprehensive Guide
- What Is An Integrated Fridge? Top 9 Built In Refrigerators
- How Much Does A Small Fridge Cost? Perfect Information For You!
In case you aren’t in the know, the main water valve in your house is hardwired to your fridge via a series of water lines. Your appliance relies on the water supplied by this connection to function properly.
Bạn đang xem: How To Install A Water Line To A Fridge? Step-by-Step Tutorial
Refrigerators rely extensively on water for maintaining temperature and generating ice. Having a water connection that is correctly installed is, thus, essential.
What are Refrigerator Water Lines, and where are they?
Typically, refrigerators with a water dispenser and an automatic electric refrigerator will have these so-called refrigerator water lines running behind the fridge, hidden behind the door.
7 Easy Steps To Install A Water Line To A Fridge
Incorporating a new water line into an existing infrastructure is not a breeze. If you have the means to do so, it is possible to hire a professional. DIY projects are easier on the money and the body. If you’re just getting started with something, you can use this manual to stay informed and in the loop.
#1. Prepare all the necessary materials
Be sure you have everything you need before you get started. To ensure a smooth workflow, we’ll get things rolling with all the gear we’ll need. Want to know how to hook up your fridge’s water line?
Tool #1. Cloth and a pail
To begin started, it’s recommended to use a cloth and a pail to remove any standing water from the tubes and valves. You can focus on the job at hand without interruptions thanks to these aids. There will be less potential for trips and mishaps. The fact that nearly all homes already have a pail and some sort of cloth suggests that this won’t be a major issue.
Tool #2. Pliers or wrench
The sheer number of screws and connectors that need to be managed makes this piece of machinery essential. If you don’t have a toolbox, you can always borrow or purchase one, although most people already have a basic set of tools on hand in case of an emergency.
Pliers are preferable to wrenches because they can be used on a wider range of fasteners. Some wrenches have knobs that may be adjusted to either expand or contract the tool.
It would be helpful to have one of these on hand.
If you don’t have any of these, basic wrenches of various sizes can do in a pinch. Again, you can acquire a set or a specific size based on the size of your bolts.
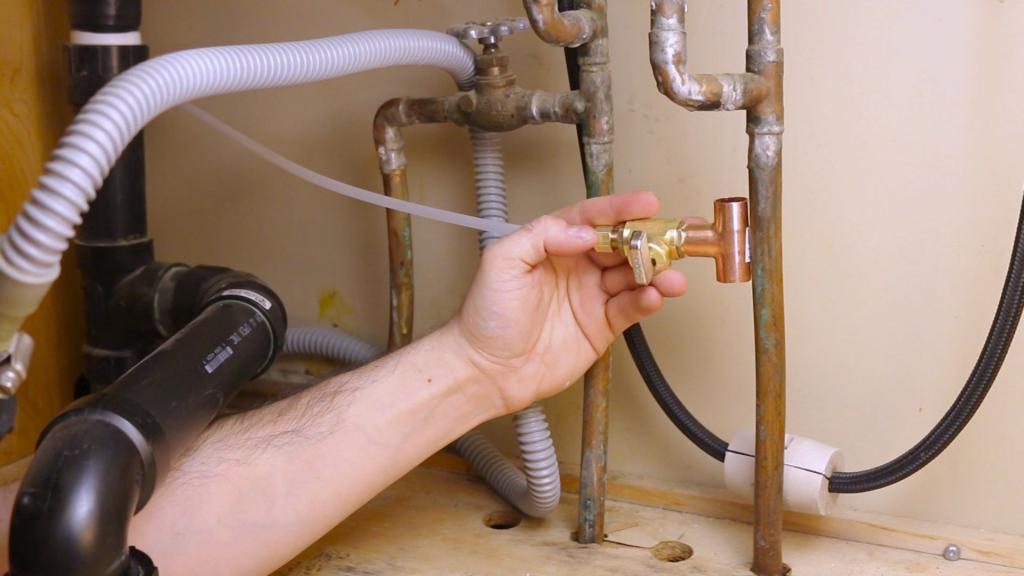
Tool #3. Add-A-Tee Adapter
This adapter allows you to attach your home’s primary water shutoff to a different water line. It has a simple catching nut that makes joining lines a breeze. Learn how to use Add A Tee adapters!
Tool #4. ¼ inch water supply tubing with compression connectors
This supply line will connect your appliance to the water storage tank. Your tube is the most important part, therefore check it regularly to make sure it is in good functioning order. Be on the lookout for holes or rips.
Furthermore, compression connections are practical because of the secure connection they provide.
#2. Turn off the main water switch
Shut off the water main before you start. We will be opening the valves and tubes, so no water should leak out. These precautions have been put in place in case any of the faucets are accidentally switched on. The other issue is that you’ll be losing a lot of fluids.
#3. Choose a water line and disconnect
Look for the water line’s origin with a wrench or pliers, then cut it. Take the water out with a bucket and a rag. You should also make sure the floor is spotless. After that, you can disconnect one end of your supply tube by unscrewing the compression connector.
A water line for your fridge should be chosen with consideration given to issues including its length, its stability, and any potential dangers it may provide.
#4. Put the Add-A-Tee Adapter to use
Xem thêm : Where To Buy Fridge Magnets? Comprehensive Guide
Put the adaptor through the primary hole of the valve. Use the available means to make it as snug as possible. Also, be on the lookout for the primary valve. Use caution when tightening the connectors with force to avoid breaking the valve, and prop it up with something if necessary.
#5. Connect your water supply and fridge
A hole in the adapter precisely sized to receive the faucet line has been provided. Check that their dimensions match and that they lock securely. Too much water will leak out of a hole that’s too big, and too little will cause an explosion as the pressure builds.
You can run your supply lines through the remaining opening. It should be the same dimensions as the original. Increase the pressure by securing it tightly.
#6. Connect the tube and fridge
Connecting the tube to your fridge requires pointing the tube’s free end in that direction. Your appliance will have a supply fitting where your tube can be connected. Tighten the bolts and screws back into place with a wrench or pliers. To drain the water from your Samsung French door refrigerator, just follow these easy steps!
#7. Test the water
The time has come to evaluate your progress. Make sure all of the locks are in place before turning on the main water supply. The next step is to switch the fridge on and make sure that all of the key features are functioning correctly. It’s also a good idea to look for any water leaks along the water line. Tighten any loose screws.
Is it important to wash refrigerator water lines?
- Here’s your chance to find out if all your hard work paid off. Turn on the main water supply only after you have double checked that all locks are in their proper places. The following step is to turn on the refrigerator and check its major components for proper operation. Checking for water leaks in the supply line is another prudent precaution to take. Pull the screws back into place if they are loose.
- Your refrigerator was just serviced.
- You’re not going to go thirsty any time soon.
- Somewhat mysteriously, your refrigerator may cease dispensing water or ice.
The Development of the detailed cleaning of the Cold Water Line
You need to be methodical and precise in your approach and use of any cleaning tools or services associated with your hardware and software if you want to achieve your goals in this endeavor.
Our intention is for this cleaning to be both thorough and time-saving. Before commencing any maintenance or cleaning, it is important to establish the ultimate goal.
To get started, you’ll have to put in a lot of time and energy to thoroughly clean all the various pieces of machinery and facilities. That’s why, when you’re working on it, it’s important to get things done as quickly as possible.
How to Clean Refrigerator Water Line
Step 1
The first and most important stage is to show off the facility to the cooler and then switch off the water valve.
It is typically concealed in the wall space behind the fridge. In that scenario, you should turn off the water supply to the basement.
Take this line out of the fridge with a screwdriver. Once this is complete, you can remove the dispenser line from the door nozzle.
Step 2
Get rid of the tank hiding behind the veggie drawer and empty its contents. To make a cleaning solution, mix one cup of vinegar with one gallon of water in a bucket.
Repeat the process with fresh water after each time you rinse the tank. In the following step of the experiment, it will be necessary to reconnect the tubes by pushing them together until they are completely blocked.
Step 3
The process would be incomplete without the addition of a dose of distilled white vinegar. Put 3 cups of vinegar through each line leading to the dispenser and ice maker.
For best results, use a funnel and allow the vinegar to sit on the lines for exactly 10 minutes.
To prevent leaking, the loose end of the lines needs to be kept firmly.
Step 4
Clear water is required to flush the ice maker’s water system. After using, please replace it in its original location. You can’t just pour vinegar into the bucket; you’ll have to use the plumbing system to move it from the bottle to the container.
Step 5
Xem thêm : How To Put A Lock On A Fridge? Comprehensive Guide
In order to get rid of the vinegar but keep the lines clear of any stray containers, the fifth step is to flush the lines with clean water.
To stay hydrated, drink 8-10 glasses of water throughout the day.
Step 6
Taking it out of the ice maker will allow you to clean it by soaking it in vinegar water that is not too hot.
You need to give it a good washing and dry it off before you put it back in the fridge.
Step 7
After hooking up the ice maker’s water supply, the first batch of ice should be removed and discarded.
The filter water cooler will last much longer if the water supply line from the fridge is kept clean.
FAQs
Do the water lines in the refrigerator need to be cleaned?
Cleaning the refrigerator’s pipes is an integral part of routine maintenance. If the water in your refrigerator has a musty odor, you may need to clean the water lines in your refrigerator. Bacteria on the filter refrigerator water dispenser might grow unnoticed until the water starts to smell musty.
Why does my refrigerator water taste bad?
Routinely cleaning all of the pipes in a refrigerator is an essential part of maintenance. If the water in your fridge smells musty, you may need to clean the water lines. It’s possible for bacteria to develop undetected on the filter of the refrigerator water dispenser until the water begins to smell musty.
If the water coming out of your carbon filter tastes old, you may want to consider upgrading. If you keep your water out for longer than is suggested, it may be contaminated by outside sources.
Can the water in the refrigerator make you sick?
When particles from your refrigerator’s water filter escape out and infect your drinking water, you’ll have a serious contamination problem.
Strange aromas and tastes may result from any of these situations. Drinking unfiltered water or foggy ice can make you and your family sick due to the presence of contaminants, heavy metals, and processed chemicals such excess chlorine and lead.
Is it necessary to close the water to change the filter of your refrigerator?
You can avoid turning off the water while you change the filter.
What happens if you don’t change the filter of the water in the refrigerator?
Scale and other deposits can form in the water and ice maker if the water filter in your fridge isn’t regularly adjusted.
Furthermore, this can do serious damage to your refrigerator. As the system slows down due to the accumulation, water flow is diminished, and the water’s flavor suffers as a result.
How long do refrigerator water filters last?
It is recommended to replace these filters every six months or after filtering 500 gallons.
These estimations are only as good as the quality of the water and how often the filter is used. Remember that the filter needs to be changed more frequently if you use well water or have hard water at home.
How much water do you put in a new refrigerator filter?
If the filter is brand new, let two to four liters of water flow through it. With this procedure, your water dispenser won’t sizzle, and any leftover construction debris will be flushed out. Verify that the area around the filter is also free of leaks.
Conclusion
You’ve got the hang of connecting a water supply to a fridge now. Gather your resources, including your newfound knowledge, and go have fun! Obviously, if you want to know who came up with the idea for the refrigerator. I appreciate you taking the time to respond to my inquiries.
Nguồn: https://spasifikmag.com
Danh mục: Fridge