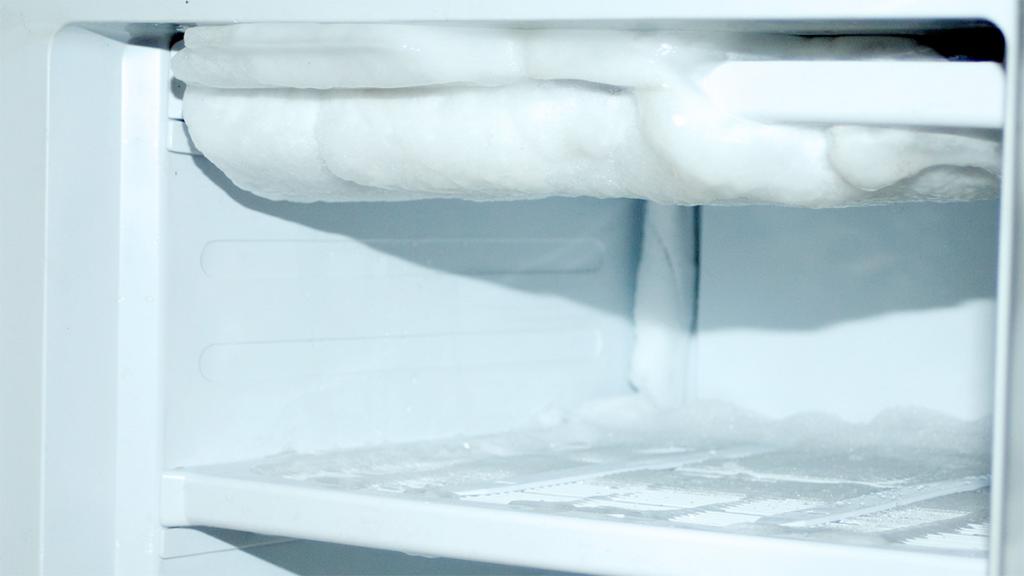
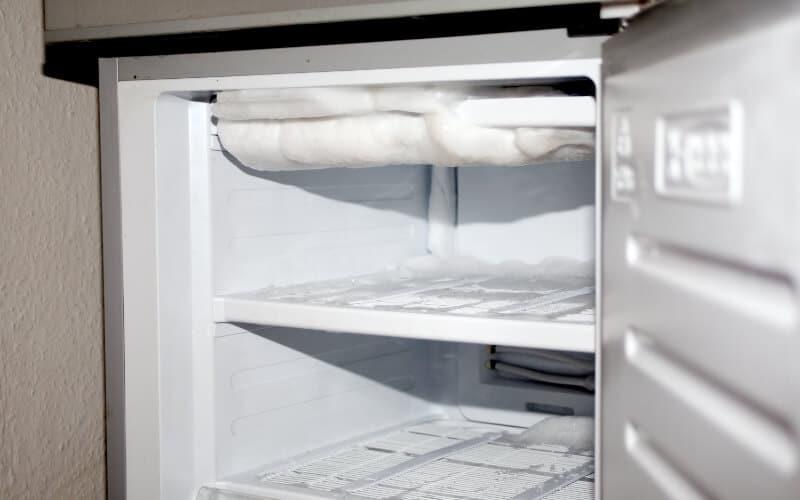
How can you keep ice from forming in your mini-fridge? Ice building in the freezer may be a nuisance since it emits a stench, makes the space cluttered, and takes up valuable storage space. The appliance will not work properly if ice builds up in its freezer.
What can you do to prevent ice from accumulating in your refrigerator? Some people find it annoying to have ice build up in the freezer, which is because it is difficult to remove from a freezer and takes up a lot of room. Furthermore, if ice builds up in the freezer, the appliance won’t work properly.
Bạn đang xem: How To Prevent Ice Buildup In Mini Fridge? Comprehensive Guide
You may avoid this issue when purchasing a mini-fridge by following a few simple steps, which you will discover as you continue reading.
Reduce the frequency with which you access your mini-fridge.
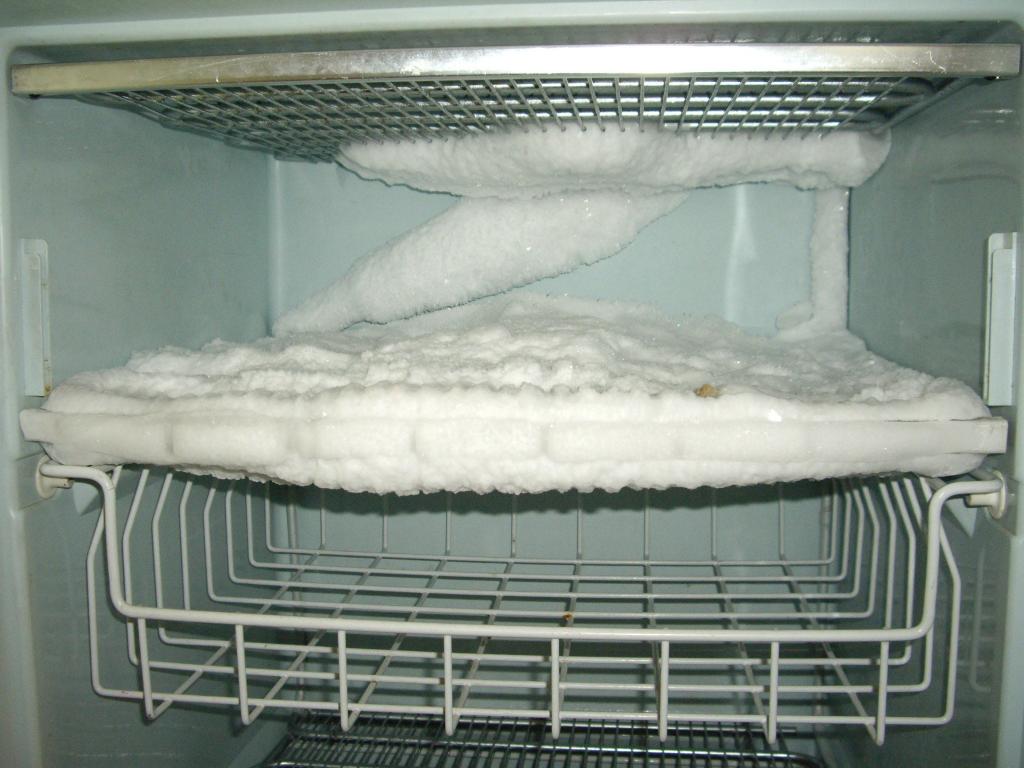
Warm air can be brought into a room by opening and closing the freezer often. One of the key causes of ice development in the freezer is the production of humidity as a result of this. Frost is formed primarily by allowing warm air to enter the freezer and freezing it, which creates an interaction.
You’ll be able to quickly locate what you need if you keep your freezer well-organized.
Establish an optimum temperature setting.
If you keep the freezer temperature as high as possible, your food will last longer. The temperature should be just right, neither too hot nor too cold.
Ensure that the door gasket seals properly.
One of the most important things to remember when it comes to keeping your refrigerator clean is the gasket. The most common source of this issue is a faulty seal.
This can be easily verified using a straightforward approach. To acquire a feel for the air, move your hand about the freezer. If your hands are cold, there’s a problem. It’s possible that the freezer is leaking chilly air outside.
The freezer’s seal needs to be repaired or replaced to keep the cold air inside. Finally, if the problem persists, you’ll need a new refrigerator, and if you’re looking for the best bargains, you’ll want to check out the Amazon shop.
Eliminate dirt from the seal by doing a deep cleaning.
The seal should be cleaned if it’s dirty. It is possible to clean the seal using warm water and baking soda. One spoonful of baking soda is all that is needed in this recipe. Afterwards, add the water and whisk thoroughly. Let the solution soak into a sponge for a few minutes before using it.
To ensure that the seal is totally clean, gently massage it with the sponge. After eliminating the dirt, rinse the surface with clean water. Use a dry cloth to make sure the seal is totally dry before shutting the mini-fridge.
Before putting hot foods in the freezer, allow them to cool down slightly.
Numerous people fall victim to this common error. It’s best to cool down heated objects before putting them in the freezer. In order to keep your freezer as dry as possible, don’t store hot food in it.
Put goods in the freezer at room temperature or colder to reduce the accumulation of ice in the freezer.
Don’t cram too much food into the mini-fridge.
Remind yourself to not put too much food in the freezer at one time. Experts recommend three pounds of food per cubic foot of storage space.
Put only what you need in the freezer at a time. The average amount of food to store per cubic foot is three pounds, according to experts.
Things Needed to Clean a Mini Fridge
- Wet Clothes
- Ammonia in a diluted form
- Bags that Have Been Sealed
- Soapy Water in a Bath
- Sodium Bicarbonate
- Optional: Water+Bleach
Steps to Clean a Mini Fridge
Step 1 – Unplug Your Mini-Fridge
To begin, unplug your refrigerator to eliminate the risk of electrocution. This is a simple and quick process that anyone can complete. Preventing work-related injuries is also critical.
Step 2 – Empty Your Fridge
The first step in cleaning the refrigerator is to remove all of the food from it. The tiny fridge can be completely emptied in portions or all at once, but all at once is preferable. Remove all of your food from the mini-fridge and discard it. Don’t just transfer your container(s) to the opposite side of your refrigerator; remove them completely. Remove the drawers, shelves, and any other detachable components you see fit..
Step 3 – Throw Away All Moldy or Expired Food
Discard any food that has become moldy or expired, as well as anything else that may have come into contact with it. Dispose of food that is rotten and expired in a rubbish bag. If the moldy goods are stored in reusable containers, thoroughly wash the containers with hot and soapy water prior to reusing them.
Step 4 – Wash the Removable Parts
To properly clean your mini-drawers, fridge’s shelving, and other removable parts, use hot, soapy water and a washcloth. When cleaning the glass, be sure to remove any stains and be careful not to scratch the surface. The glass should never be washed with warm water if it is cold since it could shatter. To get rid of tough, sticky stains from drawers and shelves, dilute ammonia and use it sparingly. Use a clean, dry cloth to thoroughly dry each component.
Step 5 – Clean the Interior of Your Mini-Fridge
Take a bucket and fill it with warm, soapy water. Microfiber mitts and rags are ideal for cleaning the inside of a refrigerator since they are extremely absorbent. Mini-fridges can also be deodorized using scented soap or liquid.
A toothbrush can be a lifesaver for those of us who have problems getting rid of stubborn stains or filth in hard-to-reach places. Because they are strong and flexible, the brush bristles are ideal for getting into tight spaces and thoroughly cleaning them. Rinse the inside of your mini-fridge with clean water once you’ve cleaned it completely.
Step 6 – Dry All Fridge Parts
Before reinstalling the shelves and drawers in the fridge, make sure they are totally dry. When drying the inside of your small fridge, use a dry and clean cloth. Before putting anything back, make sure it’s completely dry.
Step 7 – Disinfect Your Mini-Fridge with Sanitizer and Return All Fridge Parts
Mold and germs can build up in our refrigerators over time for a variety of reasons. It is therefore imperative that surfaces are regularly sanitized. The drawers, shelves, and other elements that were removed can now be reinstalled.
Step 8: Vacuum the Coils and Condenser
The coils and condenser of the refrigeration unit are clogged by debris and dust, which reduces the amount of power generated. Consequently, our refrigerator’s cooling system uses more electricity to keep the fridge at the desired temperature.
We can fix this problem by wiping off our mini-fridge with a damp cloth. You can find this protective grill on your unit’s bottom or top. Dust and debris can be removed from the fan and coils by brushing them. Next, use a vacuum to remove any remaining debris from the grill and reinstall it. Once you’ve finished cleaning, wash your hands with soap and water. Wipe the counter where the drinks, meals, mini-fridge parts, and other cleaning supplies were kept.
You should clean your mini-fridge at least once every two to three weeks, however cleaning your mini-fridge is a simple and necessary task.
Please be aware that if you click on our links and make a purchase, we may gain a small commission. But this has no effect on our evaluations or comparisons. To assist you in making the best decision possible, we strive to provide a fair and balanced environment.
How long should a mini-fridge last?
More than a decade of use is recommended for the average tiny fridge. Nonetheless, the compressor’s lifespan can vary depending on the compressor’s material and quality. In addition, it can differ from one brand to the next.
The mini-fridge market is dominated by Haier, a well-known brand. The average lifespan of their mini-fridges is nine years. Haier, on the other hand, provides a 24-month warranty.
Galanz’s mini-refrigerators are among the most durable on the market. Properly maintained and used, their mini-fridge can last up to 14 years.
How can you tell if your mini refrigerator is going bad?
It’s critical to know whether your mini-fridge is going bad so that you can take the appropriate action. There are only a few reliable ways to tell if your tiny refrigerator is starting to go bad.
Let’s take a look at some of the telltale symptoms that your mini-fridge is malfunctioning.
Excessive condensation:
Condensation in your mini-fridge isn’t a significant concern, but there shouldn’t be much of it. Excessive condensation indicates a problem with cooling in your tiny fridge.
Because of a leaking rubber seal or a malfunction in the fridge’s mechanical system it can happen.
Loud noise:
A quiet buzzing sound is typical of mini freezers. When your mini-fridge gets too hot, the engine and compressor kick on and make a louder noise.
If your mini-refrigerator is making a lot of noise, it’s time to replace it.
The motor is hot:
A common reaction is to feel a little heated when you touch the back of a fridge. Your mini-motor fridge’s won’t overheat since the coils at the back are insulated.
However, if your mini-refrigerator is overheating, this is a clear sign that something is wrong with it.
Water on the floor:
Mini-fridges, like regular refrigerators, include a drainage mechanism that removes water from the interior caused by condensation and sweat.
Your mini-fridge needs to be repaired if there is a noticeable amount of water residue on the floor.
The fridge isn’t cold enough:
A mini-primary fridge’s purpose is to keep beverages and food at a consistent temperature. If it doesn’t, then there must be an issue with it. Compressor or motor failure is the most common cause of an unusable refrigerator.
How to make a mini-fridge last longer? How do you maintain a mini-fridge?
You may extend the life of your mini-fridge by properly caring for it. Let’s look at a few ways to extend the life of a mini-fridge.
Cleaning regularly:
The drainage system of your mini-fridge can be blocked by spilled food or dust if it isn’t cleaned out on a regular basis. The mini-fridges can be cleaned up in a jiffy.
You won’t even have to unplug the mini-refrigerator while you’re cleaning. You only need to remove the shelves or compartments and use a soapy water and gentle sponge to clean it. To get the most out of it, it’s best to do it monthly.
Clean the coil:
If the condenser coil is covered with dirt and dust, the mini-fridge will not operate at its maximum capacity. To extend the life of your mini-fridge, you should clean the coils at least twice a year.
Pull the refrigerator away from the wall, remove the grille, and use a brush to remove dust from the coil.
Get rid of the extension cord:
Xem thêm : What Size Mini Fridge For Dorm? Picking the Right Size
Extending the power line to other appliances, such as the mini-fridge, is a frequent practice. This isn’t always the greatest strategy, though.
An extension wire that becomes too hot and burns might damage the refrigerator, even in the smallest models, which contain a compressor that consumes a lot of electricity. As a result, cutting out the extension cord extends the life of your refrigerator.
Check the compressor regularly:
When it comes to a refrigerator, nothing beats the compressor. Mini fridges work because of this component, which pushes refrigerated gas through the condenser coils.
You can find out if the compressor has a problem by inspecting it on a regular basis and repairing it if necessary. You can extend the life of your mini-fridge by doing routine maintenance on the compressor.
How can I make my mini-fridge more efficient?
Improve the energy efficiency of your mini-fridge and save money in the process. In order to improve the efficiency of a mini-fridge, there are few options. The following are a few examples of those techniques:
Always keep the door closed:
Distracted walking away from the mini-fridge with the door open is a typical occurrence. Because all of the cool air has escaped and the warm air has entered, the compressor will have to work harder to chill things down again.
This means that you can avoid wasting energy by keeping your fridge door closed.
Fill up the fridge:
As much as possible, try to keep the fridge stocked with food and beverages. Energy is saved since there is less air to cool in a full fridge, which means it doesn’t have to run at maximum capacity. The contents of a well-stocked refrigerator help keep each other cool.
Don’t store hot beverages or food:
Adding hot food to your mini-fridge increases the temperature inside, making it more difficult to lower the temperature. If you want to keep your food and beverages fresh, you should bring them to room temperature first.
Check the door seals:
Rubber door seals are susceptible to deterioration from a variety of causes. Your mini-fridge needs to work harder to maintain the temperature inside if the door seals are broken.
By inspecting the door seals on a regular basis, you may improve the energy efficiency of your home or business.
What mini-fridges last the longest?
It’s possible to find tens of thousands of mini-fridges on the market nowadays. It is impossible to predict the lifespan of a tiny refrigerator. Typically, they persist between six to 14 years.
Because of factors such as how it is powered, what it is used for, how often it is serviced and so on.
The longest-lasting mini-fridges are shown below.
- Compact Refrigerator by Danby Design
- Mini-fridge with two doors by Midea, model WHD-113FB1.
- Compact Refrigerator Black + Decker BCRK25B
- Chefman’s Personal Refrigerator
- Drink Cooler by EdgeStar
- Mini Fridge Costway 3.2 cu. ft.
- Refrigerator with a capacity of 2.7 cubic feet by Haier, model HC27SF22RB.
Are mini-fridges worth it?
Small apartments and dorm rooms necessitate the purchase of a mini fridge to keep food fresh. These refrigerators are small and don’t take up a lot of room.
You can keep all your leftovers and drinks in a mini-fridge if you’re a single person living alone in your flat. Due to its compact size, it is also extremely energy-efficient.
Why did my mini-fridge stop working?
Any problem with the power line or compressor could cause your mini fridge to stop working. Other possible causes include a malfunctioning thermostat, a fault with the sealed system or the condenser fan motor.
If your mini fridge suddenly stops operating, the first place to look for damage is the power cord. As soon as you discover that there is no exterior problem, you should get the refrigerator repaired at your local service center.
When should I replace my mini-refrigerator?
As soon as you notice any of these warning indicators, you should replace your refrigerator. Mini-fridges that don’t effectively cool down food should be replaced as well. If your refrigerator is older than 20 years, it’s time for a replacement.
You can tell if your mini-fridge needs to be replaced by looking at a variety of indicators. There are several warning indicators, such as excessive noise, water on the floor, and a very hot motor.
A mini-fridge can last for an indefinite period of time. It can endure up to 14 years on average, although that’s not always the case. However, it can endure for more than twenty years. It’s possible to extend the life of your mini-fridge by keeping it clean and maintaining it properly.
Contact Brand Support for Repair & Service
Your micro fridge brand repair and service center can assist you if you have any additional issues with your appliance.
Conclusion
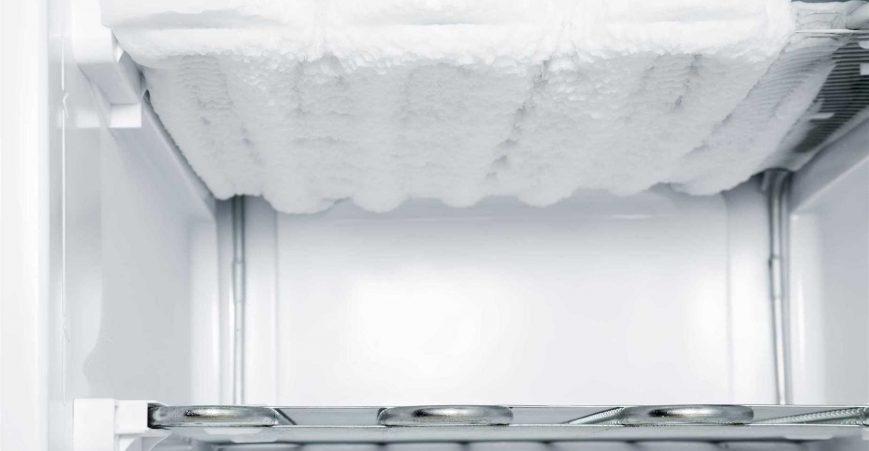
So we hope this post has provided you with some answers and troubleshooting guidance for having ice build-up in your mini-fridge. When you notice ice forming in unexpected places, don’t forget to maintain your seals clean, check your seals, and properly space your meals. The refrigerator should not be used for storing hot food, as well. Reduce the quantity of ice that forms by following all of these instructions.
Nguồn: https://spasifikmag.com
Danh mục: Fridge