Wood is vulnerable to water damage, which is one of the drawbacks. Learn how to restore water-damaged dark wood in this post so that you aren’t put off by the prospect of it happening to you.
- How To Fix Water Damaged Undersink Kitchen Cabinet? Complete Step-by-Step Guide
- Professional Repair For Water Damaged Wood Floors A Perfect Guide For You!
- Who To Call To Replace Water Damaged Floors? Complete Guide
- How Long Before Wood Gets Damaged From Water? What You Need to Know
- How To Patch Water Damaged Ceiling Tape Joint? Things You Should Know
In addition to instructing you on how to restore water-damaged wood. You’ll also learn a few other things from it. As a result, you don’t have to worry about water destroying your hardwood fixtures or structural components.
Bạn đang xem: How To Fix Water Damaged Dark Wood? Easy Step-by-step Guide
Can you restore water-damaged wood?
If you see water damage to wood, the first thing you would wonder is, “Is there still hope?” Are there any options for refinishing the wood?
The truthful and direct response to this question is: it depends. The endurance of the wood and, by extension, the likelihood of repair, can be affected by a number of things.
The following are some considerations to keep in mind:
- What happened to the wood? Is it possible that it was immersed under water?
- How long had the wood been in contact with water before it was salvaged?
- When was the wood exposed to water?
- Is the wood contaminated by other substances?
If you can answer these questions, you will be able to tell if the wood is still salvageable. Repairing wood that has been exposed to the least amount of water and time is the most likely.
However, when the exposure worsens and the exposure duration lengthens, the likelihood of repairing the wood diminishes significantly.
How To Repair Water Damaged Dark Wood
Do you have any evidence that a wooden building or fixture was exposed to water? Water damage to dark wood can be repaired with these simple techniques.
Step #1. Assess
Identifying the degree of the water damage is the first stage in repairing dark wood. You can tell how badly damaged the wood is by using the questions listed above as a reference.
Xem thêm : How Long Will Water Damaged RV Floor Be Wet? The Secret To Keeping Your RV Floors Clean
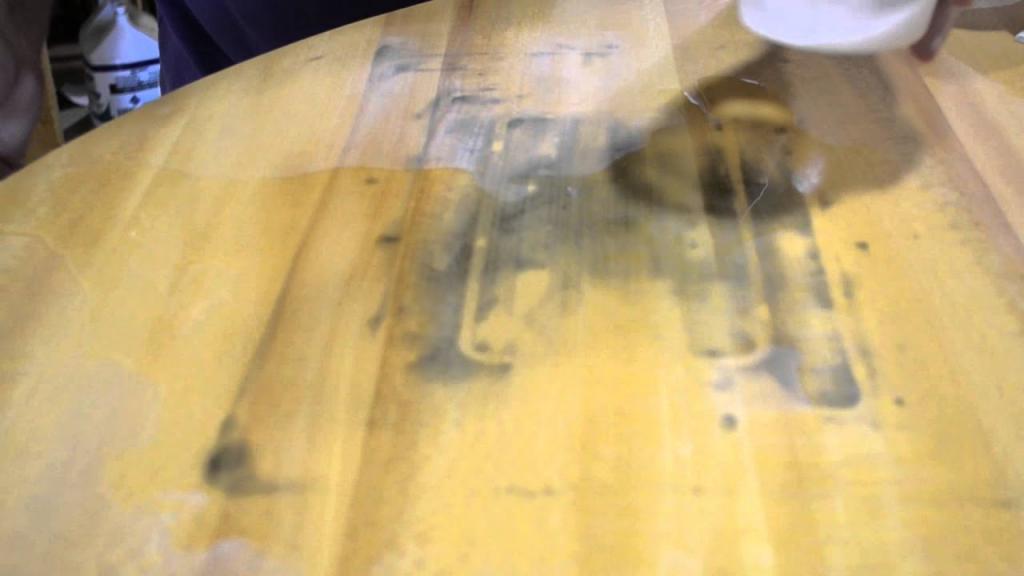
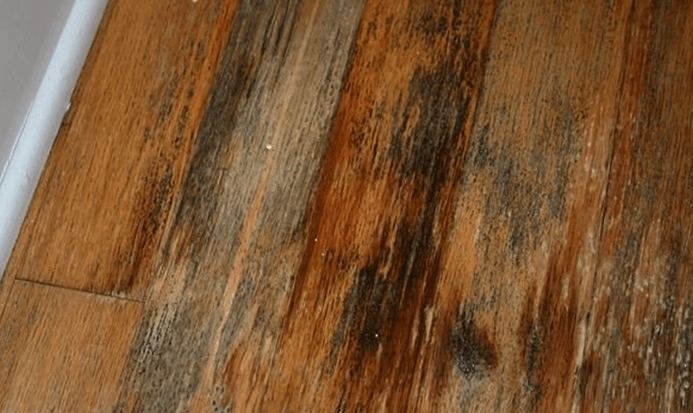
If you’re not sure how much or how long you were exposed to water, keep an eye out for swelling, discoloration, and other signs of water damage. Water has penetrated the wood sealant and left dark stains.
Because of this, the damage may be severe. Light stains, on the other hand, indicate that the water damage is only superficial.
Repairing damaged wood isn’t always the best option; in certain cases, it’s better to replace it entirely. Why? Water damage has the potential to degrade wood.
In order to protect one’s health and safety, something should be replaced rather than repaired. Furthermore, repairing wood can sometimes be more expensive than completely replacing it. Check your insurance policy to determine if it will cover the damages, or check with a lawyer if you’re concerned about the expense.
Step #2. Dry
After establishing whether or not the wood can be repaired, the following step is to dry it. Damaged wood can either be left out in the sun for a few days, or a blow dryer or a heat gun can be used.
Make sure you don’t rush through this process. When wood dries too quickly, it might crack or shift.
Taking your time and being patient with the wood is essential. Make sure that the wood is dried thoroughly before proceeding to the next steps.
Step #3. Remove stains
Swelling should be greatly reduced once the wood has cured. The stains should be the next thing on your list to tackle.
Using a mixture of baking soda and water, you may clean off the spots on your skin. Saltwater, vinegar and olive oil, or even toothpaste can be used if this one fails.
Step #4. Sand
Sand the wood once it has dried and been cleaned of any spots. This stage can be completed with either sandpaper or a high-quality sand belt. Avoid damaging the wood by sanding carefully.
Step #5. Seal
Xem thêm : How Long Before Baseboard Gets Damaged From Water? Tips And Tricks To Avoid Water Damage
Sealing water-damaged dark wood is the final stage in the repair process. To prevent further water damage, a marine-based polyurethane coating should be applied.
Polyurethane derived from marine sources is a popular choice for furniture and other wood-based fittings. You deserve a pat on the back after completing this step! You’ve restored water-damaged dark wood to its former glory.
How to Lighten Wood That Has Been Darkened With Water Damage
- Remove the varnish or finish from the wood by sanding the darker area using 100-grit sandpaper. Use a vibrating sander to remove big patches of discoloration from a limited area. In order to avoid scratching or leaving swirls on the surface, sand in the direction of the wood grain using gentle, even pressure regardless of the sanding method used.
- Lightly remove any roughness caused by swollen, water-soaked wood from the water-marked region using 150-grit sandpaper.
- Remove all of the sanding dust from the work area.
- Using a moist cloth, remove any leftover dust and debris from the area.
- The darkish water marks should be bleached, and you can do this by wiping them with a sponge or an artist’s paintbrush for larger areas.
- Use 150-grit sandpaper to softly sand the bleached area. If necessary, repeat the bleaching and sanding process several times until the wood returns to its natural color, but not so much that an impression is left in the wood. In between applications, make sure the bleach isn’t allowed to dry out.
- To remove the bleach, use a clean, damp cloth to wipe the brightened wood and the surrounding area.
- Allow two days for the wood to dry out.
- Finishing the sanded area with the original sort of finish will seal the wood and match it to the rest of the piece of wood.
Protecting Wood From Water Damage: Here’s How
Use Natural Oils
Some of the best natural oil finishes for lumber are Linseed and Tung oils. Dark-grained woods like mahogany and walnut are especially well-suited to the use of these oils. Wooden furniture may be restored to their former glory and made more resistant to water damage by using natural oils in combination with a mineral spirit or polyurethane. In order to get the most out of your natural oil blend, here are some tips:
- A thorough mixing is required.
- Only use a natural bristle paintbrush to apply the mixture on dark-grained wood (make sure that you sanded and cleaned your lumber beforehand)
- Reapply the oil if necessary after letting it sink in.
- Use a clean, dry towel to remove any remaining oil.
- Allow enough time for the oil to dry completely.
- Sand the wood again with fine-grit sandpaper.
- You may have to repeat the process a few times to get the desired result.
Use a Sealant
Proof of waterproofing characteristics can be found in all three of these coatings. Clean, sanded wood can be painted or sprayed with them. Next, let the sealer of your choice dry for a full 24 hours before applying it. Finally, if necessary, re-coat and re-sand. Make sure the temperature is at or near room temperature for best results. The sealants should also not be shaken before to application. Even if the wood dries completely, air bubbles may remain on its surface if this tip is ignored.
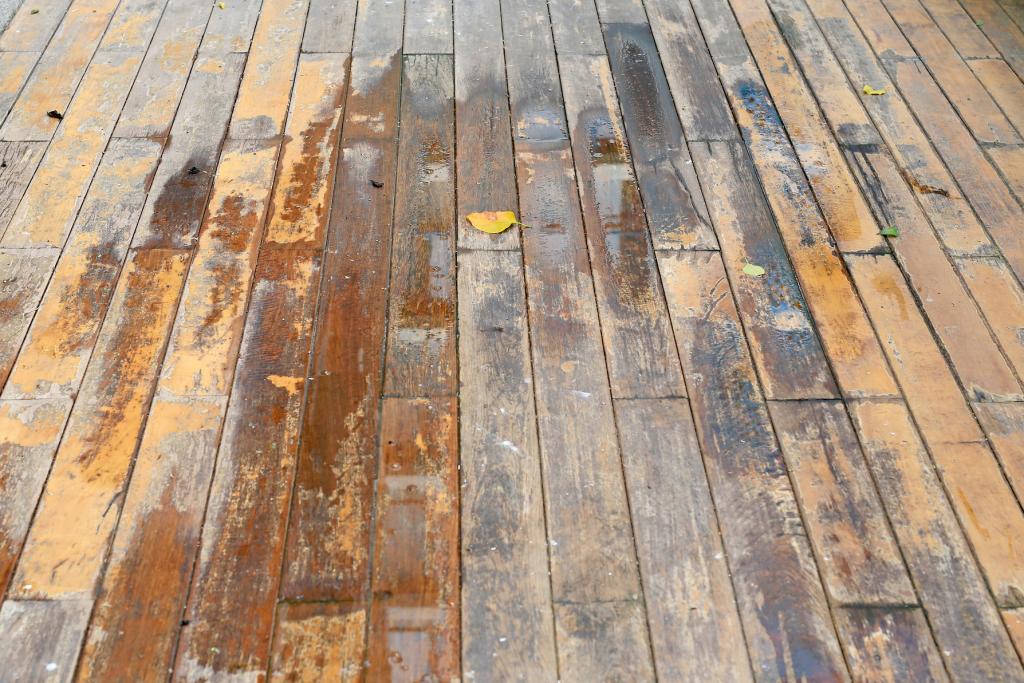
Use a Stain-Sealant Combination
This option is great if you’re working on a large-scale project. Here, a wooden deck serves as an excellent illustration. When you use a stain-sealant combination, you may get both color and protection in one step. It is common for stain-sealants to be made of oil, water, or alkyd based pigment and binders. Alkyds are ideally suited for interior timbers that will not require further applications. Make careful to apply once or twice a year to external woods to improve their waterproofing.
Depend on Leland Fisher Lumber For Your Lumber and Hardware Needs!
For all of your woodworking and hardware needs, turn to Leland Fisher Lumber. Since 1894, we’ve been serving homeowners and contractors in Montgomery County, Howard County, and Frederick County! We have the skill and expertise to bring any architectural concept to reality, whether it’s a house makeover or a company update.
Other maintenance tips
The use of a marine-based polyurethane sealer on the wood is just one option for protecting it from further water damage. A few of the best ways to accomplish this:
- If water is accidentally spilled on a hardwood surface, remove it as quickly as possible using a damp cloth.
- Wet or damp objects should be removed from hardwood surfaces right away.
- Leaks and broken pipes can damage the wood if they aren’t checked out frequently enough.
- Also, excessive humidity might lead to water damage, so keep an eye out for that.
- When cleaning wooden surfaces, use cleaning solutions instead of a wet towel or mop.
Conclusion
You no longer have to be concerned about your wooden goods now that you know how to restore water damaged dark wood and other vital maintenance advice! Don’t forget about the advice and how-tos we’ve given you thus far. In the end, working proactively rather than reactively is the best way to deal with water damage.
Nguồn: https://spasifikmag.com
Danh mục: Damaged


