How do you remove the drip tray from a refrigerator? Your refrigerator’s drainage system may be malfunctioning and you’re concerned about the water coming from the back. Then, it could be the refrigerator’s drip tray. If you can’t remove any trays, we’ll still show you how to remove or clean them in the six steps we’ve outlined. These actions are required because if the tray is defective, it must be replaced.
- How To Fix Seal On Fridge? Troubleshooting and Repair Guide
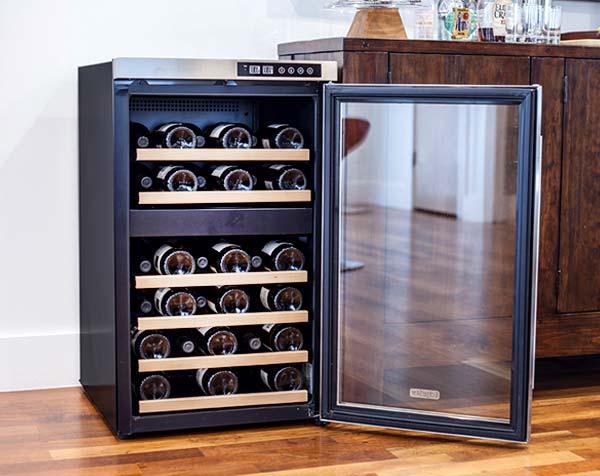
- How To Choose A Wine Fridge? The 8 Best Wine Fridges
- How Much Does A Fridge Cost To Run? Perfect Information For You!
- How Long Can A Fridge Be Turned Off? Comprehensive Guide
- How To Clean Fridge Water Dispenser Tube? Step by Step Instructions
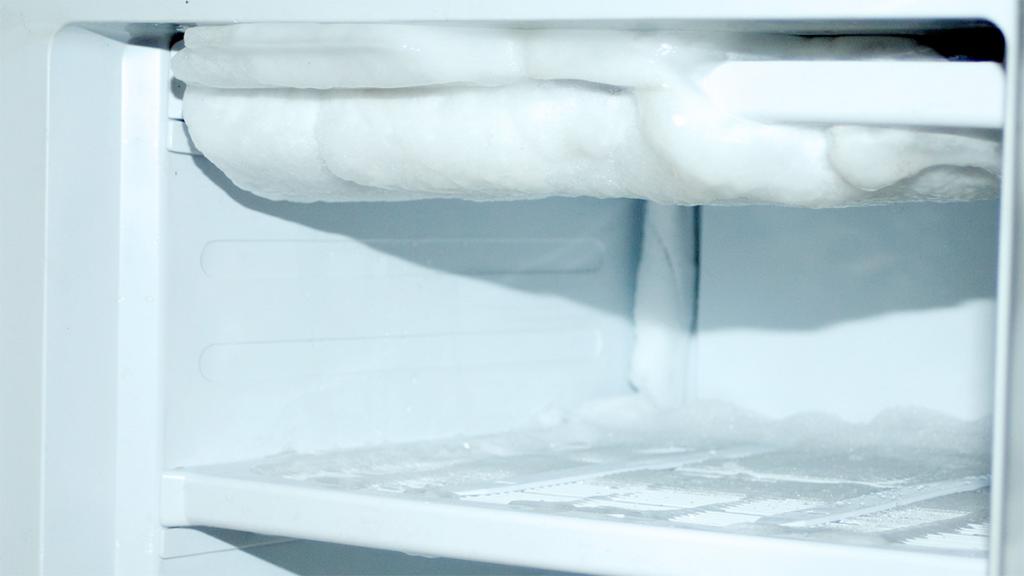
Constantly changing temperatures cause condensation within the units of many household appliances, such as air conditioners and refrigerators. To keep the water from spilling out, all of them feature drip pans to catch the condensation. So, in order to efficiently hold water, this component must be free of dents and cracks.
Bạn đang xem: How To Remove Drip Tray From Fridge? Step by Step Instructions
In addition, if you notice a problem with drainage, the first thing to examine is the pan or the drain lines.
And if you’re not sure where to begin, this article might point you in the right direction. Continue reading to learn more!
Steps How To Remove Drip Tray
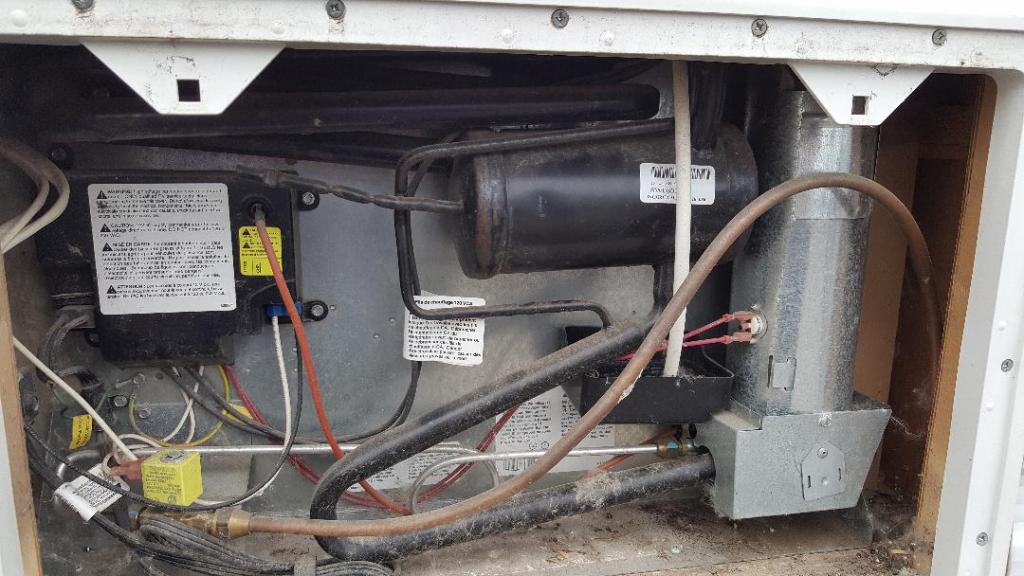
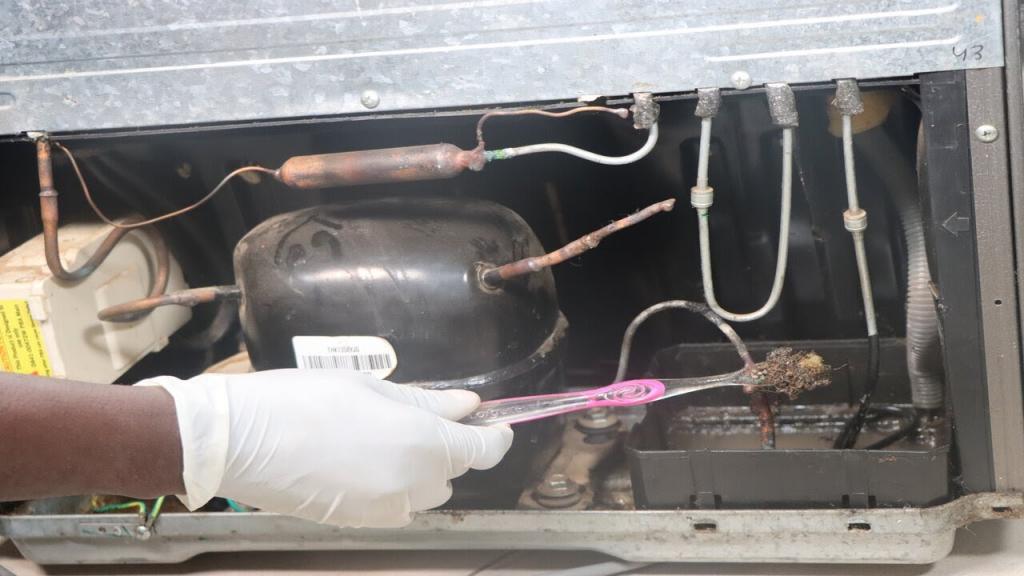
How do you remove the drip tray from a refrigerator? Your refrigerator’s compressor and drip tray are located at the bottom back. This may sound hard, but it will only take a few minutes to do this task. You don’t have to pay a professional to do a treatment that we believe you can accomplish yourself with the help of this tutorial. If you want to know how to remove a drip tray from a refrigerator, we’ve got a step-by-step guide for you.
Step #1. Gather your tools
There are a few things you’ll need if you only want to see if the tray is broken or if you need to replace it. Use this tool to open the back door of the refrigerator. You’ll need bleach and a cloth, however, if you want to remove the water and clean the tray.
Step #2. Read your manual
We must first identify the tray in your refrigerator before we can begin any fridge motions. As previously said, the trays are typically found on the back of the refrigerator, however some are positioned on the front, depending on the model. Also, check your manual for instructions on how to get to the tray.
Step #3. Turn off fridge and water supply
Keep yourself safe by following these instructions. As a result, turn the power off using the control board’s power button and then remove the USB wire. If the tray is in the back and easy to reach, we can move the fridge forward. Alternatively, you can turn off the valve rather than disconnecting the water supply.
Step #4. Prepare the fridge
You can move the fridge forward as far as you wish to get to the bottom panel if the tray is in the rear. Next, remove the fridge’s internal components’ covers using your screwdriver. Pop it open and you’ll be able to see everything inside, including your drip tray. In contrast, if it’s at the front of the line, you don’t need to transfer it there. Instead, look for the grill cover at the front bottom of your fridge.. Using a putty knife or scraper, remove the kick panel from your unit.
Be careful not to damage it and make sure all the edges have come out before you remove it.
Step #5. Remove the tray
Xem thêm : How Much Is A Stainless Steel Fridge? Perfect Information For You!
Because the tray stores water, it’s easy to locate it. To remove it, simply wiggle it to release it on all sides. To avoid spilling the water, draw it up and towards you while keeping its posture.
If the heating coils are above the tray and you try to remove it, you may not be able to. Make sure that your heating pipes are located as depicted in your manual. Please refrain from forcing yourself to remove it out of fear of damaging the tray.
Step #6. Drain the water
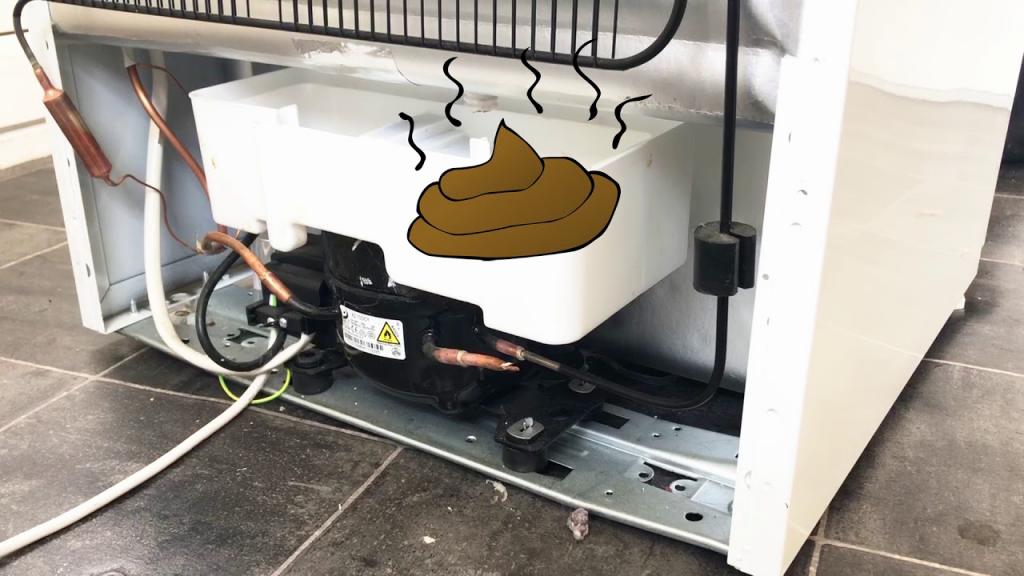
If there aren’t any dents, you can drain the water and clean the sink. Wipe the tray down with a cloth after cleaning it with bleach or vinegar. However, be certain there isn’t any extra water when you replace the tray. If you don’t drain the water, it may emit a bad smell.
This includes cleaning the area where you intend to place your tray. Check for any possible leaks as well. After that, wipe the surface to remove any remaining water to keep your fridge from stinking. The tray can then be reinstalled and the back panel reattached if it is undamaged and there are no leaks.
How to clean a removable fridge drip pan
- When you remove the water from the pan, you’ll see that the heat from the fridge’s compressor evaporates most of it, so you’ll need to start with a small amount of water. You can still use a wet and dry vacuum to remove any remaining solution.
- Dissolve 1 part bleach in 2 parts water and spray it on the drip tray’s whole surface. Allow the solution to sit for a few minutes. For those who don’t like bleach and are looking for an eco-friendly alternative, white vinegar is an option.
- Make careful to thoroughly clean the drip pan, removing all of the built-up dirt and residue. If there are any moldy areas, you’ll want to scrub them well to remove them completely.
- Using paper towels or a cleaning cloth, wipe out the drip tray of the refrigerator after you’ve cleaned away all the dust and debris.
- To eliminate all cleaning solution and residue, thoroughly wash the surface with warm water.
- The drip pan should be cleaned and dried as the final step. You might also let it to air-dry for around 30 minutes as an alternative. When the pan is still wet, there is a significant probability that mould will develop and the foul odor will accompany it. This is a very critical step.
Cleaning a Non-Removable Drip Pan
This is a little more difficult. You’ll have to clean the drip pan within the fridge because you can’t get it out. Using a flexible claw grabber is one way to accomplish this. Place a moist wipe inside the claw to clean it. Using the claw grabber, carefully wipe the drip pan to remove the grime, dirt, and mould that has built up over time. After a few minutes, check the wipe to see whether it’s dirty. If it is, use a fresh one and repeat the process. When the wipe comes out of the drip pan clean, you know you’ve done a good job, even if it takes several attempts.
Leave it to the professional cleaning specialists
Because of time constraints, inexperience, lack of desire or just because you prefer to leave this to the specialists, Fantastic can clean not only your pan but your entire fridge in one swift motion. Let us take care of the chores so you can enjoy your leisure time!
How Often Should I Do Maintenance on My Refrigerator?
Monthly Maintenance Tasks for Your Refrigerator
Empty your icebox once a month. If you don’t, the ice in your freezer may wind up absorbing scents. There are times when the ice forms into a block that is impossible to use. Empty your ice bin once a month to keep your ice odor-free and easy to retrieve.
Refrigerator Maintenance Every Three Months
Your refrigerator’s door gasket may need to be checked out. Keeping the door from shutting properly can strain the fridge’s motors if it’s dusty or flimsy. Soapy water and a towel will do the trick if it’s soiled. Replace or re-magnetize the magnets embedded in the seal if they are loose. Get in touch with your local appliance repair firm if you’re unsure how to proceed.
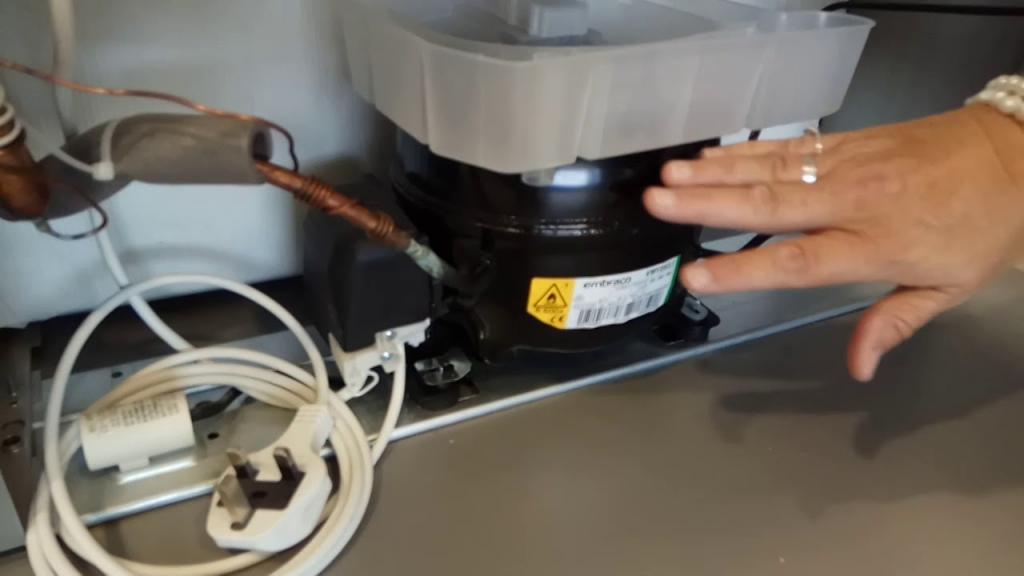
The condenser coils should also be cleaned. Located in the back of your refrigerator, these components play a crucial role in cooling and condensing the refrigerant, which is responsible for releasing heat. Dirt, debris, and pet hair can clog the coils on the back of your refrigerator, wasting electricity and straining the compressor. Every three months, use your vacuum’s brush attachment to clean these coils.
Every three months, you should also level your refrigerator. It will not properly close if it is not level, whether it is leaning to one side or being too far back or front. This might put a lot of strain on the motor and cause it to condense. Make sure it’s level by placing a level on top of your refrigerator and rotating the feet until they are.
Six-Month Refrigerator Maintenance
Replace your refrigerator’s water filter every six months. Maintaining a high level of cleanliness in the water supply and ice supply is essential to preventing blockages or leaks. If you’re not sure where to look or how to replace the filter, consult your fridge’s owner’s manual or give American Appliance Repair a call.
Xem thêm : How To Reduce Power Consumption Of Fridge? A Few Tips to Remember
Drain holes and drip pans need to be cleaned every six months. To prevent clogs, keep the drain pan free of food and mineral deposits. For further information on how to do this for your individual machine, check the owner’s manual or get in touch with the company.
Daily Maintenance for Your Refrigerator
It only takes a few minutes of simple daily maintenance to extend the life of your refrigerator. In order to keep odors from spreading throughout your fridge and freezer, you should cover your food, buy a box of baking soda, and allow adequate clearance on all sides of the fridge so that it can properly vent.
5 Refrigerator Maintenance Tips
Check the Door Seals
Door seals should be clean and free of any food residue. Use a toothbrush and a baking soda/water solution to scrub the seals at least twice a year to keep them clean. As a result, if the fridge’s chilly air escapes, it wastes electricity and strains the appliance even further. Try the dollar-bill test to see if your seals are up to snuff: Open and close the door so the dollar note is partially inside and partially outside. Get the seals examined by a professional if it comes out easily.
Keep Coils Clean
Cooling systems use condenser coils to transfer heat from an indoor environment to the outside environment. The refrigerator won’t work properly if the coils are dusty. Removing the machine from the wall, turning off the refrigerator, and using a vacuum attachment to clean the coils is recommended at least twice a year.
Clean the Inside
A monthly cleaning of the refrigerator’s shelves, doors, and walls will help keep germs and bacteria from getting into the food. Clean up any fridge leaks as soon as they occur. It’s also a good idea to go through your fridge and get rid of anything that has expired or started to mold.
Check Temperature
Refrigerators should be kept at 37 to 38 degrees Fahrenheit, while freezers should be kept at zero degrees. When the refrigerator’s temperature is checked regularly, it runs more efficiently.
Keep it Filled
In order to keep food and beverages cool, refrigerators require a lot of thermal mass to keep the temperature low. You’ll have to work more to keep your fridge cool if you leave the doors open. You can increase the thermal mass of your refrigerator by placing empty bottles inside it if it is rarely stocked.
Refrigerators, like human hearts, require regular maintenance to be “healthy” and functional. Your refrigerator will last longer and use less energy if you perform these five simple maintenance activities.
Closing Thoughts
To remove the fridge’s drip tray, follow these steps: Keeping an eye on and maintaining your refrigerator’s drainage system is essential, especially in terms of its overall performance and cleanliness. If the tray fractures, we don’t want unstrained water to leak out into the fridge. If you don’t, have it checked out. Please feel free to contact us if you have any questions or concerns after reading this article.
It’s also a good idea to consult your refrigerator’s manual for any additional information you might need.
If you’re interested in learning more about the drainage mechanism for air conditioners, check out this guide on how to drain an air conditioner. Keep an eye out!
Nguồn: https://spasifikmag.com
Danh mục: Fridge