Instructions for putting in a gas stove. Having a gas stove at home is essential, and I’m sure you’ll agree with me on that. The ability to cook over an open flame requires this component, regardless of its form, function, or method of use. Electric and gas stoves are both available.
- How To Install A Pellet Stove Through The Chimney? Step-by-Step Tutorial
- How To Make A Cheap Wood Stove? Step by Step Instructions
- How Much Does A Stove Weigh? Perfect Information For You!
- How To Connect A Gas Stove? Comprehensive Guide
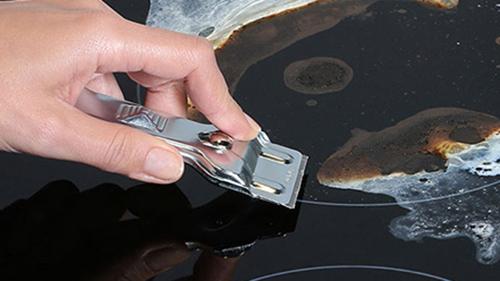
- How To Protect Glass Top Stove From Scratches? A Few Tips to Remember
Many people think a gas stove is better since it’s more convenient. When living in an area with frequent blackouts, gas stoves are the most reliable option. Prepare a large quantity of meals quickly with the help of a gas stove.
Bạn đang xem: How To Install A Gas Stove? Complete Step-by-Step Guide
In addition to being more practical than an electric stove, it will also save you money. You may be asking at this point what the procedure is for installing a gas range. Don’t fret; that’s something we can take care of for you.
How to Prepare for a Gas Stove Installation
Installing a gas cooktop stove is more important than installing an electric cooktop stove. Both the old and new stove need to be taken out and put in. In addition to an electrical outlet, a gas stove also needs a gas line. You are not alone in your inexperience with gas stove installation. Every year, thousands of people either upgrade their existing gas stoves, switch to natural gas, or incorporate a gas stove into the design of a brand new home.
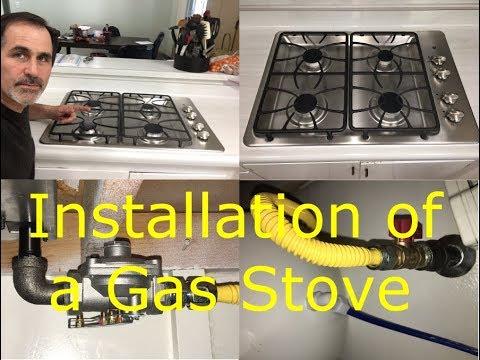
If you’re lucky, you’ll be switching out your old gas stove for a new one. Therefore, let’s start from the very beginning. Follow these steps to get ready for your gas stove installation and to make the transition to a new, safer gas cooktop unit.
Close The Gas Line
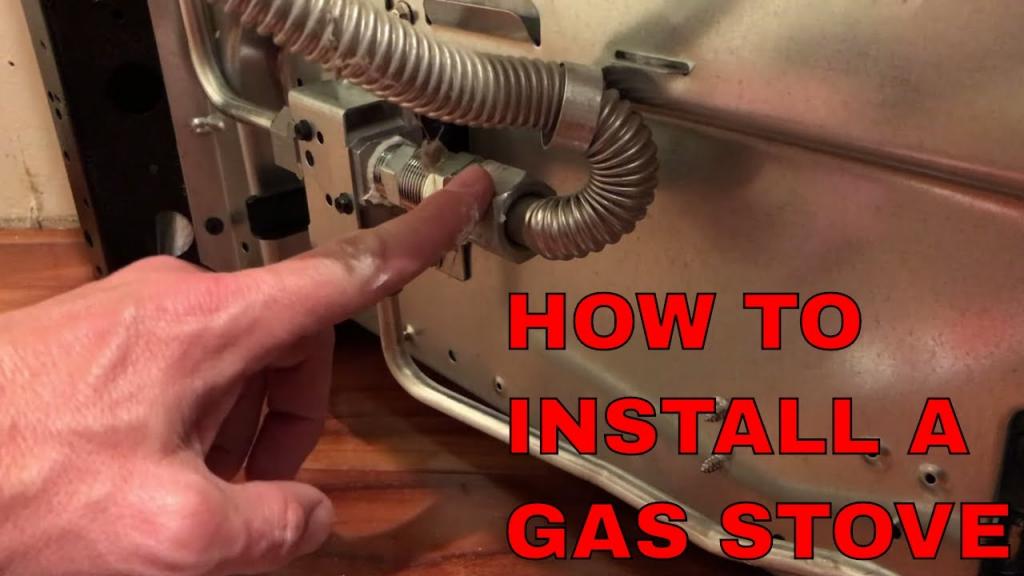
The first step is to shut off the gas. This is an essential precaution to take. The gas supply valve for the stove’s hookup needs to be closed because it will be left open for some time. An emergency valve should be installed prior to the connector, and there is no better time than now to do it. After the valve has been turned off, you can connect the new connector. You’ll need a brand new, never-before-used plug.
Disconnect And Discard The Gas Line Connector
Put a stop to the gas flow, disconnect the hose, and toss the connector. Connectors that have been jammed can be unplugged by using two wrenches: one to hold the connector and another to twist it loose.
Remove The Old Stove
Turn off the gas supply and disconnect the old stove from the wall. The stove should be moved out of the house with the help of a friend and an appliance dolly. From this point on, you get to decide how the stove will be used. If it doesn’t work, just get rid of it or recycle it. The stove can be sold, donated, or used in another application on the site.
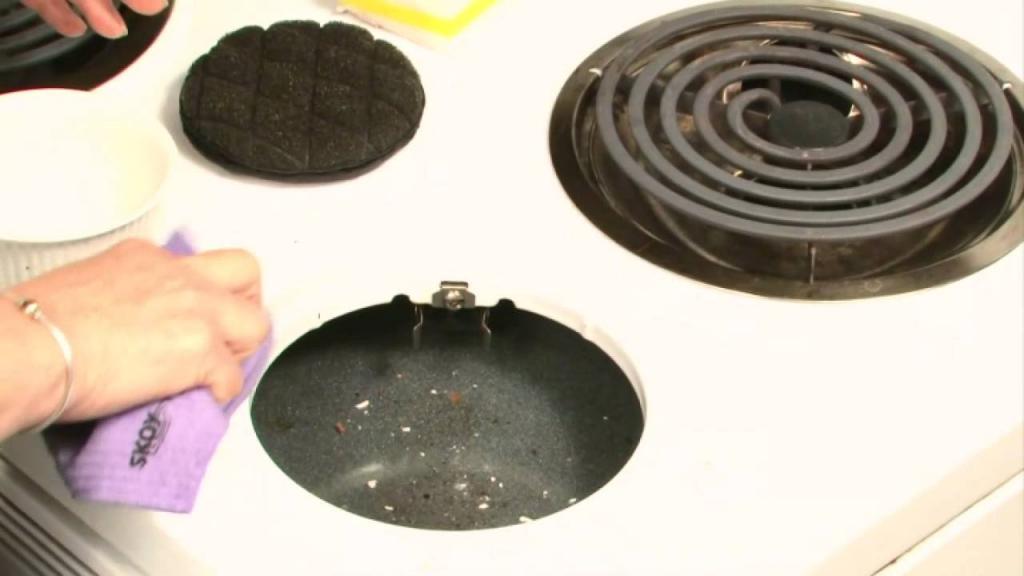
Clean The Floor And Wall
The space behind the range never seems to get cleaned up, even when compared to the rest of the house. The wall behind the stove is most likely filthy from spills and general use. Clean up the kitchen completely before having a new stove fitted. To prevent the accumulation of filth and grease, clean the area around the stove while it is not in use by mopping, scraping, and maybe repainting it.
Inspect, Clean, & Maintain The Exhaust Hood
Access to the exhaust hood is provided as well, which is not always the case. If you haven’t done so recently, now is the time to give your hood a good scrubbing and check it over for any necessary repairs. Filters made of metal should be taken out and washed with hot water to ensure cleanliness. Verify that the fan is actually operating.
To put it another way: change the light bulb. If there are any removable components in the aerated frying oil layers, they can be washed away with soapy water.
Clean The Outlet And Gas Line
Verify all of the plug-ins for proper operation. Clean the electrical outlet and its surrounding area using an all-purpose cleaner. Perhaps you won’t believe how much grime is eliminated. The gas line valve should then be disconnected and cleaned.
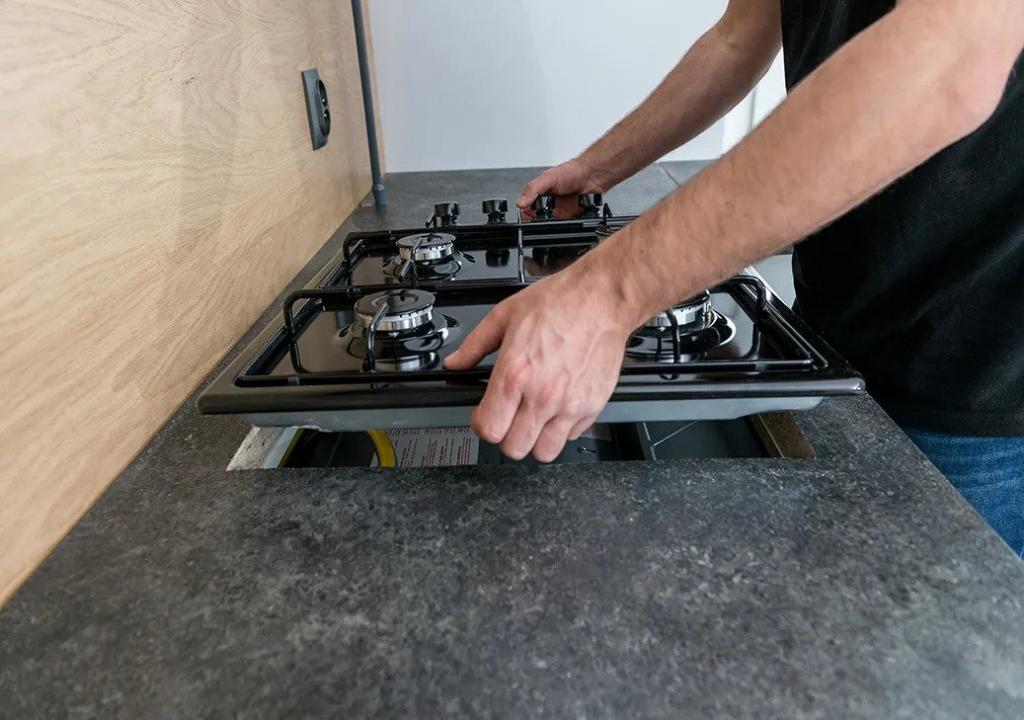
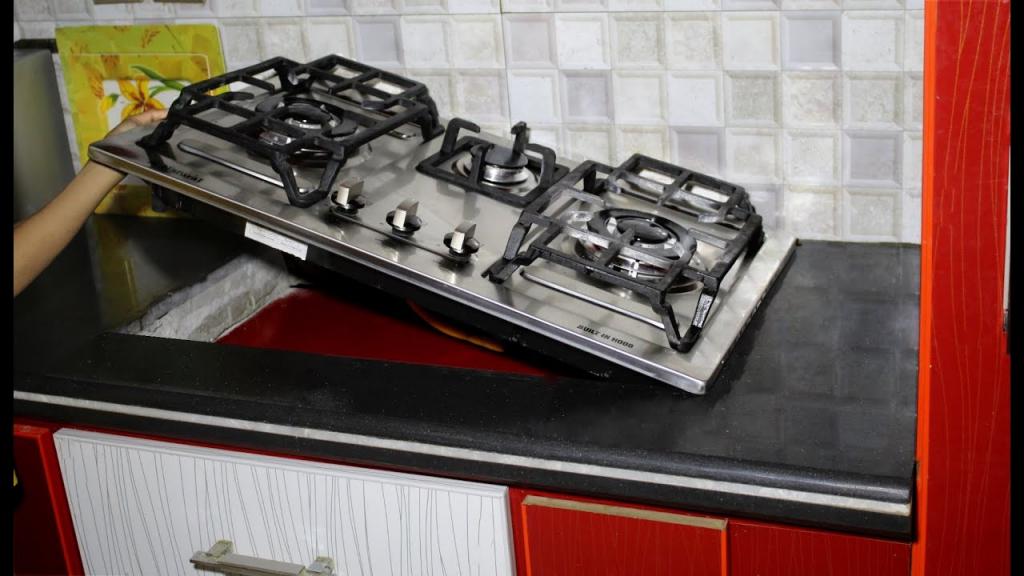
Bring In The New Stove
After you’ve finished cleaning and preparing the space, you may set up your new gas cooktop stove. Place the stove so that its back is against the wall, but make sure to leave enough room to plug it in.
Connect & Open The Gas Line
You should get a new “range” gas line connector if you want to use teflon tape to seal the threads on the old one. If you want to attach the stove to the plug, use teflon tape. Turn the emergency gas line’s twist valve on once you’ve locked and connected the fittings. If the gas was turned off at a greater altitude, it must be turned back on.
Test For A Gas Leak
Before leaving any place, you should always check for gas leaks at the gas connection. There are many options to choose from. The first tool you can use is a gas leak detector. The sticky stuff you use to smear on each gas connection can be replaced with dish soap. If the liquid starts to bubble, there is a leak.
The second method includes placing a portable gas leak detector next to the connection. A pocket-sized electronic chemical sniffer.
Plug In The Stove
Make sure the gas connection is safe before plugging in the electrical cord. Because of this, you are free to use your stove. Your accomplishment will be signaled by the digital stove clock blinking 00:00.
Level The Stove
Before re-installing the stove, make sure the four feet are on even ground. Put the bubble level on the cooktop. Front, back, left, and right side tests should be performed on the stove. Be sure the bubble stays where it belongs. Extend or retract the oven’s feet using the twist-leveling mechanism until the oven is level.
Push The Stove Into Place
As soon as the alcove is prepped, the stove can be installed. Moving can cause electrical and gas lines to become twisted, so take care to avoid this. Having a friend help you set the burners on your new gas stove is a huge benefit. Fasten it to the counter if you can.
Test Your Success
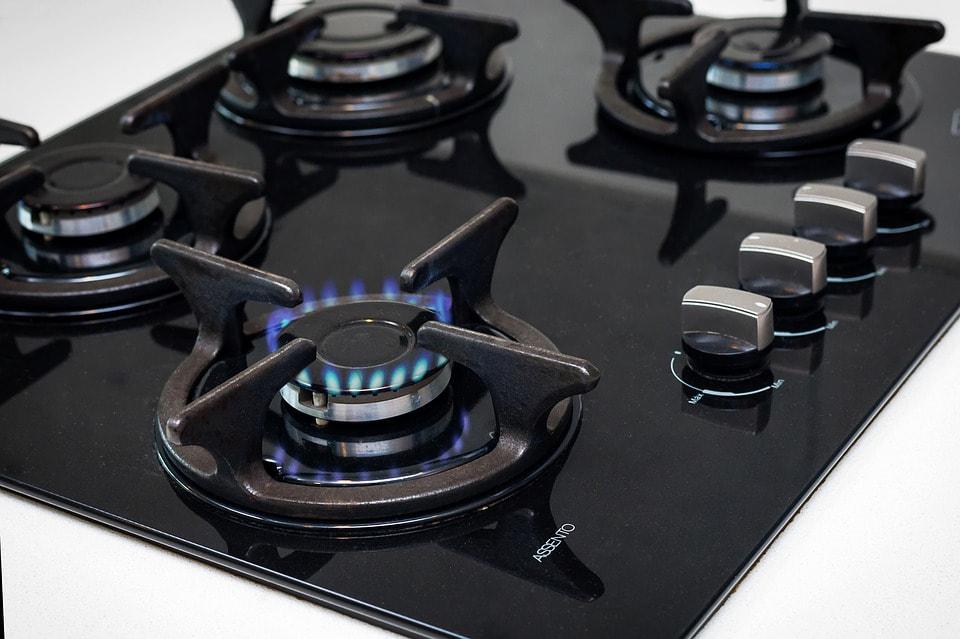
Congratulations! You may have recently replaced an older gas stove in the same spot with a brand new one, or you may be doing so now. In a spotless, well-connected kitchen, you’re all set to prepare your first meal. Let’s get down to business and start cooking! Make sure each burner is strong, in the right place, and able to be ignited. Try heating a small amount of food on each burner to get a sense of how your new stove performs. It’s a good idea to use the portable gas leak detector again as a safety measure while you’re cooking. If you have questions about our gas cooktop stove installation, repair, or maintenance services, or if you want some do-it-yourself tips, please contact us right away.
8 Easy DIY Tips for Gas Stove Installation
Materials:
- Flexible corrugated tube gas hose
- Wrench
- Tape made of Teflon, used to seal pipe connections, in a bright yellow hue
- The Soap/Gas Leak Detector
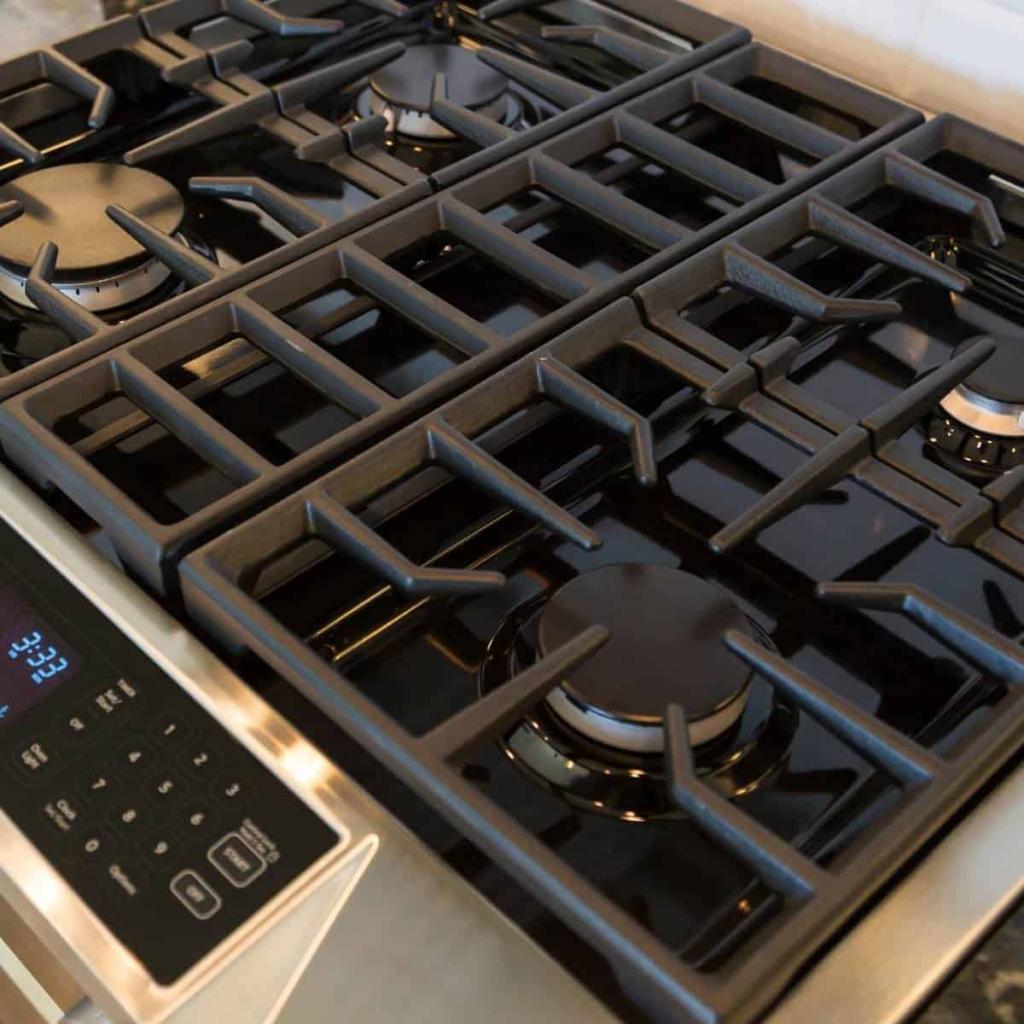
Step 1: Buy the right gas stove connector
Don’t recycle the old gas lines when putting in a new gas stove. Get a new connector from a hardware store or home improvement center first. Obtaining the proper connector is the most important step in ensuring a secure installation. Check for the following warning indicators:
- This thing called a “range” needs to be marked off.
- Purchase a connector that includes the end connector fittings you require. For the most part, a 1/2-inch black threaded pipe will be used for the gas line, and a male or female 1/2-inch fitting will be used to connect it to the stove. If you are unable to locate a connector that has the end fittings you require, you can use a black gas pipe fitting to accept the fittings at each end of the line.
Step 2: Pull out the range
A connector with the appropriate end connector fittings is something you should look into purchasing. The gas line is typically constructed out of a half-inch black threaded pipe and connected to the range with a male or female half-inch fitting. Black gas pipe fittings can be used to accept the ends of the line if you can’t find a connection with the right fittings.
Step 3: Wrap the pipe threads
Tape the threads twice in the same direction that they are spinning using yellow Teflon pipe-joint tape. Because there aren’t many available options for 3/4-in. end connector fits, this coupling can be utilized with the more common 1-in.
Step 4: Attach the connector to the gas line
After disconnecting the connector fitting, wrap the gas line with Teflon tape and secure it. You should never screw the connector nuts into black gas fittings or pipes, and you should always use both end fittings. You shouldn’t kink or force the connector into sharp turns either.
Step 5: Use a street elbow
Put a street elbow measuring 1/2 inches by 1/2 inches into the stove’s gas connection. Connector ends should be screwed into the street elbow. Teflon tape should be used to cover every fitting, but it shouldn’t be too tightened.
Step 6: Tighten the nuts
A secure connection can only be achieved by tightening the nuts on both ends of the connector fittings. Teflon tape could potentially disrupt the seal if used on these threads.
Step 7: Check for leaks
One cannot stress the significance of a thorough leak check. To get rid of any lingering air in the gas supply line, turn on one or two burners before starting to cook. You should use a gas leak detector spray to check all the connections first (sold at home centers). It is also possible to use warm water with soap added. If there are bubbles in the area around the joint, then there is a leak. If you want to make sure you’re not making any mistakes, calling the gas company can be a good idea.
Step 8: Move the new stove in place
Before installing a new stove, be sure to inspect for leaks. Once you’re ready to start cooking, you can do so.
Can you Install a Gas Stove yourself?
Although it is technically possible to install a gas stove on your own, it is strongly recommended that you have a professional do it. Despite the fact that installing a gas stove isn’t particularly complicated, you should have a professional do it for you.
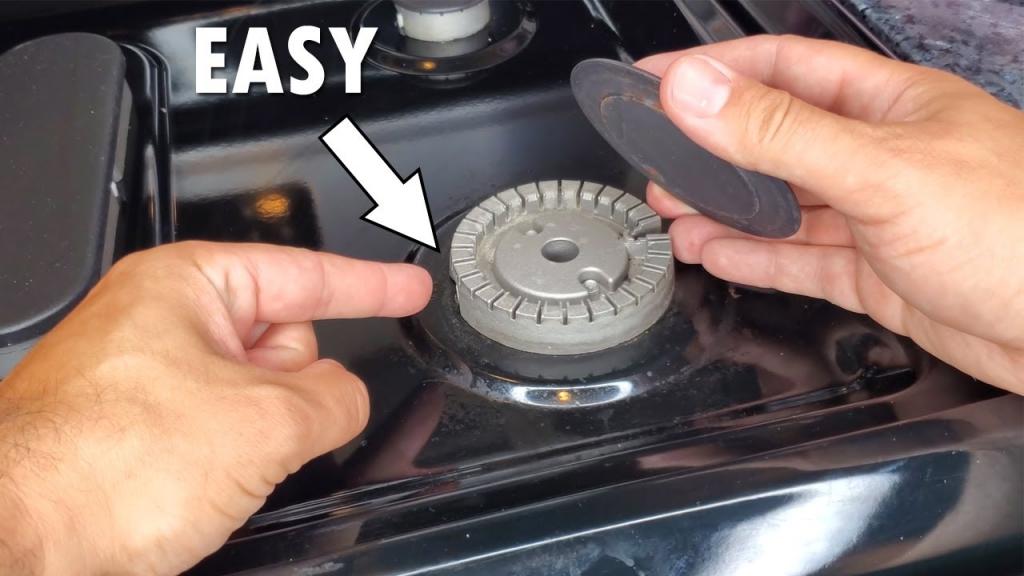
Xem thêm : How To Clean Black Gas Stove Top? Easy Step-by-step Guide
There is a long list of laws and regulations that must be followed when handling gas.
No one should ever attempt to work with gas without first consulting a certified professional due to the extreme dangers posed by gas leaks.
If you insist on tackling the gas stove installation on your own, you’ll need to get it inspected by a pro first.
The gas stove needs to be inspected by a licensed gas safe engineer before you can use it.
In many cases, having a professional engineer install the stove is preferable because that engineer will take care of these inspections for you.
Until a qualified professional has checked out the gas stove, you won’t be allowed to use it.
If your new gas stove has been approved for usage, you can fire it up whenever you choose.
How Long Does It Take To Install A Gas Range?
Putting in a gas stove requires some time and effort, despite appearances.
Depending on your degree of experience, a gas range installation for a freestanding unit can take up to two hours. Therefore, do not expect this job to be completed quickly.
The installation of a gas stove isn’t particularly complicated, so you might be wondering what’s taking so long. However, the time involved is a result of the many tests that must be performed at various stages.
One must exercise considerable caution when connecting the gas lines and installing a gas stove. Therefore, it is suggested that a gas engineer be employed.
Installing the stove and hooking up the gas lines will take around one hour.
After an extra hour, the range will be ready for use after being checked for gas leaks and other hazards.
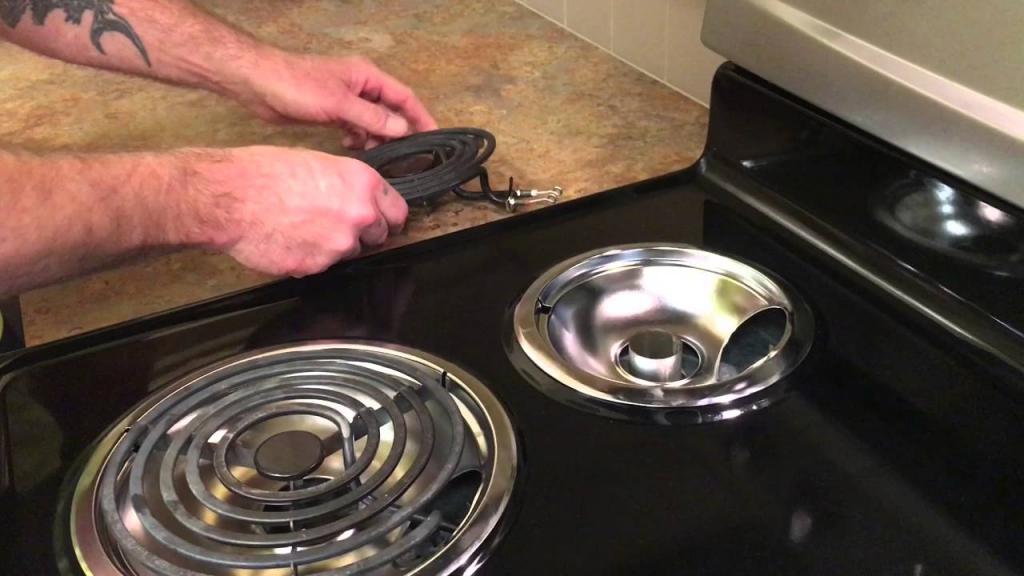
What Is The Easiest Way To Remove A Gas Line From A Stove?
One of the gas lines on a gas stove will need to be disconnected at some point. We’ll show you the quickest and easiest way to get the job done.
If you need to disconnect a gas line, make sure there are no leaks and turn off the gas supply to the line first. That’s a really important point to make.
The gas supply has been cut off, so you can safely disconnect that line without worrying about any potential danger to your family.
To turn off the gas supply is the most difficult step because of the increased danger that exists when the gas is on. Turning off the gas makes everything much easier.
Turning the valve is all that’s needed to cut off water pressure in a pipe. Now you can safely cut the line.
As soon as the gas is switched back on, you should replace the pipe cap. That’s how easy it is.
How Do You Shorten A Gas Stove?
“Shortening” a gas stove refers to cutting down the length of the gas line that runs from the stove to the house’s main gas supply.
Cutting the gas pipe to size may be required if your stove’s connection calls for a shorter length. So, allow me to demonstrate the procedure for you.
Gas work is extremely dangerous and should only be done by trained professionals.
An expert will start the process of downsizing your gas stove by wrenching the meter shut.
The stove will be moved forward to gain easier access to the rear pipes. After that, a highly skilled task will be completed (one that can only be done by a professional) and the old pipe will be shortened by joining a new, smaller one.
Putting a shorter pipe at its proper location After an engineer reconnects the pipe to the main supply, the gas will be restored.
Soon after, you’ll have a gas stove that’s ready to use.
How Much Does Gas Stove Installation Cost?
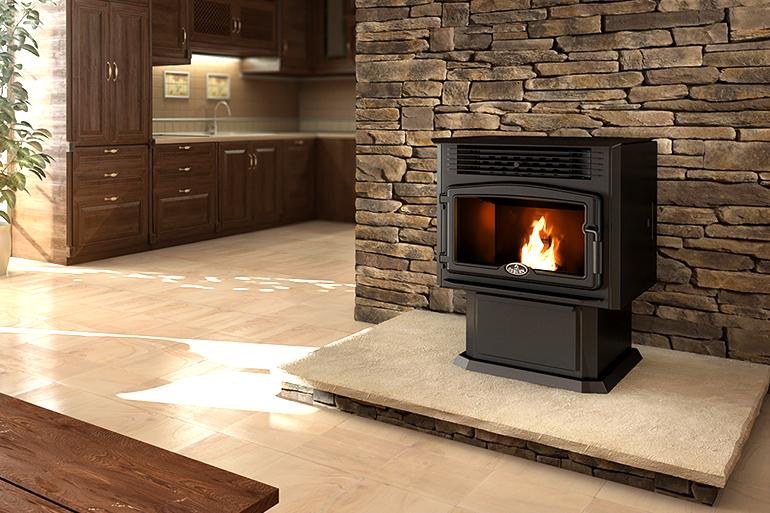
It is better for the environment if you heat your home with gas rather than with wood. Freestanding gas stoves are similar to wood stoves, only they use clean natural gas or propane as fuel.
To get a basic ventless gas stove installed, you should expect to pay roughly $2,000. (USD). The average cost to have a high-end, vented gas stove installed is around $3,600. There will probably be a bill for around $2,800.
You May Also Be Interested In Gas Stoves Available On Home Depot
To save you time and energy, we compared more than 30 top-tier models of kitchen appliances from widely recognized brands. Learn more about the features you need in a gas stove and why our picks are the best on the market today.
Average Gas Stove Installation Cost
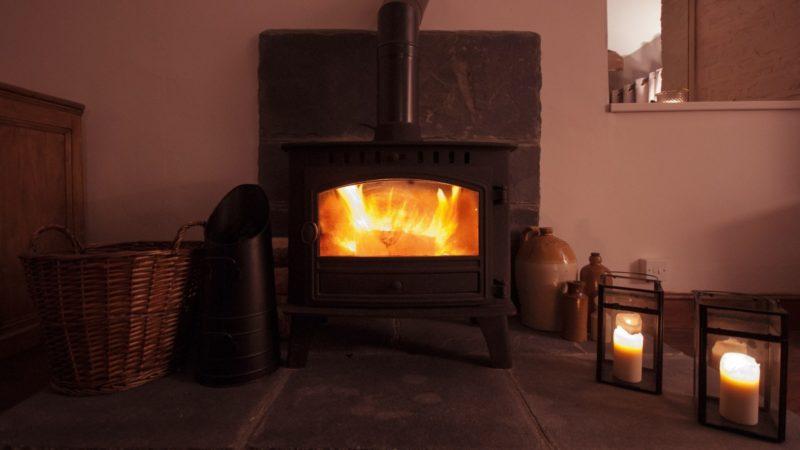
What a Gas Stove Is
A gas stove provides heat by combusting steel or cast iron with the use of either natural gas or propane.
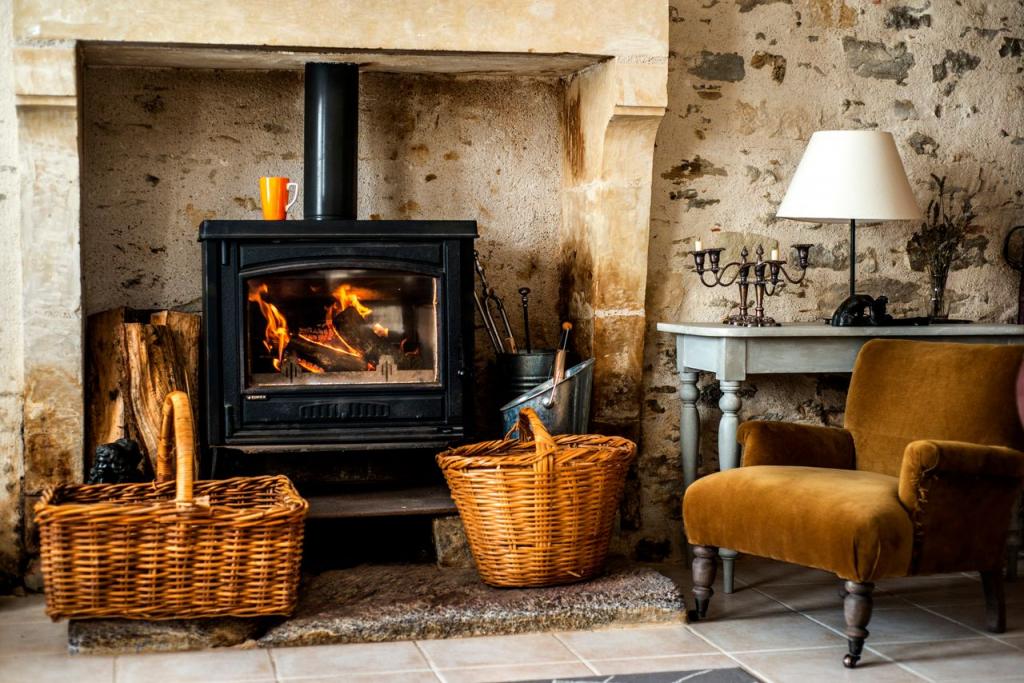
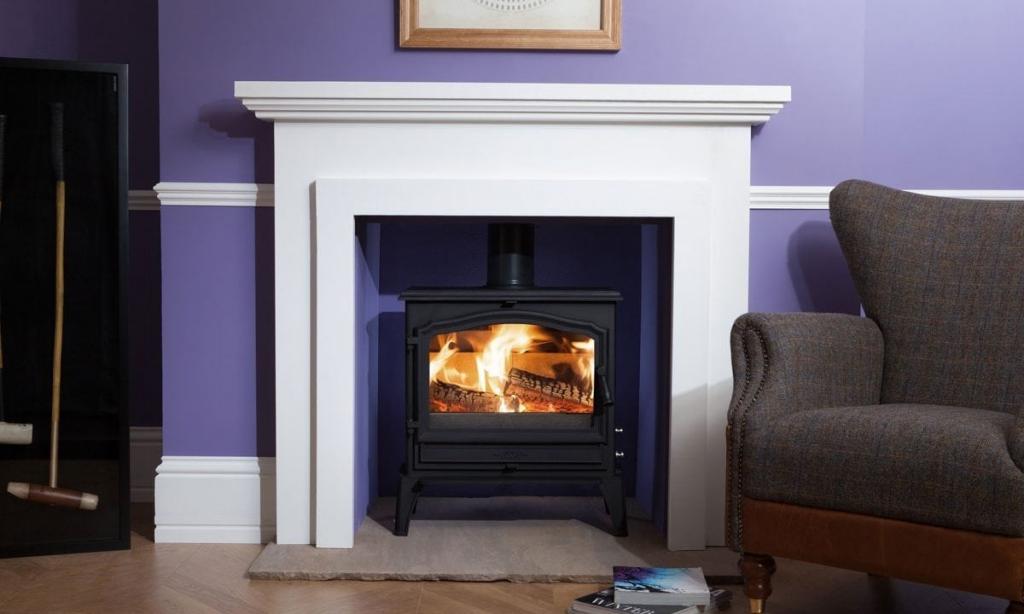
A gas fireplace insert is not the same as a gas stove for cooking. In contrast, a gas heating stove looks and acts like a wood-burning stove and is typically placed close to an exterior wall.
Gas stoves can be used to offer efficient, targeted heating using either natural gas or propane. Even if fire is still present, it is now a clean and effective burning. Since wood stoves are typically outlawed or subject to stringent regulations, gas stoves are a great choice for homeowners.
Xem thêm : How To Protect Glass Top Stove From Scratches? A Few Tips to Remember
A gas stove provides localized heating, in contrast to central heating systems that send hot air through unseen ducts to every room.
Even if the power goes out, a gas burner may be utilized to keep the house warm.
Gas Stove Installation Cost By Type
Ventless Gas Stoves
A ventless gas burner only produces a little amount of carbon monoxide. Many different versions boast efficiency levels of above 99.9 percent.
Due to the need to maintain safe exhaust gas levels, ventless gas stoves often produce lower flames.
Prices for ventless gas stoves range from from $1,000 to $2,200, with the average being in the $1,200 to $1,500 area.
Vented Gas Stoves
The majority of ventless gas stoves cost between $1,000 and $2,200, with the former being the more common price point.
Most versions of ventless gas stoves may be purchased for between $1,200 and $1,500, with the lower-end variants costing around $1,000.
Vented gas stoves are far more expensive than their ventless alternatives. In terms of cost, the most expensive vented variants are about the same as the cheapest ventless models. Most vented gas stoves and unvented gas stoves may be found in the $2,200 to $2,600 price range.
Gas Stove Labor Costs
A gas stove is more expensive to install because of the gas line needed to supply the stove with gas. The cost to install a gas line is $15 to $25 per foot. The going rate for a plumber is between $75 and $100 per hour.
If the stove and the ductwork for venting it are already in place, the cost to install a gas stove is typically between $250 and $300.
Work associated with installing a gas heating stove can cost between $1,000 and $2,500, but this does not include the expense of running gas lines, reinforcing flooring, or adding roof vents.
Gas Stove Safety Tips
- Get your gas stove inspected once a year by a professional HVAC or gas-heating specialist to be sure it’s in good working order.
- A carbon monoxide detector should be installed.
- A shop vacuum or a set of brushes can be used to clean the gas stove’s vents.
- Look for soot and discolored flames on the gas stove.
- It will be easier to see the fire if the glass door is spotless. Use a fireplace door cleaning fluid instead of glass cleaner.
- If you don’t want to get burned, stay away from the glass insert, the door, the top, and the vent.
FAQs
Can you install a gas stove yourself?
Minutes can be spent connecting a gas stove or water heater with only the most fundamental tools and materials. You may finish the job safely on your own if you have the right tools and equipment and pay close attention to the directions. The price of a professional hookup might range from a few hundred to a few thousand dollars.
Can I install a stove myself?
Don’t try to put in a wood or multi-fuel stove on your own. Stoves provide a dual risk of fire and carbon monoxide poisoning if not installed correctly.
Can I connect my own gas oven?
It is possible for a homeowner to put in their own gas range. A qualified Gas Safe engineer must install the range before it can be used. The gas lines leading to the stove will be checked to ensure its safety.
Does a gas stove need a vent?
Most gas ranges sold in the United States do not require external venting. We advise that the exhaust from any gas stove be routed outside the building. A good range hood can help get rid of smoke, odors, and other potential health problems associated with cooking.
How do you connect a gas pipe to your stove?
- Switch off the stove.
- Take the gas regulator off the cylinder.
- The gas stove and regulator must be disconnected.
- Put a connector on the end of the pipe you’re joining.
- Regulators must be installed on all cylinders.
- You should do a leak check.
Does a gas stove need electricity?
A gas stove requires both electricity and gas in order to function. Traditional gas ranges’ pilot lights have been phased out in favor of electronic ignition. An electronic ignitor is installed in each burner to spark the flame. A gas stove requires both gas and electricity in order to function.
Can I disconnect my gas stove myself?
Does my gas stove have an automatic shutoff? You can shut off the gas and disconnect the stove by yourself. It is safe to do so provided that any gas leak is localized to, and exits via, the cooker. But if you suspect a major gas leak, you should call a professional.
How hard is it to run a gas line for a stove?
Do not attempt to install a gas line as your first DIY project. In the case of gas lines, however, qualified do-it-yourselfers may complete the job with the same level of safety as trained experts. Though there isn’t much room for error, the individual steps aren’t any more challenging than those in plumbing or electrical work.
How long does it take to install a gas stove?
To set up a freestanding gas oven might be a lengthy process. The most common response was “one to two hours.” The lines should be checked for leaks for at least one hour. The setup time for a gas oven is roughly one hour.
Is gas stove better than electric?
What’s the difference between gas and electric stoves? Both gas and electric stoves have their benefits, and it all depends on what and how you’re cooking. For searing meats or stir-frying vegetables, gas ranges provide a more responsive heat control, whilst electric ranges provide a more even, dry heat that is better suited for baking.
Do all gas cookers have a bayonet fitting?
What are the key distinctions between gas and electric cooking ranges? When it comes to cooking, both gas and electric stoves have their benefits. While the rapid heat control of a gas range makes it ideal for searing meats and stir-frying vegetables, the even and dry heat of an electric range makes it more suitable to baking.
What are the BTU ratings for gas stoves?
Gas stoves typically range from 20,000 to 60,000 BTUs (British Thermal Units).
Can a gas stove be converted to a wood stove?
The answer is no. Stoves that run on natural gas or propane are not suitable for burning wood. They are not suitable for use as wood stoves.
How close can a gas stove be installed to a wall?
Many different models and brands of gas stoves exist, each with its own specialties and specifications. With certain versions, you may get within a couple of inches of the wall. The near installation is often made possible by mounting a heat shield on the wall.
Do vented gas stoves always need to vent through the roof?
This is not always the case. Additional venting through the side walls is a possibility as well.
Which is best for gas stoves: natural gas or propane?
Natural gas does not require a backup source because it is delivered directly from the gas company to the customer through the local gas distribution system. However, propane tanks have to be replaced on a regular basis.
If you want to utilize liquid propane for your heater, you should also make sure the area around it stays dry. When natural gas is consumed, there is no buildup of moisture.
It’s A Wrap!
This is it; the final chapter. That’s it for the nuts and bolts, if you will, of installing a gas range. It’s challenging to understand step-by-step directions, but the tasks themselves are straightforward.
If you want to be sure the installation is done safely and won’t put anyone in harm’s way, you should consult with professionals. Be absolutely sure that you’ve done everything exactly as instructed. You should also pay close attention to the reminders included in the steps, as they are crucial for a successful installation.
Regular maintenance and inspection of your gas stove is essential. However, if you take good care of it, the stove will last for many years and even pay for itself in the process.
Nguồn: https://spasifikmag.com
Danh mục: Stoves