Cleaning a stove drip pan is an easy task. The drip pan is one of the most difficult parts of the stove to clean and keep in good working condition. Once the residue has baked onto the surface, it is difficult to wipe or scrape off. They are ideal for capturing pot spills.
We tested three methods for cleaning drip pans, ranging from those with a small, recent spill to those that don’t appear to be recoverable, with only a few common household cleaning supplies. You’ll be able to clean your stove drip pans with these homemade solutions. But first, let’s get your supplies ready. As a result, the following equipment and supplies are required:
Bạn đang xem: How To Clean A Stove Drip Pan? Complete Step-by-Step Guide
- A bucket or a bathroom sink
- Towel or sponge (plastic)
- Sponge
- Thistle (microfiber)
- Gloves are optional (rubber)
- Liquid dishwashing degreaser
- Vinaigrette (white & distilled)
- Sodium bicarbonate of soda
- Inhaling household ammonia
- Methylamine-based sponge
- Resealable plastic bags (1-gallon)
Do you already own these items? If that is the case, you are now ready to go! Here we go again.
What to Know Before Cleaning Stove Drip Pans
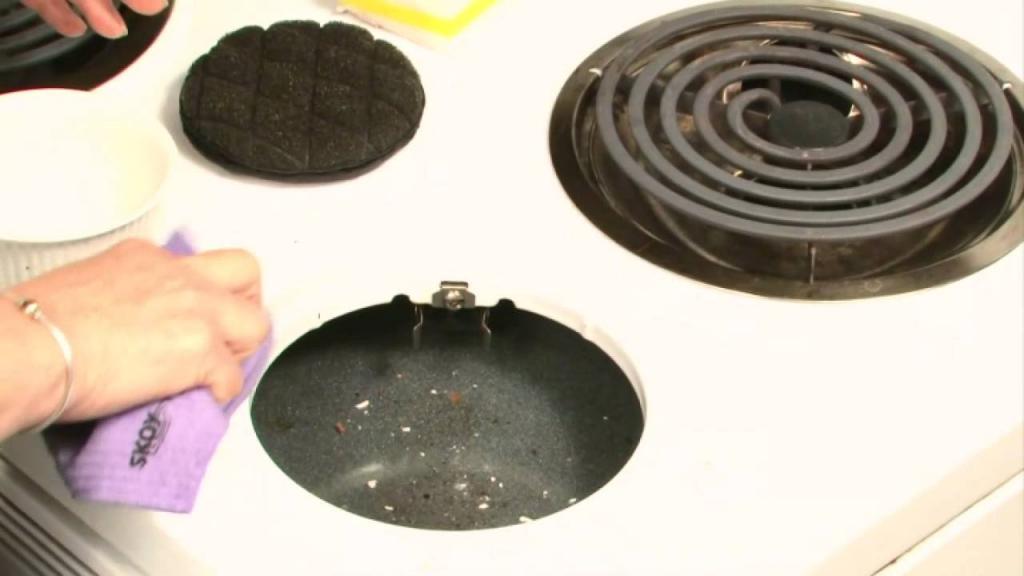
Make sure your stove drip pans are at room temperature before you begin. As soon as you’re done cooking, wait for the drip pans to cool off before cleaning them to avoid burning your fingers.
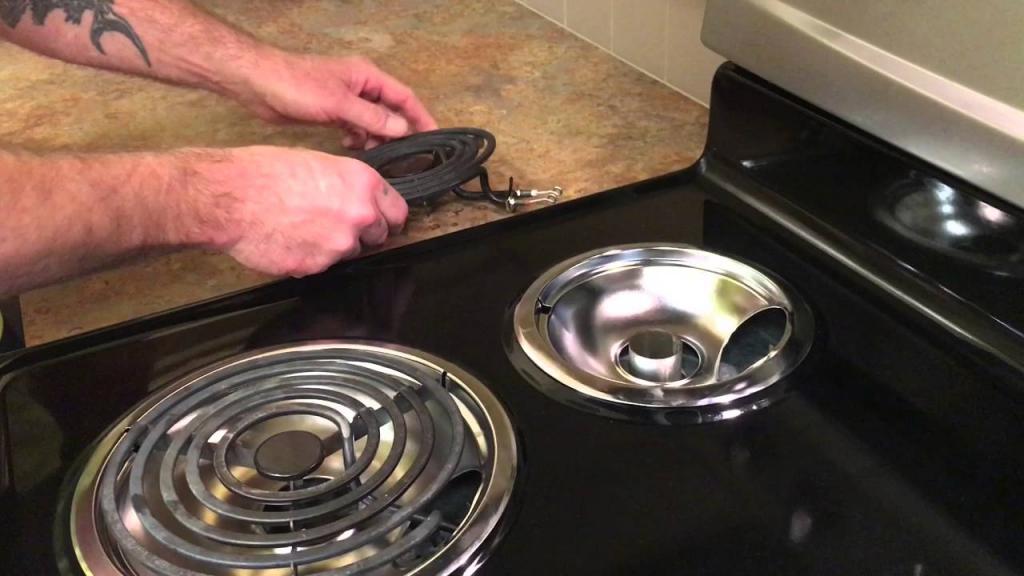
Coils or grates that sit on top of the drip pans will need to be removed before you can clean them. To remove the burner coil from an electric stove, lift the coil slightly on one side. On the other side of the drip pan hole, you’ll find the socket that plugs into the burner coil. To remove the burner coil, simply gently pull it straight out of the socket and lay it aside. The drip pan can now be lifted out of the way.
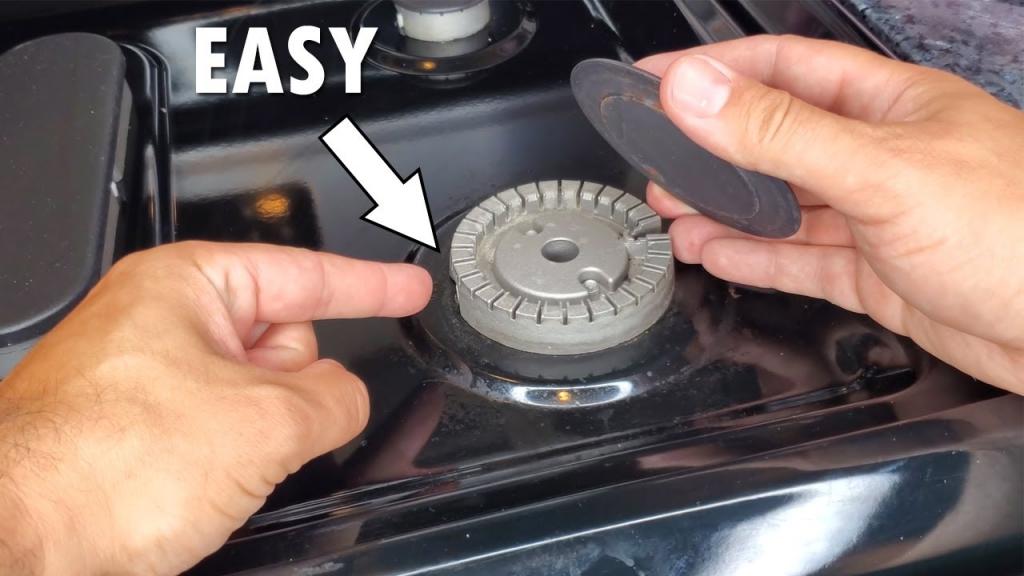
It’s easy to remove the metal grates from most gas stoves to get to the drip pan underneath.
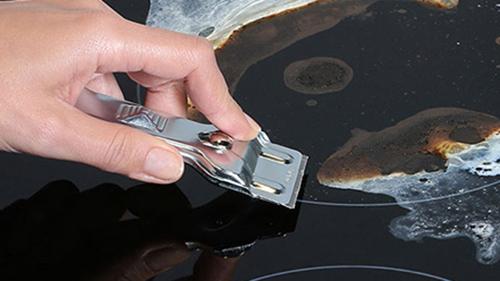
Start scrubbing away at those filthy drip pans now. For electric stove drip pans and gas stove cook pans constructed of either chrome or porcelain, the following cleaning techniques are applicable.
How Often to Clean Stove Drip Pans
The drip pans on your stovetop should be cleaned after each use, if possible. The drip pans are easier to clean if the spills and splatters are dealt with as soon as possible. The drip pans should be cleaned monthly if you prepare food every day, or as needed if you notice stains. Smoking and even fires can result from the accumulation of food particles and grease on drip pans.
Before You Begin
The burners must be totally cooled before any pieces may be removed from a drip pan or stovetop. When replacing components, pay attention to how they fit together.
What You’ll Need
Equipment / Tools
- No matter what you call it, the sink or the bucket
- A scouring pad made of plastic
- Sponge
- Cloth made of microfiber
- Gloves made of rubber (optional)
Materials
- Degreaser-infused dishwashing liquid
- Distilled white vinegar is
- Sodium bicarbonate of soda
- Ammonia in the home
- sponge made of methylated cellulose (Mr. Clean Eraser)
- Polyethylene resealable bags of one gallon capacity
Instructions
How to Clean Drip Pans With Dishwashing Liquid
Cleaning up recent spills and splatters is a snap with this technique.
Tip
The top rack of an automated dishwasher can be used to clean drip pans and chrome trim rings that are just faintly soiled.
Remove Drip Pans and Components
Remove the drip pan and any decorative rings when a spill occurs.
Create a Cleaning Solution
Add a few drops of dishwashing detergent that contains a grease-cutting component to a sink full of hot water.
Soak, Wipe, Rinse, and Dry
Dish soapy water over the drip pans and other removable parts. Soak them for at least ten minutes before using. Use a sponge or dishcloth to clean the surface. Use a melamine sponge (Mr. Clean Eraser) to lightly scrub away the food if there are stubborn stains.
Use a microfiber cloth to dry the drip pan after rinsing it in hot water.
Reinstall the Drip Pans
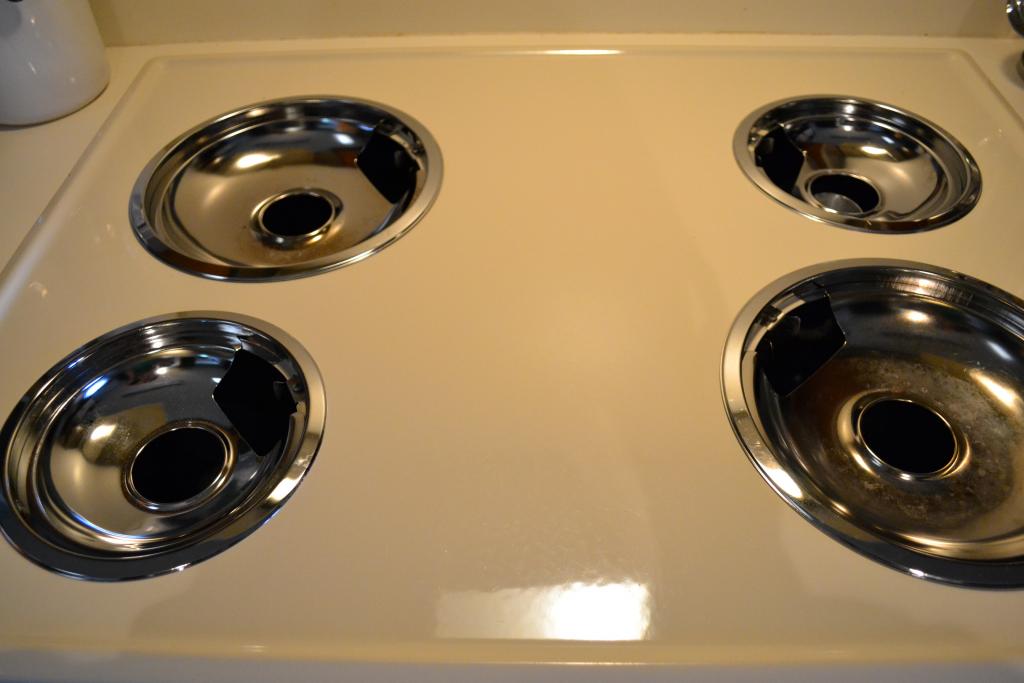
Make sure the drip pans under the burners are properly installed before replacing them.
How to Clean Drip Pans With Vinegar and Baking Soda
Xem thêm : 6 Common Electric Stoves Problems and How To Fix An Electric Stove?
If soapy water doesn’t get rid of the food buildup, try this method.
Remove the Drip Pans and Components
Remove the drip pans from the cooktop when it has cooled off. Remove any stray charred fragments by shaking them vigorously over a garbage bin. Make sure there aren’t any food spills on the stovetop at this time. It’s probably time for a thorough cleaning.
Soak in Hot, Soapy Water
Pour hot water and a few drops of dishwashing liquid into a sink or bucket large enough to accommodate the drip pans. Allow 15 minutes of soaking time.
Soak in Vinegar
Rinse out the hot, soapy water using a sponge. Allow the drip pans to soak for 30 minutes with enough distilled white vinegar to thoroughly cover them.
Scrub with Baking Soda
Sprinkle baking soda liberally into the solution. When the baking soda combines with the vinegar’s acid, there will be some fizzing. The combination should be allowed to sit for at least 15 minutes before being strained. Scrub the pans with a plastic scrubber, applying additional baking soda on stubborn stains.
Rinse, Dry, and Replace
Dry the drip pans with a microfiber cloth after rinsing them with hot water. The stovetop’s components should be completely replaced.
How to Clean Drip Pans with Household Ammonia
Because of its potent cleaning properties, household ammonia should only be used in well-ventilated areas. On oily drip pans with heavily burned-on food, this procedure is the most time-consuming but also the most successful one. Rubber gloves are a good idea if you have sensitive skin.
Bag the Drip Pans
In a separate one-gallon resealable polyethylene bag, place each drip pan after it has cooled.
Add the Ammonia
Fill each bag with a quarter cup of household ammonia. The drip pans do not need to be entirely covered by the cleaner. Foul odors can dislodge stubborn oil and filth.
Seal the Bags and Wait
At the very least, give the ammonia 12 hours to do its work before sealing the bags. Make sure to open the bags away from your face when it’s time to do so. There will be a lot of noxious gas. Removing the drip pans and carefully disposing of the ammonia and plastic bags is essential.
Wash in Hot Soapy Water
Add a few drops of dishwashing liquid to the hot water in the sink. Use a plastic scrubber or melamine sponge to clean any stubborn stains from the drip pans.
Rinse, Dry, and Replace
Each drip pan should be rinsed thoroughly in hot water and dried with a microfiber towel. Toss it in the oven.
Tip
Replacement and disposable drip pans are readily available online and at mass merchandisers for a low price if the drip pans are in truly bad condition.
How to Clean Burner Pans Using Bar Keeper’s Friend
If manufacturing your own cleaners doesn’t work out for you, you may always buy one from the shop instead. Drip pan stains can be scrubbed away using barkeeper’s friend, a mild abrasive. As an example, consider what happens if:
- Spray your drip pans with water using a spray bottle.
- On the discolored regions of your pan, sprinkle barkeeper’s friend
- It’s time to add a little more water.
- The stains can be removed using an old toothbrush.
- Rinse well after letting it sit for 5-10 minutes. If you don’t remove all of the residue, you’ll be left with stains that are difficult to remove.
- Repeat the process if there are still places that need to be cleaned.
Use DIY Hydrogen Peroxide to Clean Stove Drip Pan
The hydrogen peroxide you already have at home should make this operation a cinch. In addition to hydrogen peroxide, baking soda can be used to clean stovetops. This is how it works:
- Fill a bowl halfway with hydrogen peroxide and set it aside. One teaspoon of baking soda and one teaspoon of water should be dissolved into the mixture.
- Allow it to soak for 30 minutes with an old toothbrush.
- After 30 minutes, use the moistened toothbrush to scrape your drip pans clean.
- The drip pans must be thoroughly cleaned and dried before they can be used again.
- Repeat the process as necessary until you’re satisfied with the outcomes, if necessary.
Using Oven Cleaner to Clean Stovetop Drip Pans
Another fantastic technique to get rid of muck buildup in your drip pans is to use plain old oven cleaning. Steps to follow:
- Clean the drip pan with oven cleaning.
- Spread it out evenly to ensure that all traces of grease and grime are removed.
- After letting it sit for 30 minutes, use a scouring pad to remove the gunk.
- Wash out all of the cleanser and loose muck, then allow to dry.
Xem thêm : How To Remove Grease From Wall Behind Stove?
When working with oven cleaning agents, always use rubber gloves. Make sure you read the instructions thoroughly before you begin the process of washing it away.
Use Elbow Grease
The best approach to remove grease and oil buildup from your stove pan drip is with a little elbow grease. In addition to cleaning kitchen cabinets and counters, this product does an excellent job of removing grease and grime. Here are a few pointers:
- Make use of old newspapers to make a drip pan
- Circularly swab it with a dry rag.
- When cleaning your burner pan, make sure to wipe it clean of all grease and oil with a dry rag before rinsing it with water.
- It is impossible for the liquid to function properly if it is layered on top of grease and oil.
- Use a paper towel or rag to gently remove the cleaner from the surface.
- To avoid inhaling the cleaning liquid’s fumes, do this in a well-ventilated place.
How to Clean Stove Drip Pans FAQ
Can you use harsh chemicals to clean stove drip pans?
A drip pan might be damaged if you use a liquid that includes dangerous compounds. There is a risk of your pot falling off while you’re cooking if the glue holding the pot in place weakens. Warm water and a light soap or all-purpose cleanser are ideal cleaning methods.
What’s the powerful spray for cleaning stove drip pans?
Lacquer thinner is the best spray for cleaning burner pans. Thinners for lacquers are made to dissolve grime and water droplets off vehicles’ exteriors without harming the paint or other components. They aid in the cleaning of cooktops by loosening any debris on the surface being cleaned.
How often should you clean stove drip pans?
Every month or after a big barbecue with a lot of grease splattered on the stove, stove drip pans need to be cleaned. Your cookware’ ability to withstand spills when you cook might also influence how often you do this maintenance chore.
What’s the best way to clean burner pans?
Using homemade cleansers is the best method to keep your stove drip pans clean. Since many commercial cleaners include harsh chemicals that can injure your skin or damage your cookware, this is a good idea.
Otherwise, wipe the drip trays with a wet towel before cleaning using an antibacterial scrubber pad or sponge, if you’d rather not prepare your own cleaning solutions from scratch.
Are drip pans necessary?
To capture spills and splatters, all stoves need some sort of drip pan, however not all stoves have detachable drip pans. There are also stovetops with drip pans that are not removable and must be cleaned while still in place on the cooktop. Only drip pans that can be removed are covered by these instructions.
How long do drip pans last?
The duration of the drip pans is determined by how frequently you use the stove, but they should survive for several years if you clean them regularly. It’s time to replace the drip pan if it’s bent, stained, or unclean beyond cleaning, or if it’s simply worn out.
Can you put aluminum foil on drip pans?
Aluminum foil lining your drip pans may seem like a smart idea, but it’s not. This can result in uneven cooking outcomes or even a potential fire risk, depending on how much heat builds up behind the foil.
How often should I clean drip pans?
Your stovetop should be wiped clean every time you cook, but this isn’t always possible. If you cook on a regular basis or only use your stovetop once a month, it’s a good idea to deep clean the drip pans.
Are stove drip pans dishwasher safe?
To save yourself some time and work, you may put your drip pans on the top rack of your dishwasher during the normal dishwashing process.
Why do drip pans have holes?
You may be wondering why drip pans with little holes on the edges are so common. As a result of this, many ovens require a vent hole in order to expel heat from one of the stovetop burners in order to function properly. A wide hole for the burner plug is included in all electric stovetop drip pans.
Choose Your Preferred Method to Clean a Stove Top Drip Pan
Stove drip pans must be kept free of sticky oil, food spills, and other debris if they are to function properly. If you don’t take care of it regularly, the stink might build up and become uncomfortable in the kitchen. All the grease, dirt, and spaghetti sauce spills aren’t even taking into account the unsightliness of the mess.
Cooking isn’t simply a seasonal pastime; it’s an opportunity to keep your home tidy all year long. For the vast majority of the time, you’ll be utilizing your stove. Also, keep in mind that while the cleaning procedures described above may meet your needs, they may not work for everyone. Let your imagination go wild and experiment with numerous cleaning products before settling on the ideal option for you.
Conclusion
That concludes our look at how to clean a stove drip pan on your own. Wipe the drip pans after each use of the cooktop burner, too. Having your drip pans cleaned after spills is a simple task if they are dealt with soon. The drip pans should be thoroughly cleaned once a week, or whenever stains occur. Smoke and even fire can arise from the accumulation of food particles and grease on drip pans. If you’re interested in stoves, check out this article.
Nguồn: https://spasifikmag.com
Danh mục: Stoves